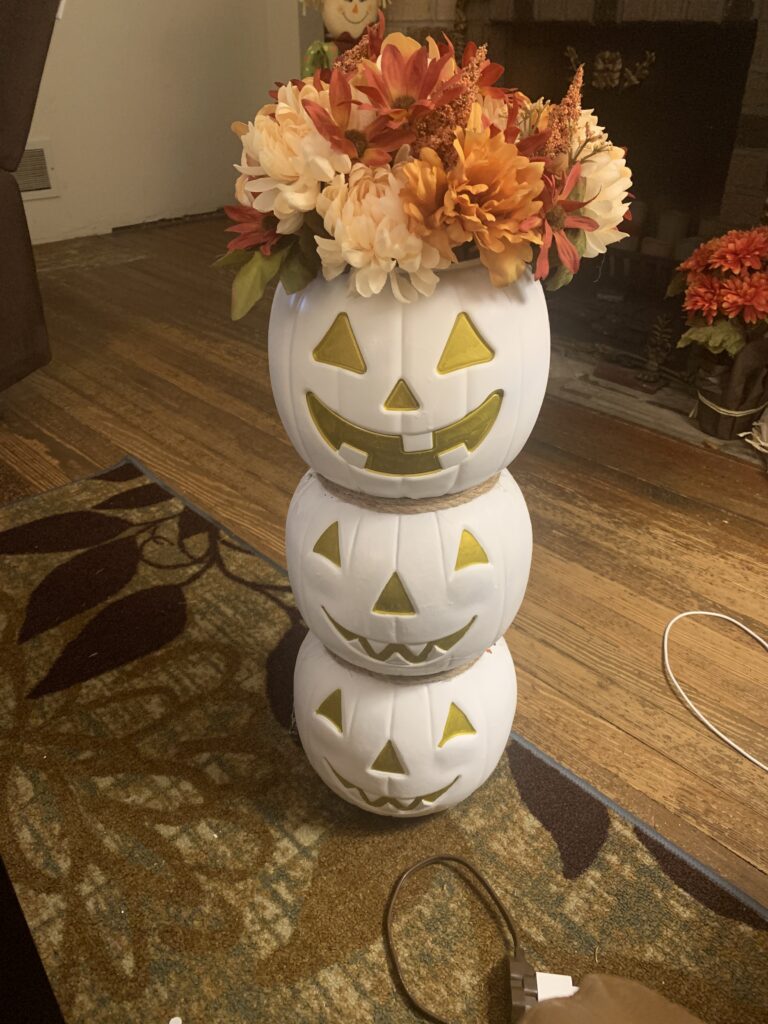
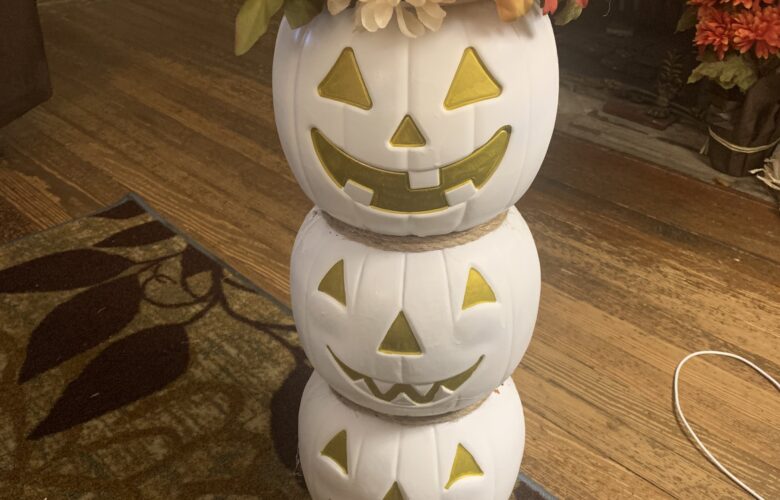
I know that a lot of us are remember the days when we were a kid and went Trick or Treating. When we would go to get candy, we would be carrying around the Pumpkin Shaped buckets. Well, if you have some in your house or are able to find some from your local thrift store buy them for this awesome DIY. You can turn these pumpkins into a cute Fall Decor that can be used inside or outside of the house! I will explain the steps below. When deciding what you would like to put in the top of the planters the options are endless. I chose to put fake flowers in. Another option is that you can put a live planter of Mums in the top as well!

Here are the steps:
- Wash and wipe down all pumpkins so the spray paint will stick nicely to the plastic.
- Cut off and remove all of the handles
- Take the pumpkins outside to a well ventilated area and put down some plastic to protect the area that you are spraying in.
- Spray pumpkins with the spray paint color of your choice, I chose white as you can see above.
- Let dry and make sure you place something under the pumpkins as the spray paint might drip.
- I found that my pumpkins needed 2 coats.
- After the pumpkins are dry, then it is time for the faces of them. For that I used the acrylic paint pens, which worked amazingly for the surface. The regular paint was too runny. I only had to do one coat with the paint pens.
- After the paint dries, I took a clear protective spray paint and sprayed the whole area of the pumpkins (I did this outside again).
- Once the pumpkins were dry again I figured out which ones I wanted to stack on top of each other since I made three different planters.
- For the bottom pumpkin you are going to need to put something heavy inside to help keep pumpkins from falling over. I used a few bigger pieces of gravel. Sand is another great option as well.
- I then started to hot glue around the bottoms of the pumpkin and then once I had the pumpkin stacked the pumpkins and also I hot glue around the two as they were stacked.
- I did this same process for all of the levels and you can have as many as you wish. I just went with three because of how many pumpkins I had over all for the three different planters.
- Once they were all stacked I wanted to hide the hot glue around the sections so I decided to hot glue rope around and I went around twice to make it thicker.
- The last step I just took the foam inserts for the plants.
- Enjoy your planters where-ever you would like them!
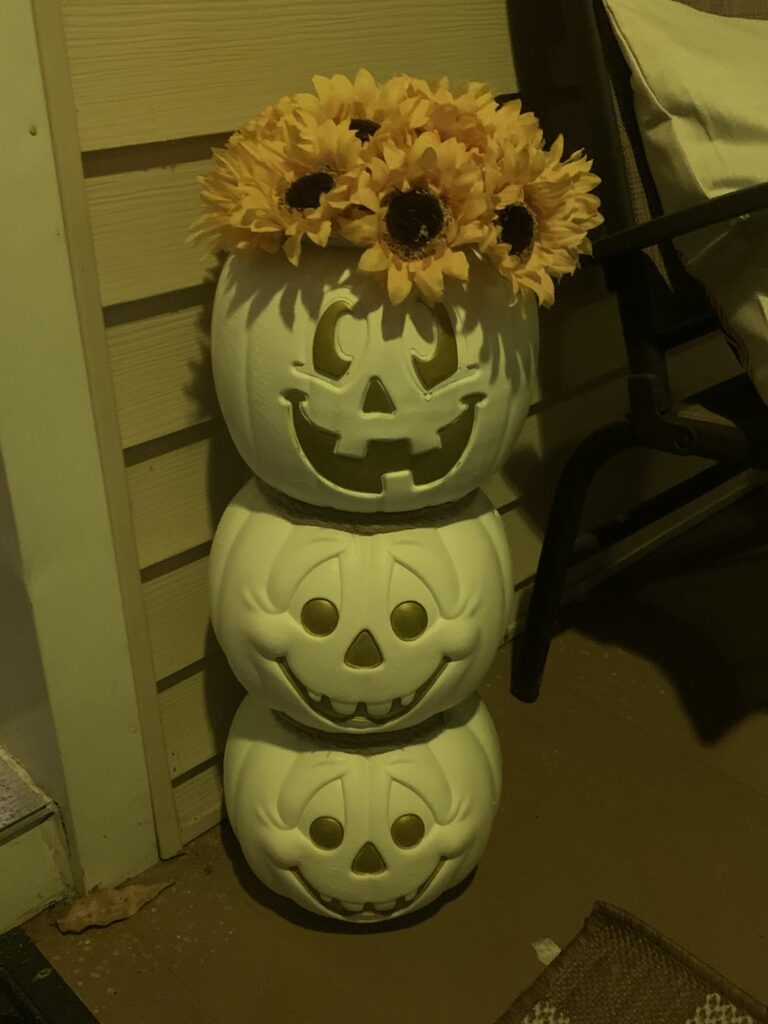
This is a picture of the one that I made for myself and I used sunflowers to be able tie it in with the theme of the Fall decor on my front porch.
Please feel free to share your photos with me if you decide to give this DIY a try!

