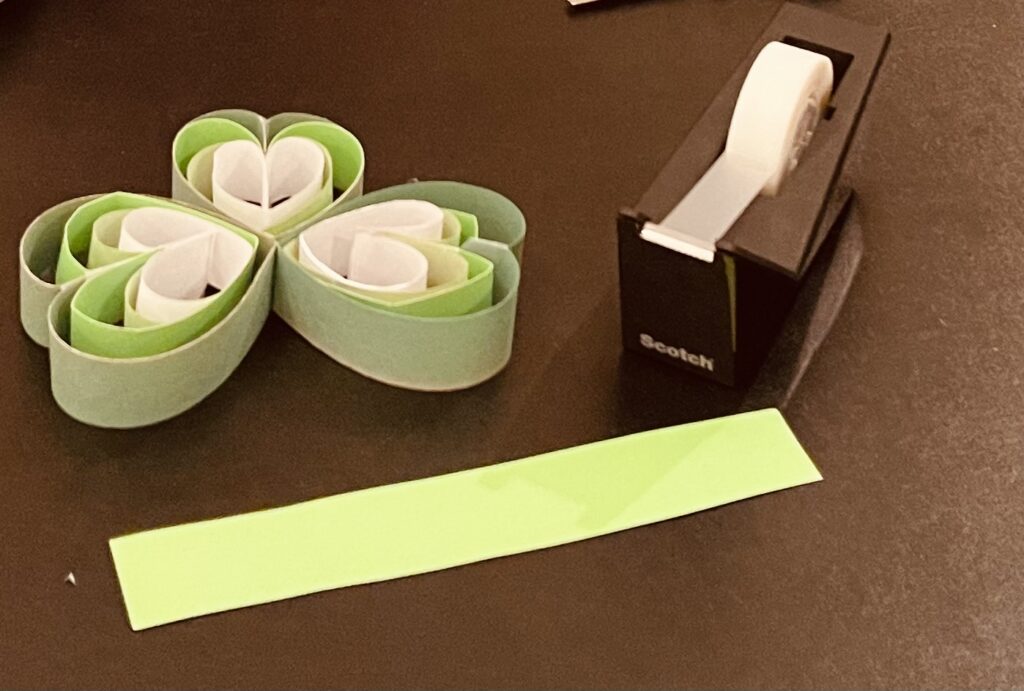
I hope that you are all having a wonderful day! This whole week into the weekend I will be having St. Patrick’s Day related post. There is nothing better than a Holiday themed post, right? Today’s post is brought to you by both myself and the youngest that I nanny for. Rebecca is in the 3rd grade this year and she has always loved making crafts. So, when I asked her if she would be willing to do some St. Patrick’s Day kids crafts, the answer was yes.
I have a handful of crafts that you can do with you children at home that I will post throughout the next few days. The first craft that Rebecca chose to do with me was a cute and fun one. We definitely had fun making this craft and we shared some laughs along the way.
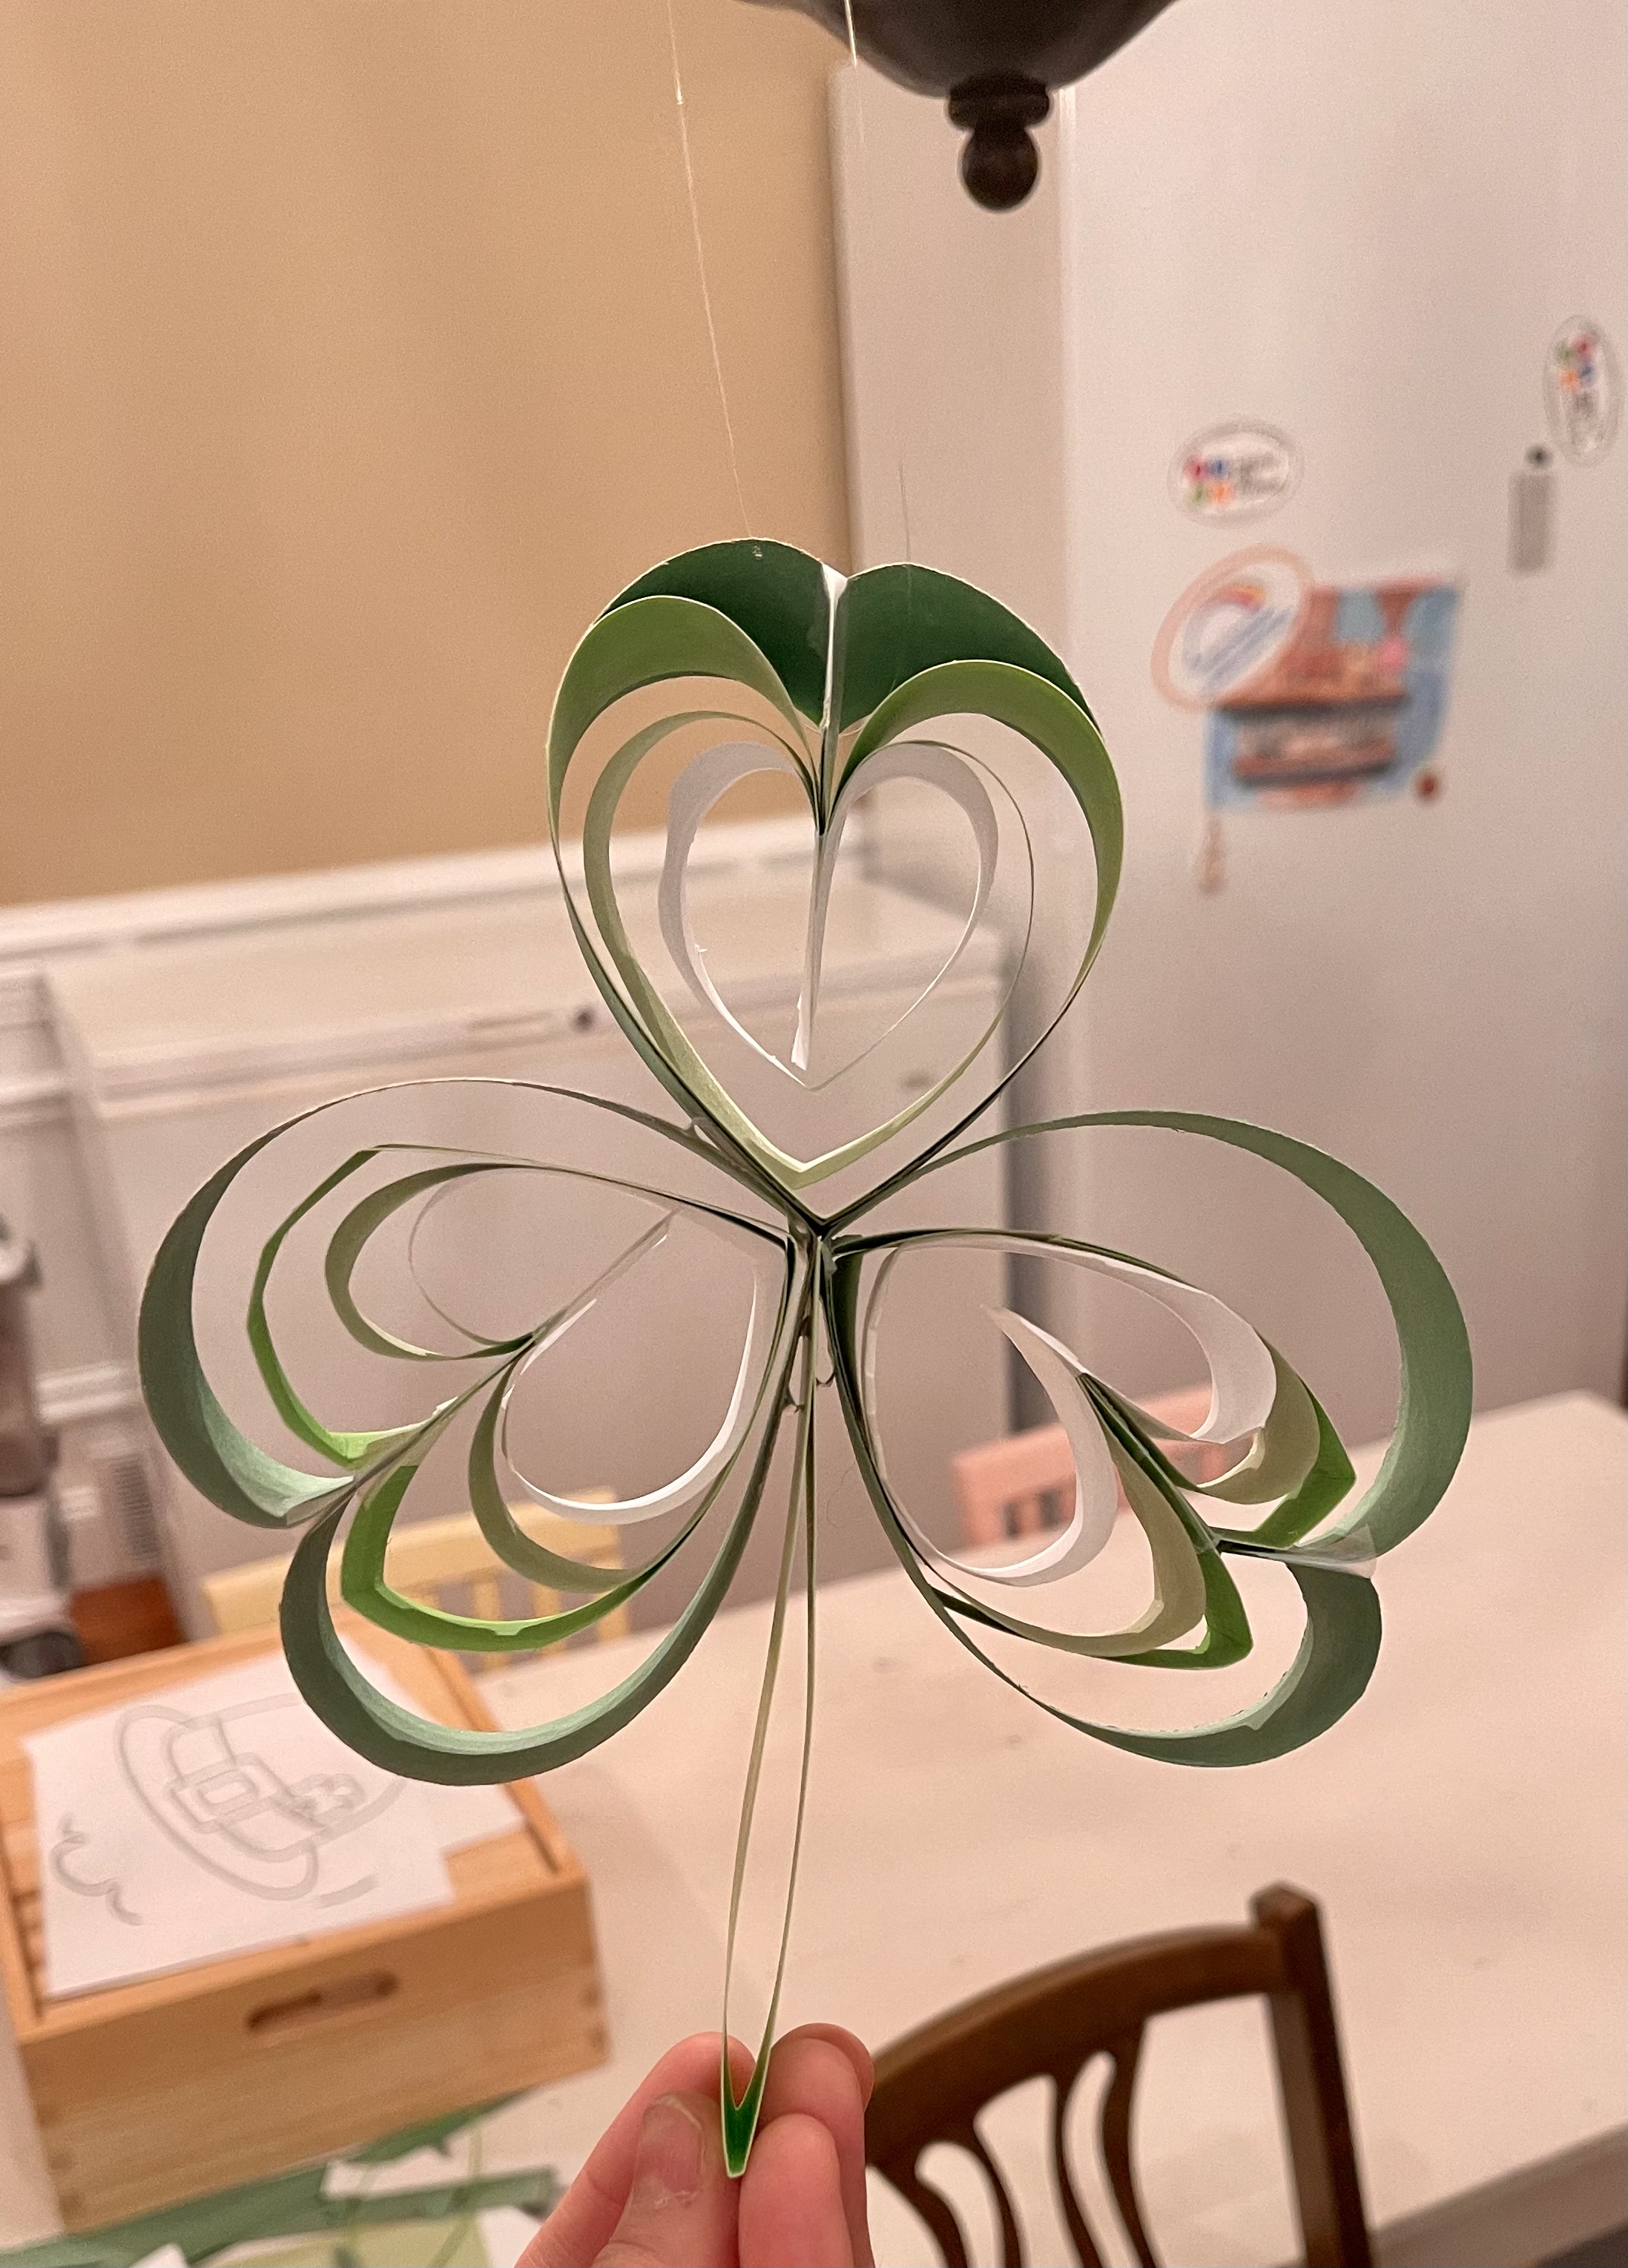
This craft is a hanging Shamrock that is made out of strips of paper. I liked this one in particular because the supply list is small and all basic items that would most likely already be at your house.
Supplies:
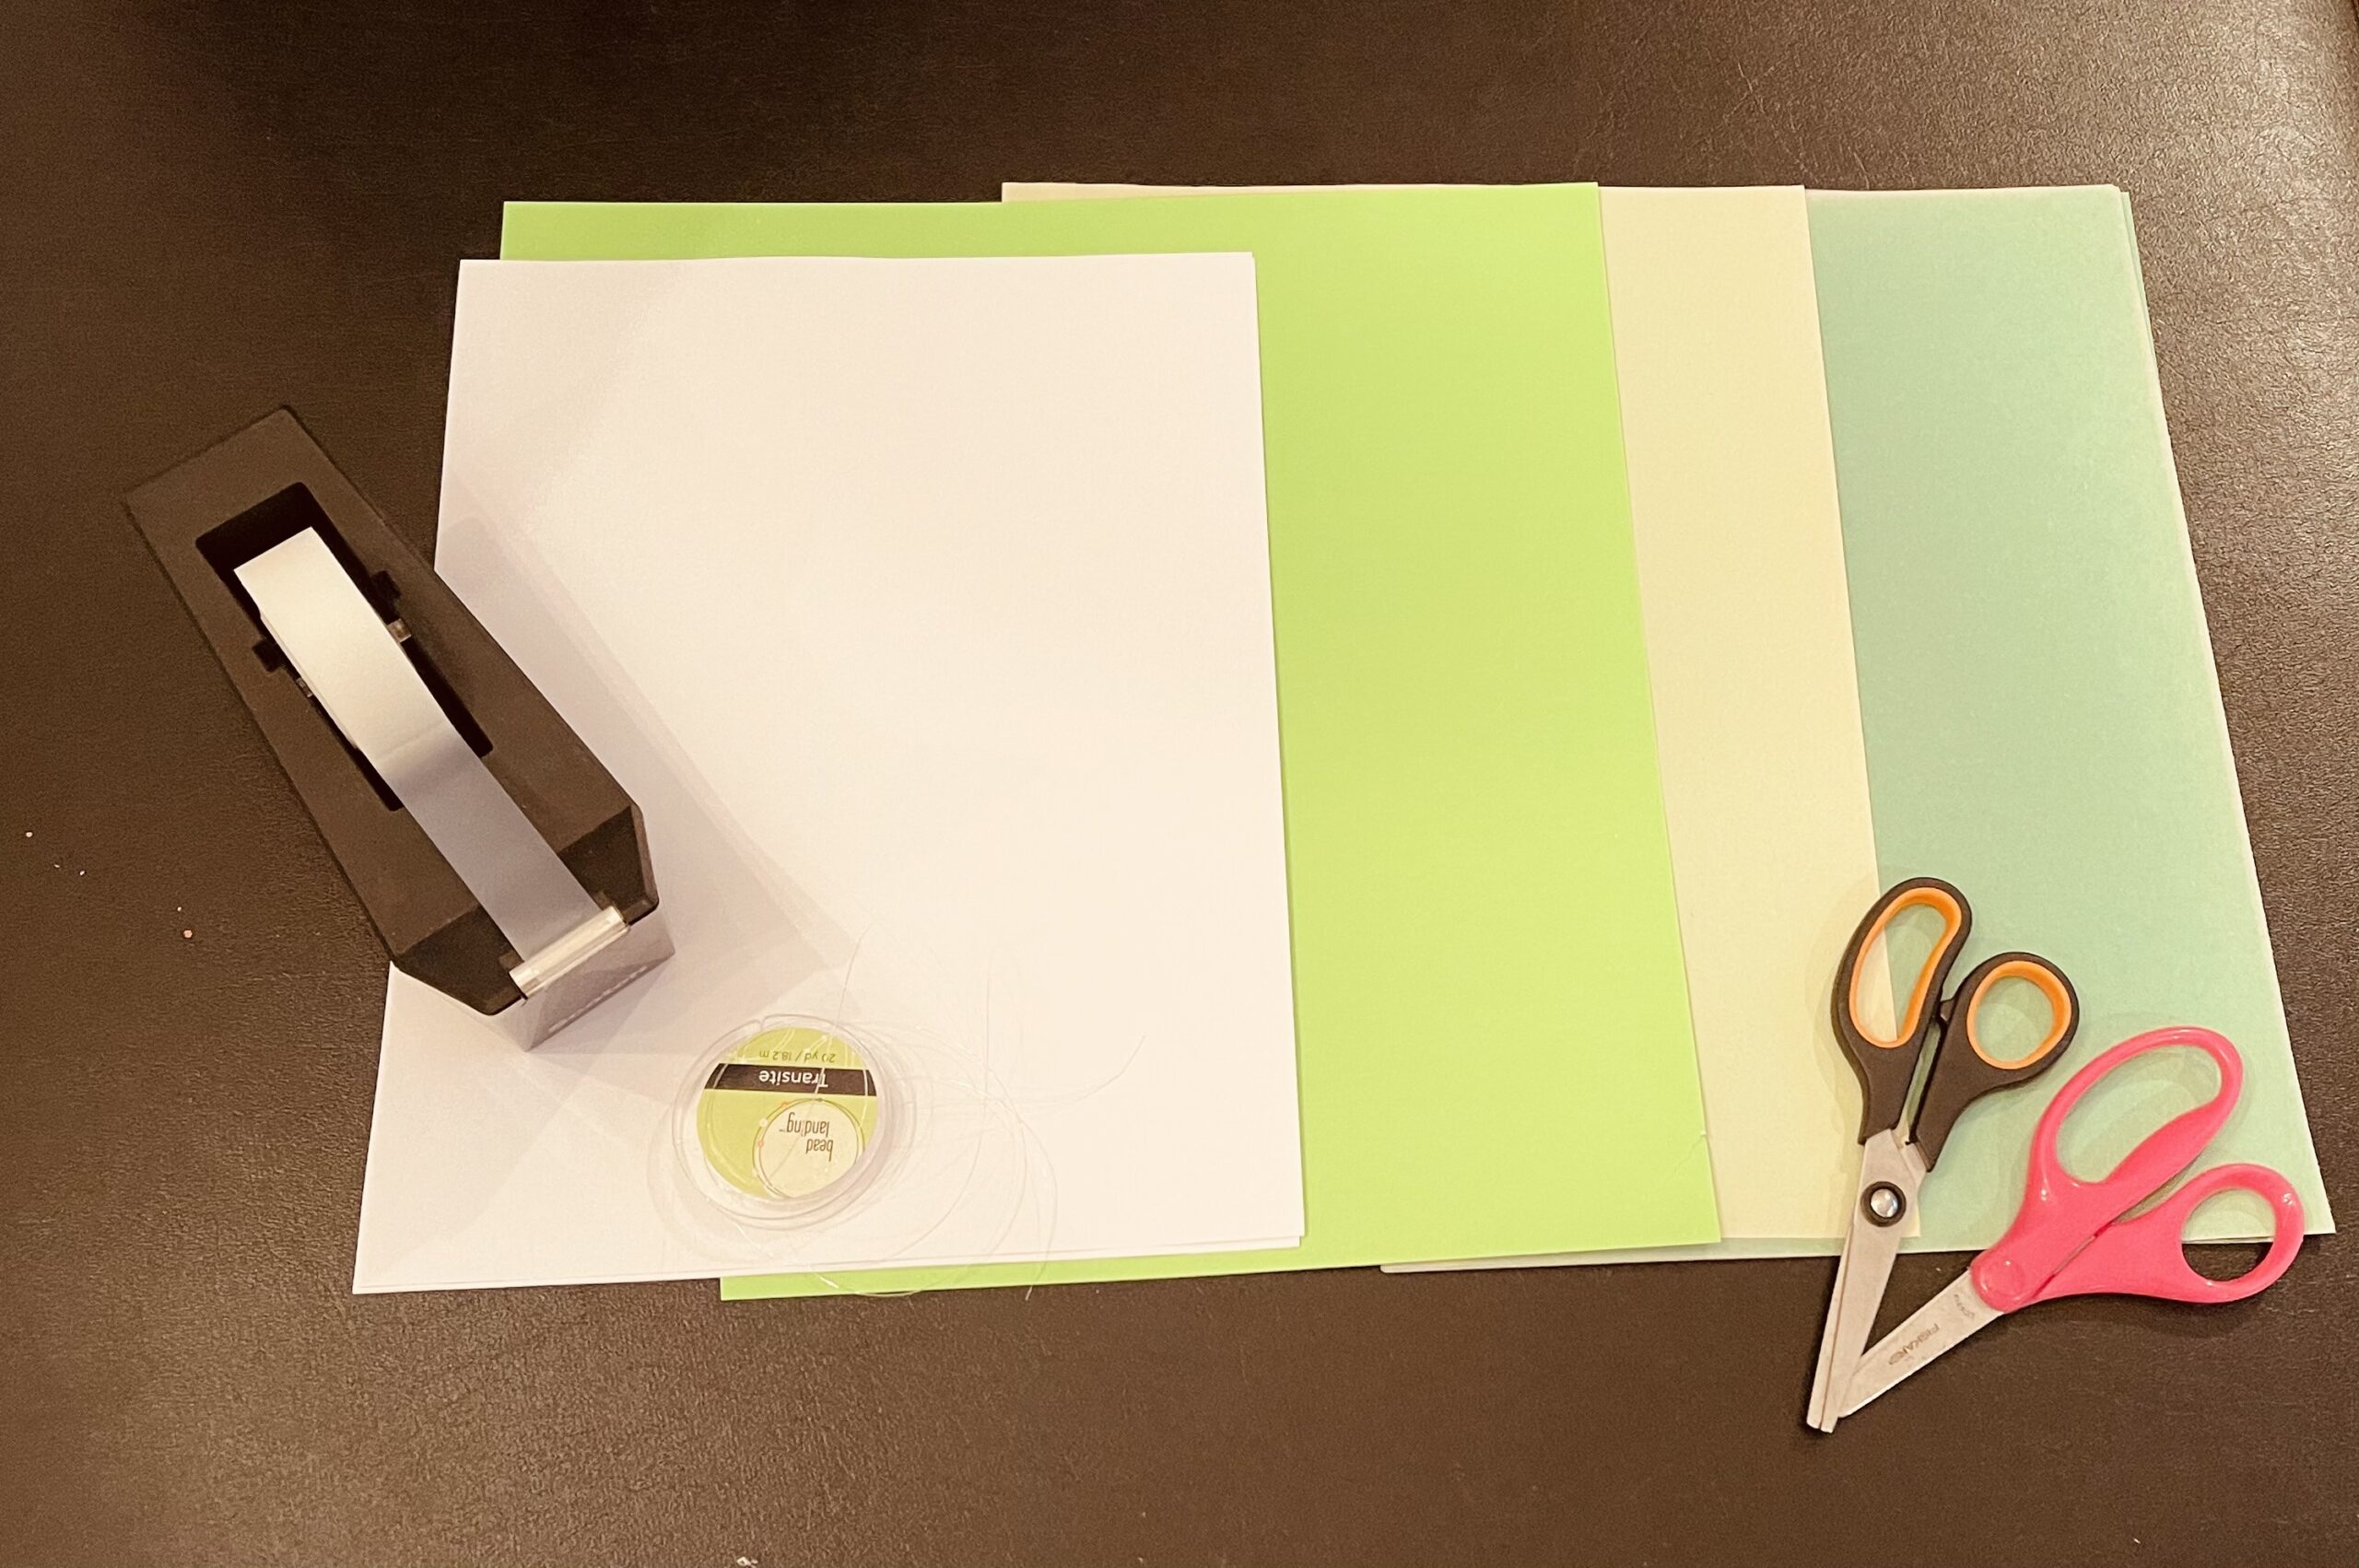
- Scissors
- Tape
- String or Yarn
- 2 or 3 shades of green construction paper
- white paper
Steps:
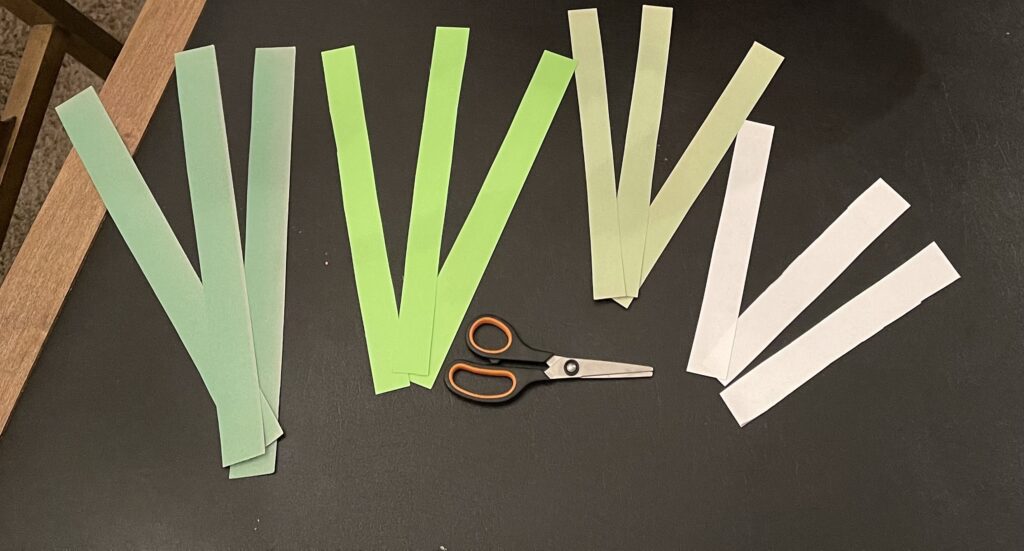
- The first step is to cut 3 strips of paper in each color that you have chosen. The strips of the same color you will want to be the same length as each other. The tricky part is that for each color you will want that set of strips to be a little shorter than the previous. The best way to do this is to pick which color you want to be the outside layer and make that the length you would like. Then pick out the next color and make that a little shorter than the previous color. You will do this until you get the color you are using inside. * Side night we went with 4 total colors when the original person used 3. Choose what color you want for your steam and cut out another strip of paper to the length that you would like.
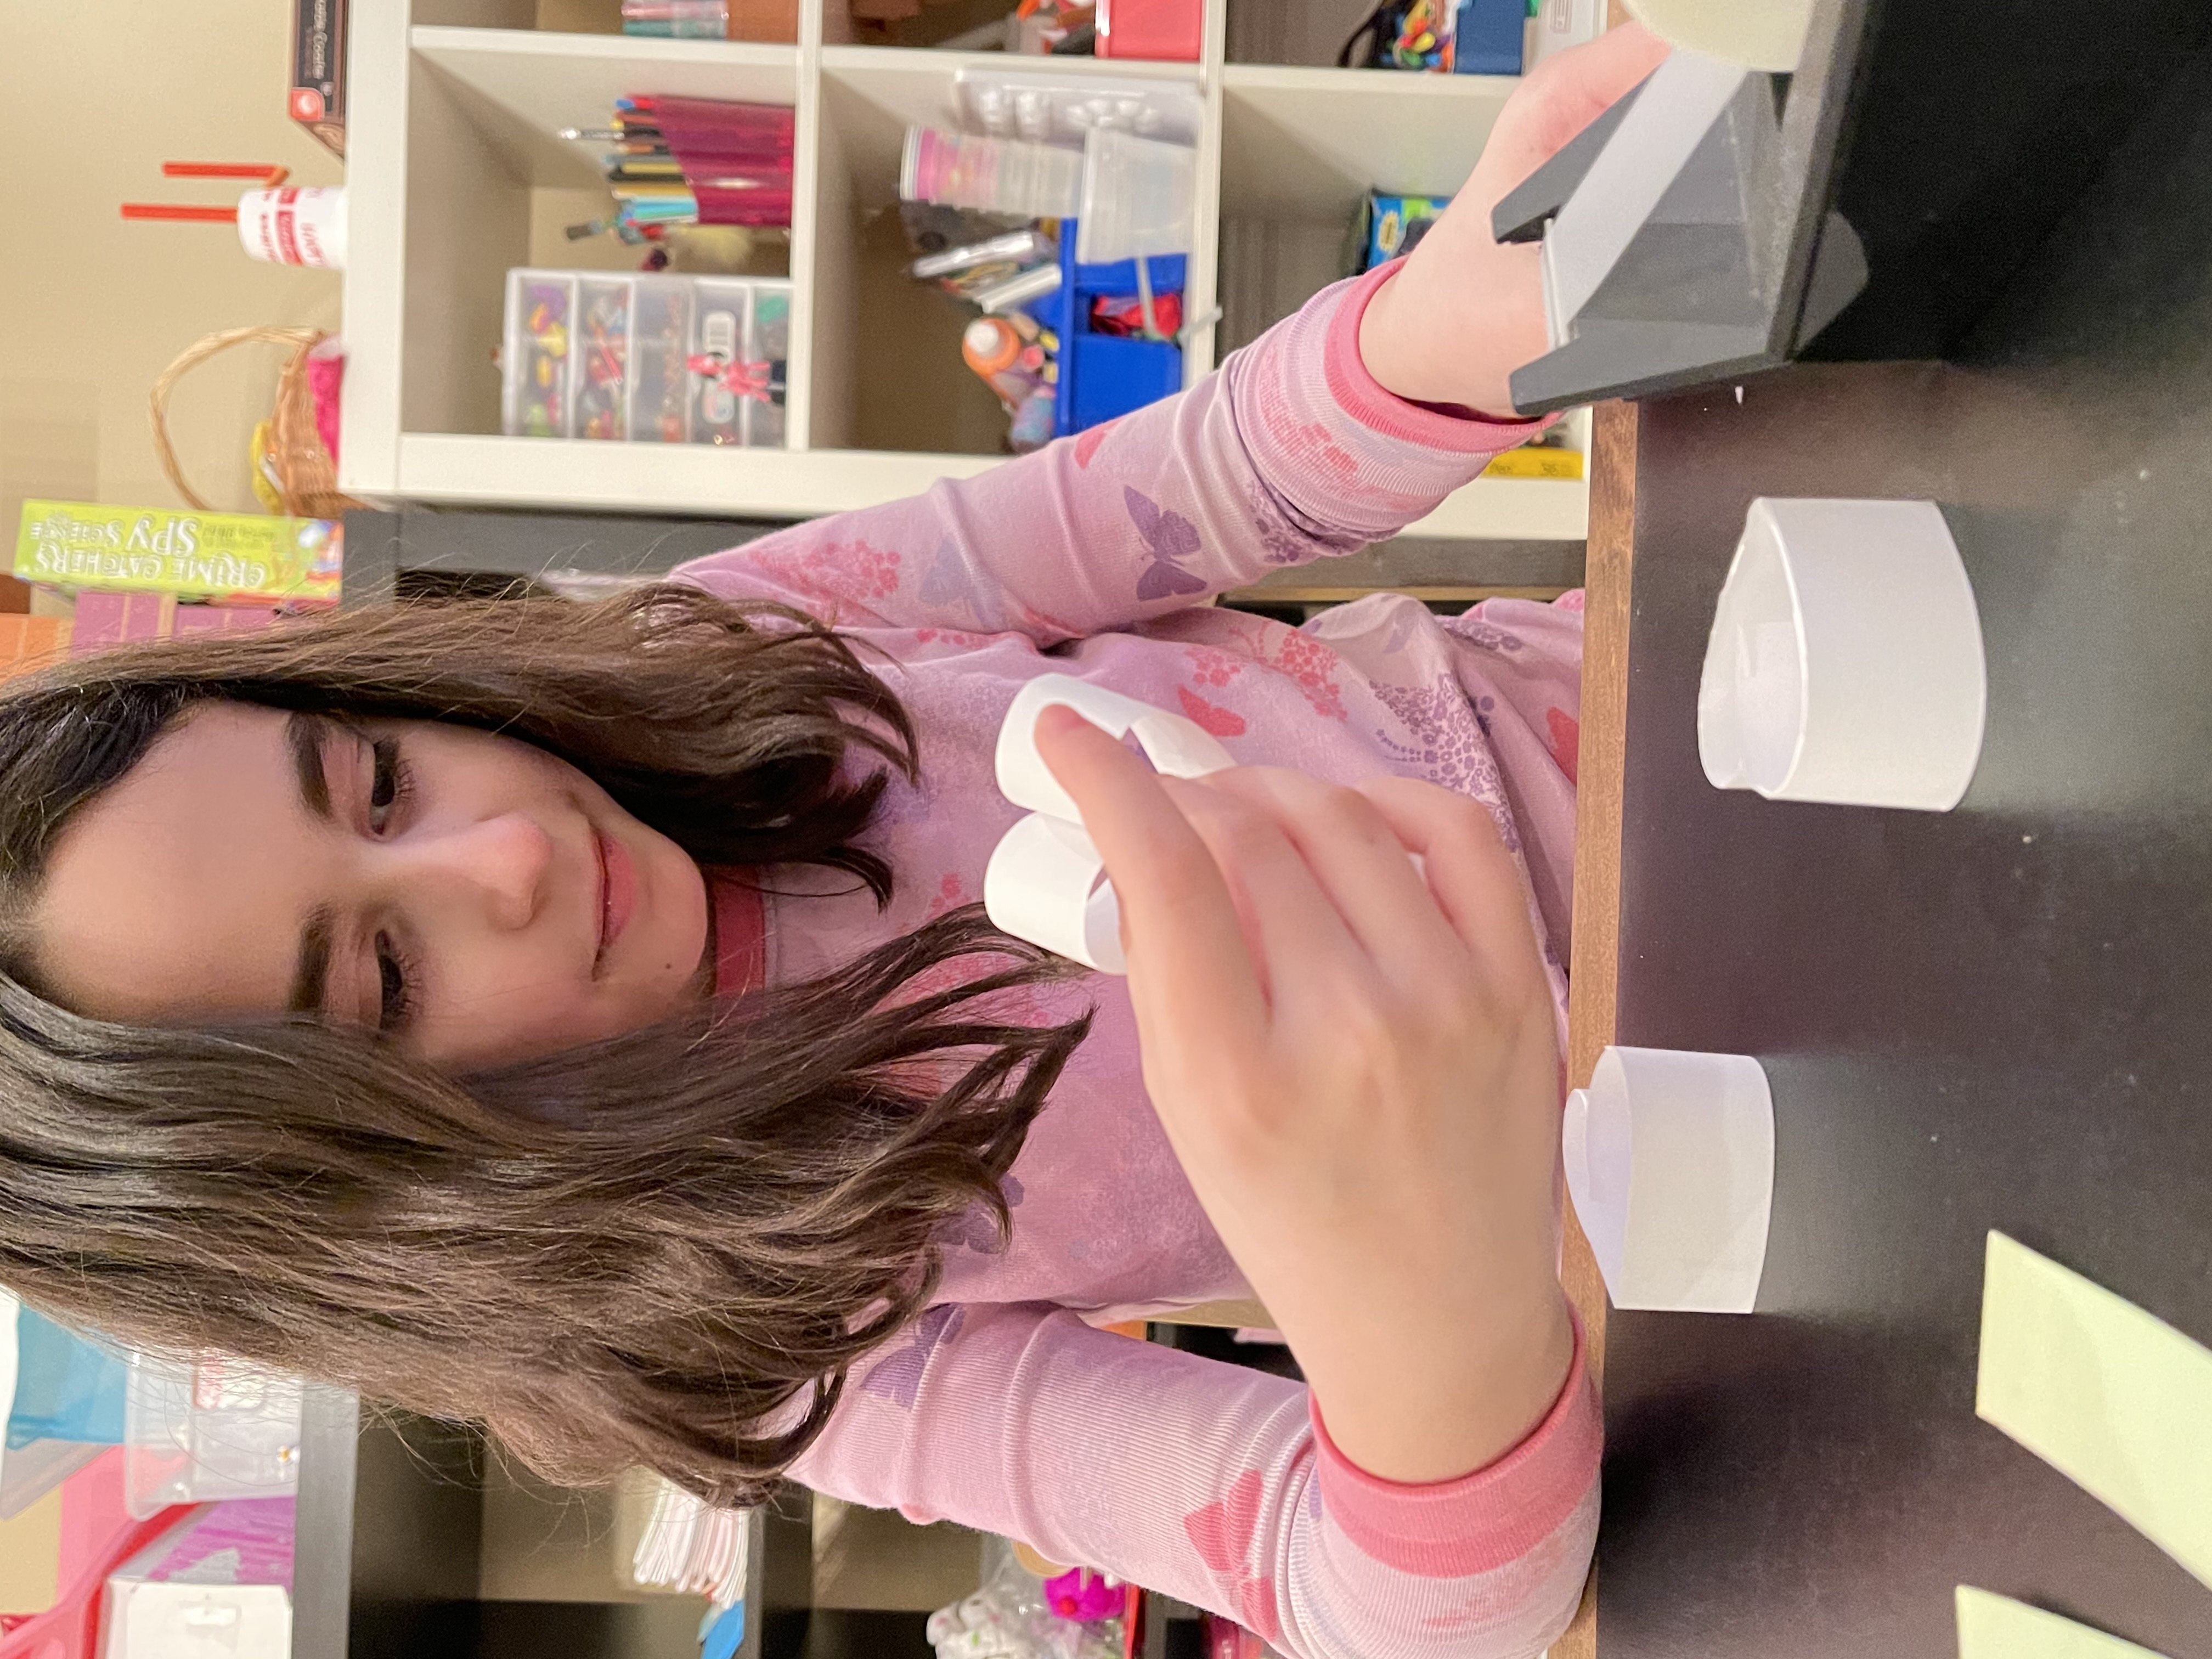
- You are going to work from the smallest heart to the biggest, the heart shape makes the petals of the Shamrock. We chose white for the smallest heart. How we made the heart was by first folding the strip in half and creasing it to make the point. Then, you will both ends into the middle to lay on top of each other and make the heart shape. Take a piece of tape and wrap around the joint ends towards the top to keep the shape ( if you go to low it will not hold the heart shape)
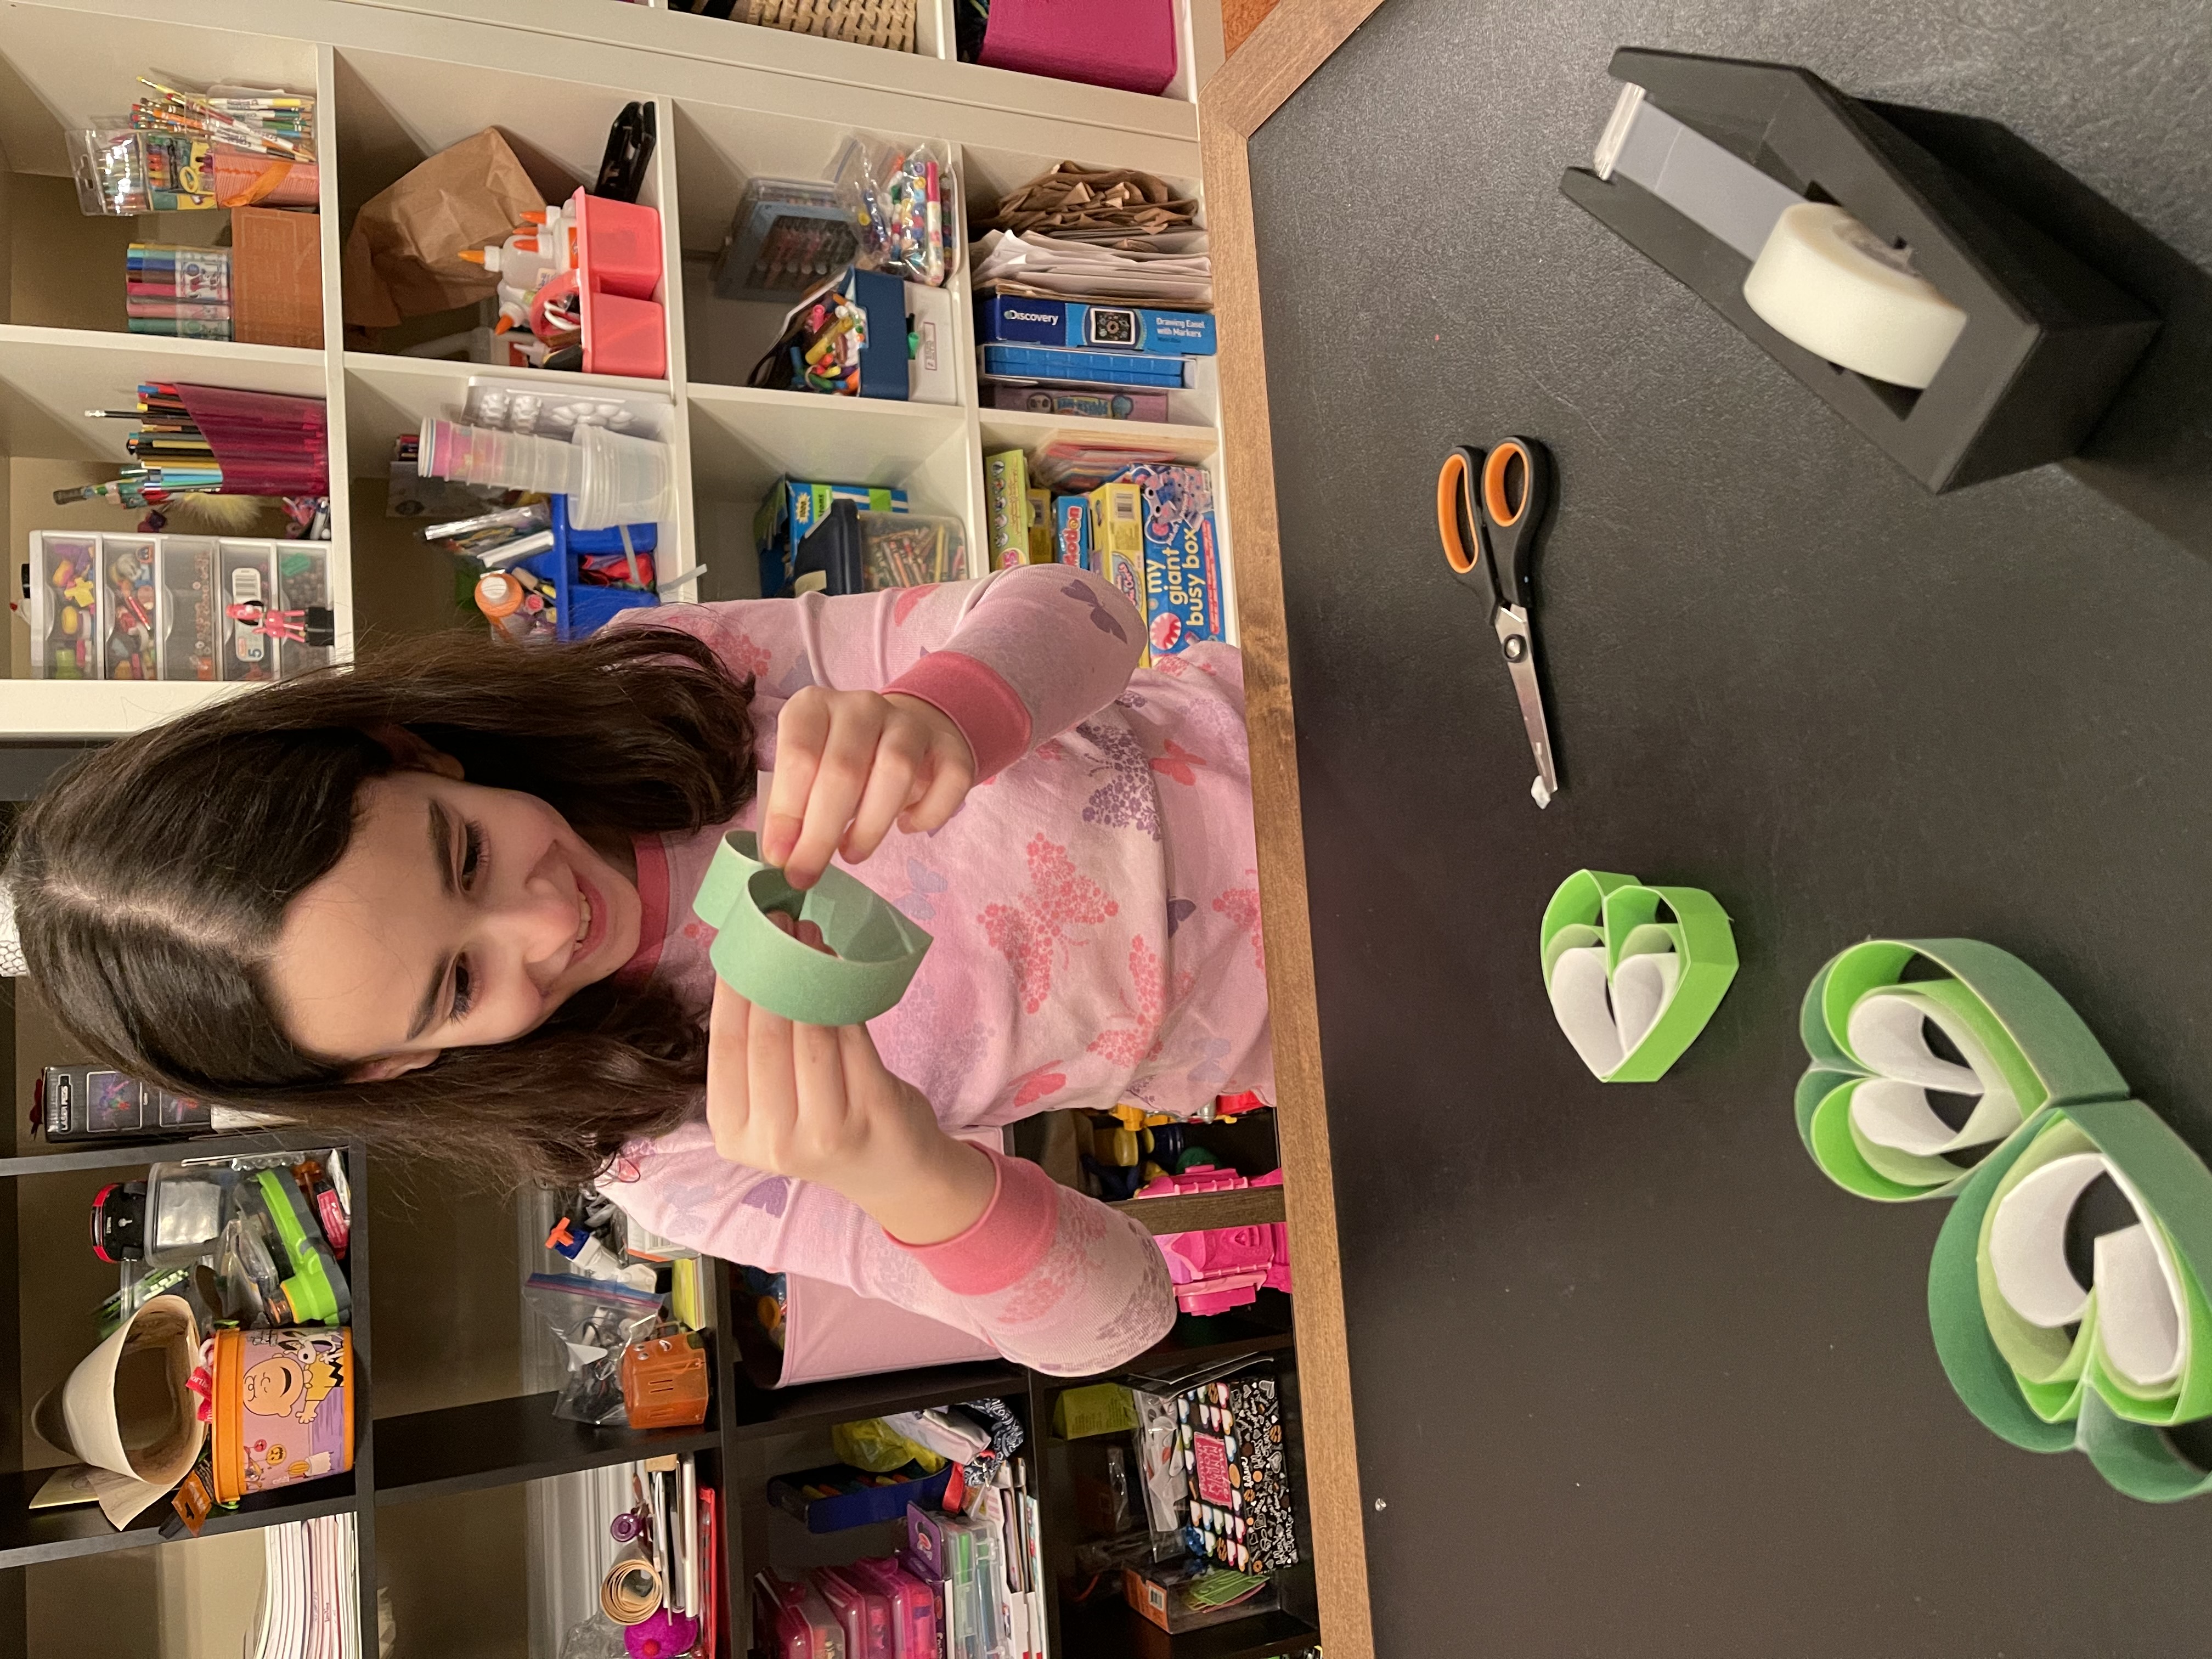
- You will grab you next shape and do the above same steps. Once you have the heart shape taped, take the smaller one and place it inside this heart. We were able to stuff the inside point of the newest heart into the top crevice of the smaller heart
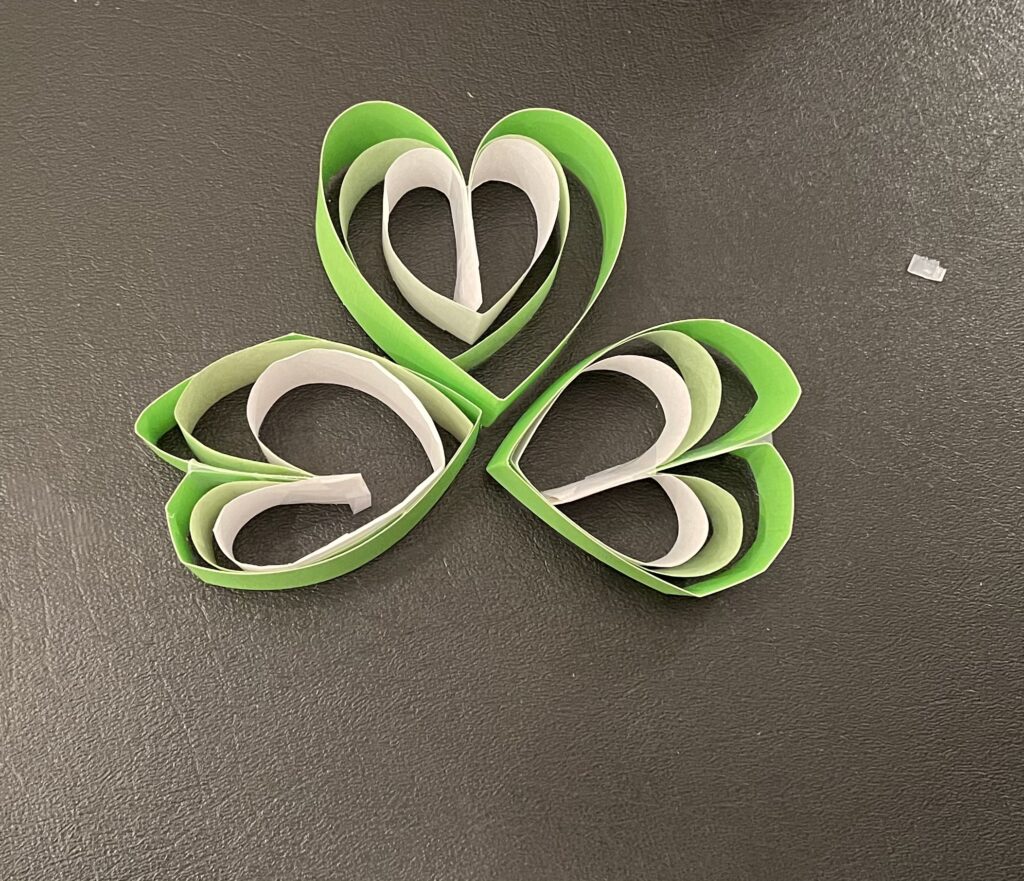
- You will continue steps 2 and 3 for all the layers of the petals
- When the 3 different petals are all done with their layers you will choose which one will be your top petal and roll a piece of tape and place on each side off the petal towards the point. This will allow you to stick the 3 petals together.
- Now you will take your strip of paper for that you cut to use for the stem. We made our strip longer and folded it in half to make it stronger. Take a piece of tape and roll up each side of the strip and tape into the bottom of your Shamrock.
- Last part of this craft is to attach to the string to the top of the Shamrock wherever you would like. Once you have tied the ends of the string together you are ready to hang your Shamrock wherever you would like to decorate!
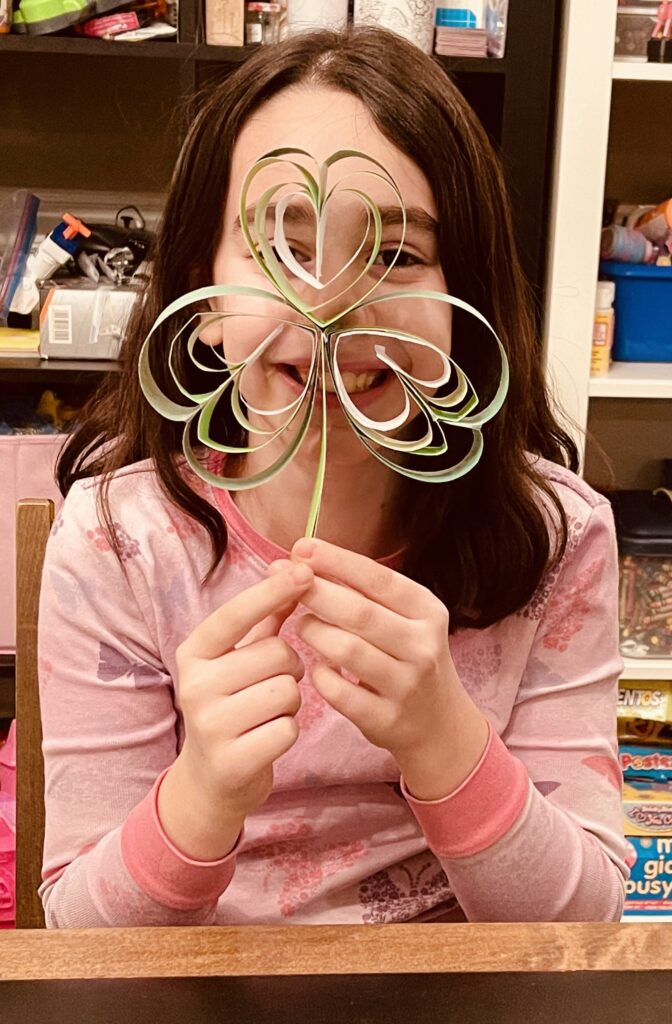
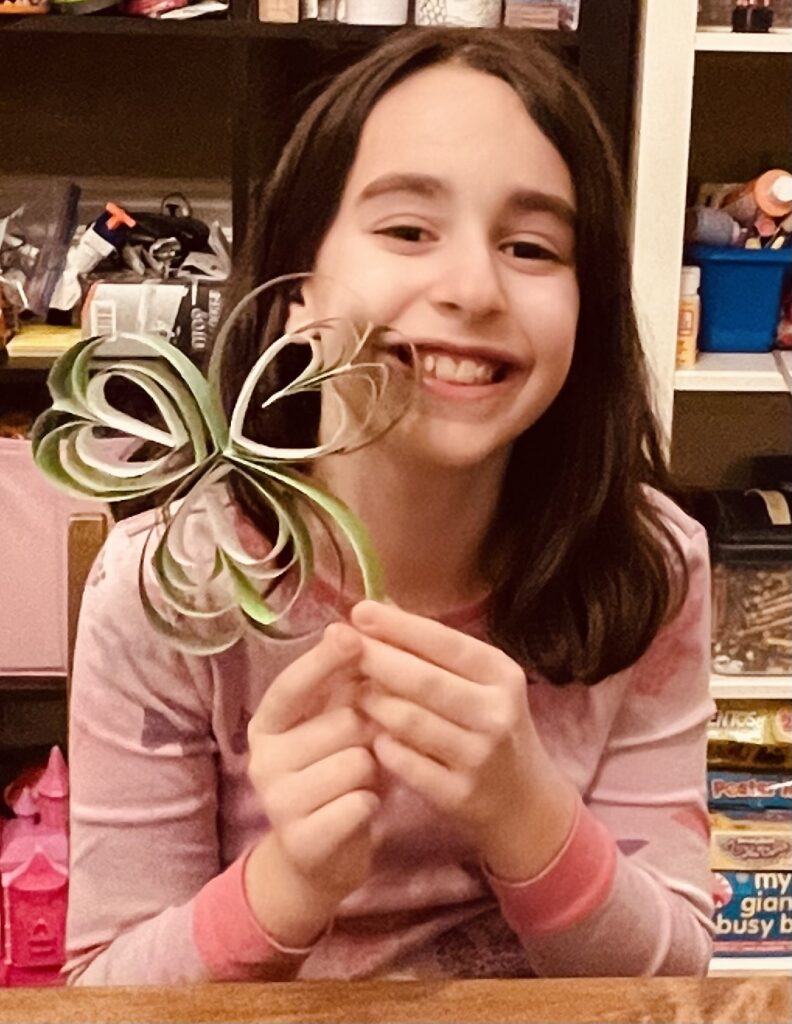
I hope that you enjoyed this craft. If you do this craft please feel free to leave a comment with how it went. I hope that this allows you to be able to sit down and have fun with your kids all while getting into the St. Patrick’s Day mood!

