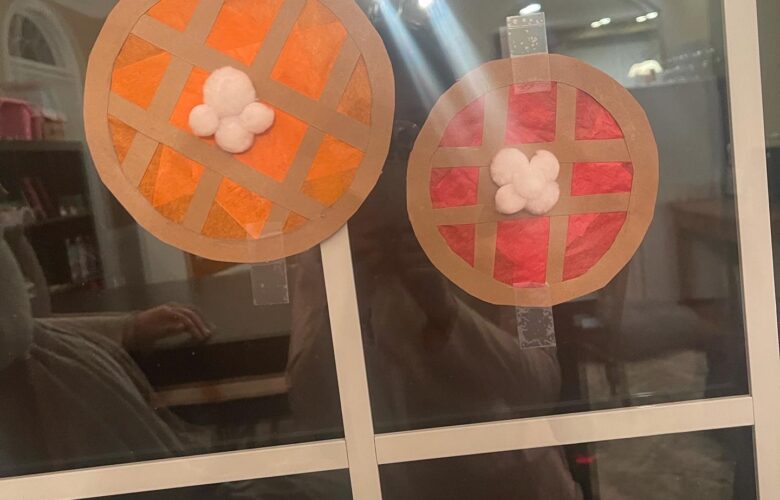
I know that this seems more like a Thanksgiving craft and truthfully, that is what it was supposed to be. But, as I slacked majorly this past week, I still wanted to post this craft because it is a cute idea. I mean we can bake pies whenever we want and we can craft them whenever we want to as well.
I will have a bunch of pictures along with the step by step instructions. Rebecca who is the youngest that I nanny for, was an awesome helper. She is the one in the family that is always willing and eager to do a craft!
So lets get to it and craft some pies!
What you need:
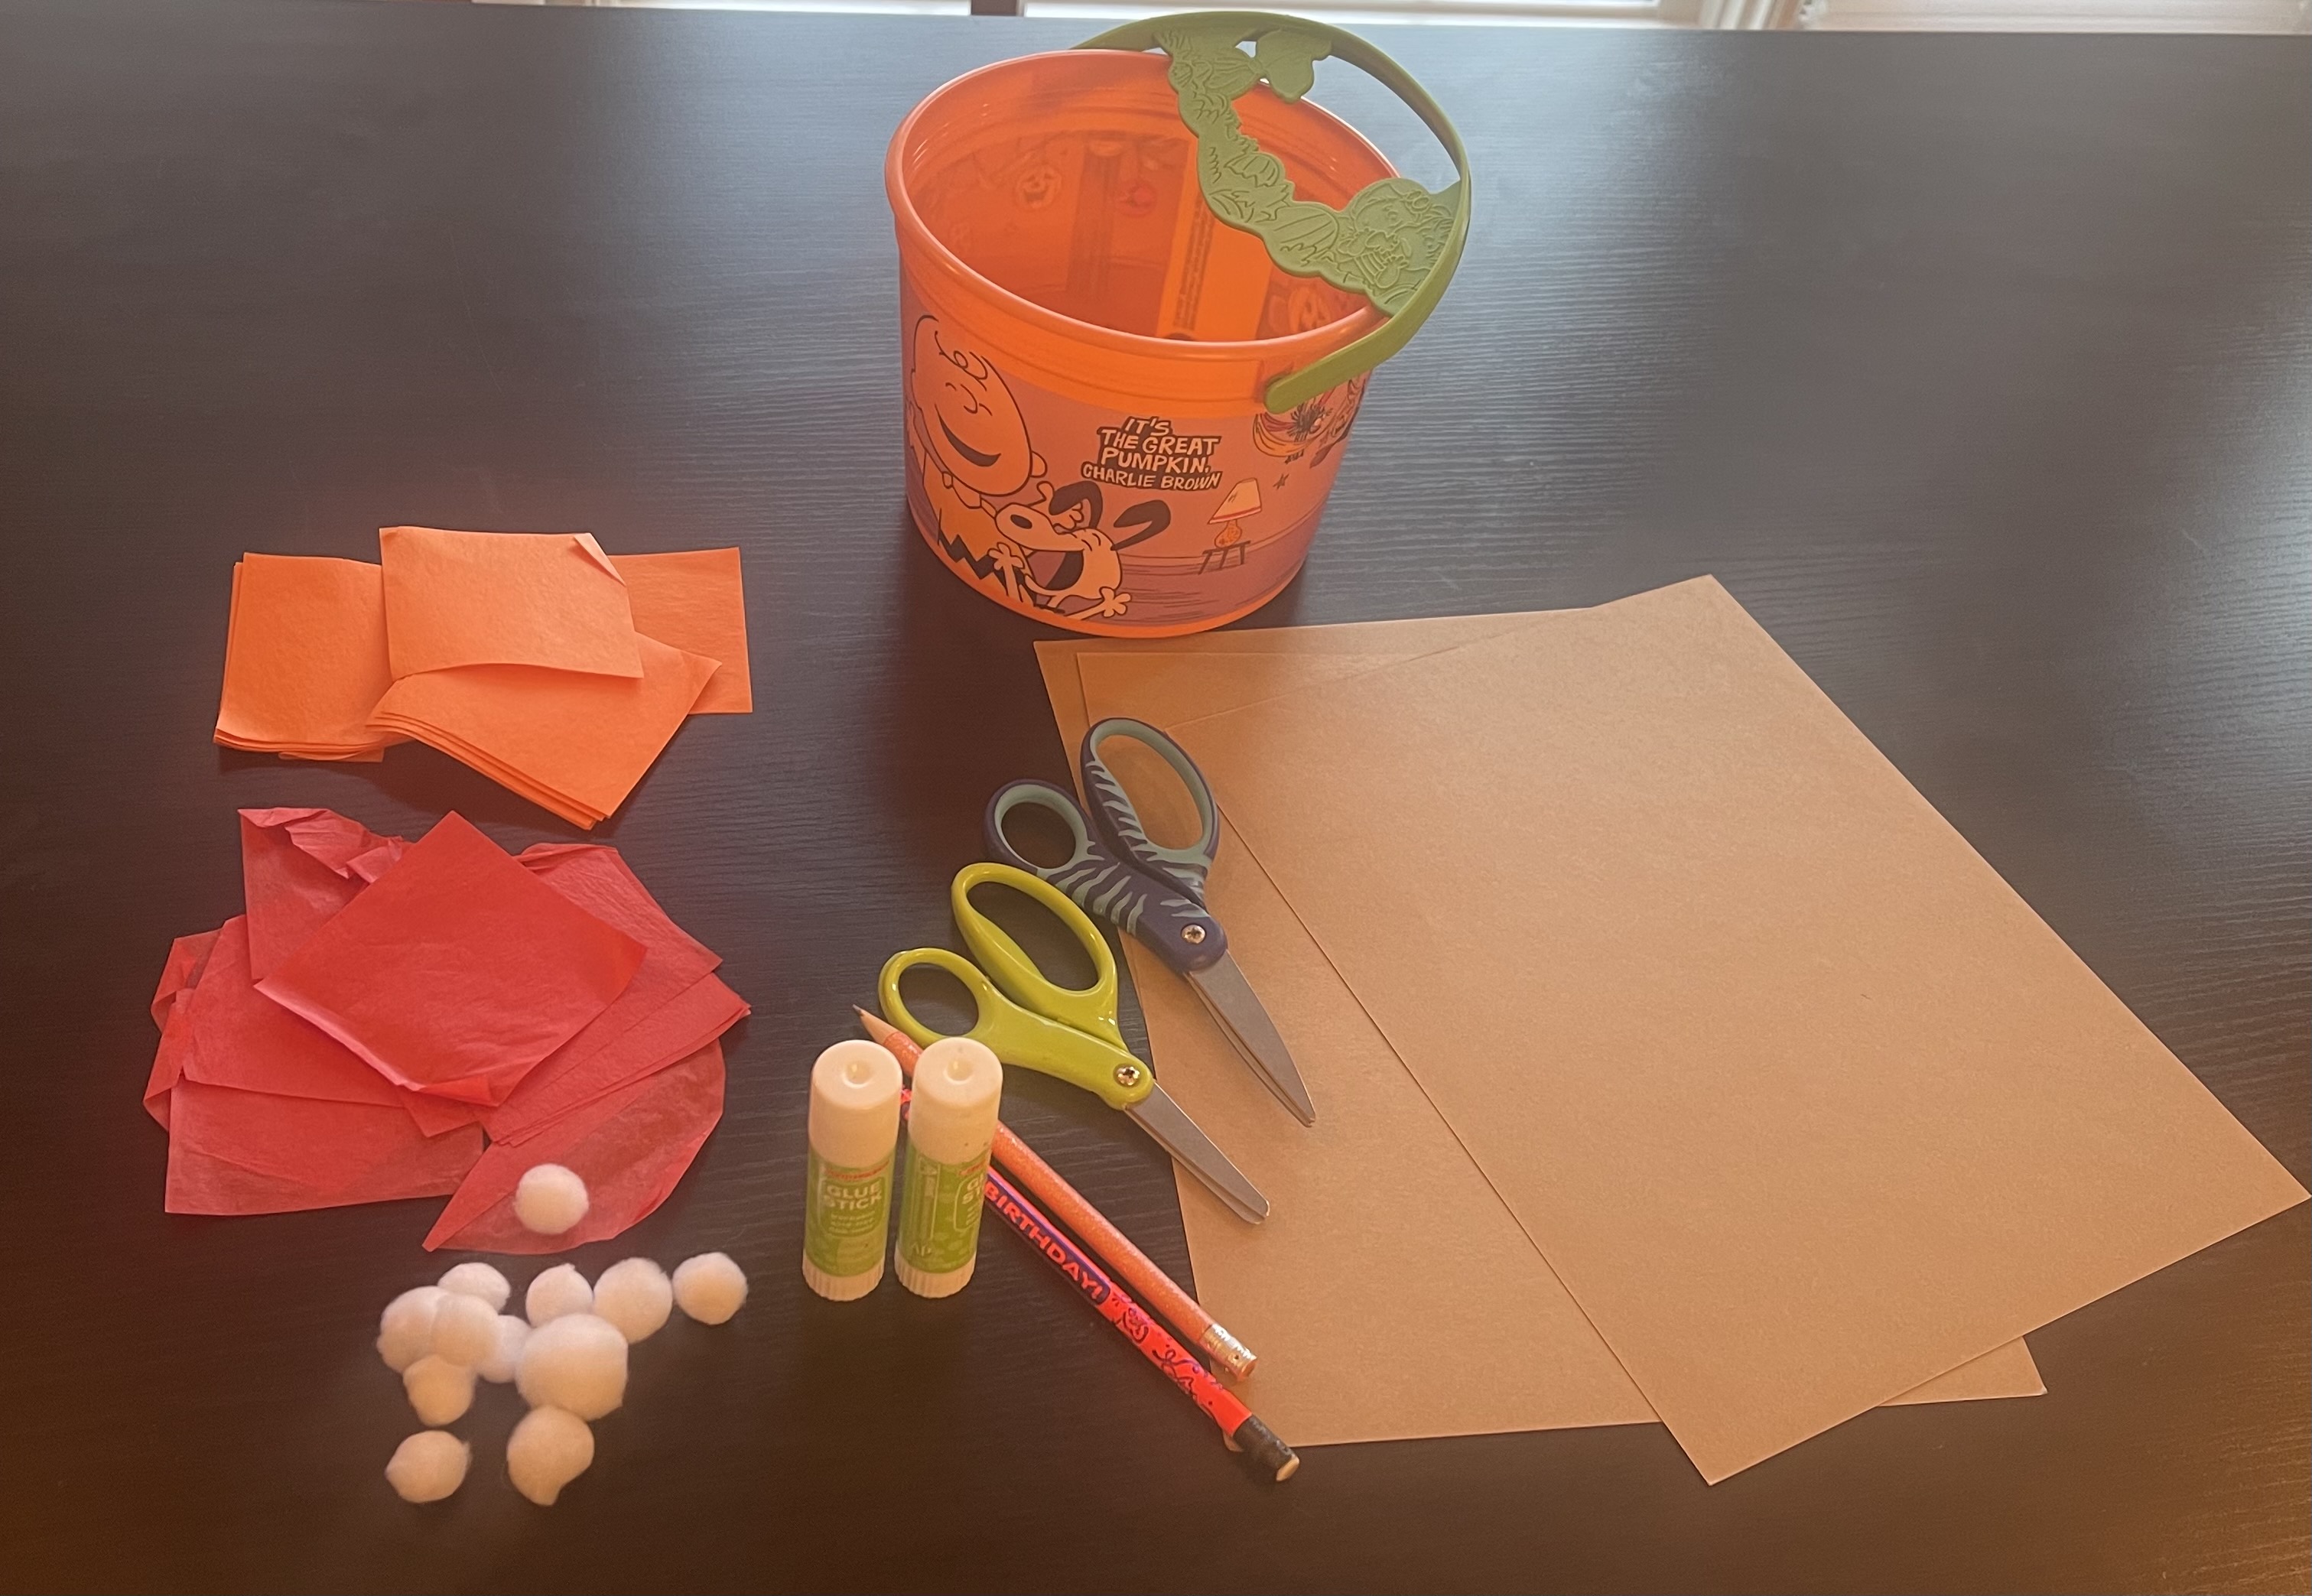
- Brown Construction Paper
- Glue Sticks
- Scissors
- Puff Balls or Cotton Balls
- Red Tissue Paper
- Orange Tissue Paper
- Something round to trace the circle ( optional )
- Pencils to draw the circles
Step 1:
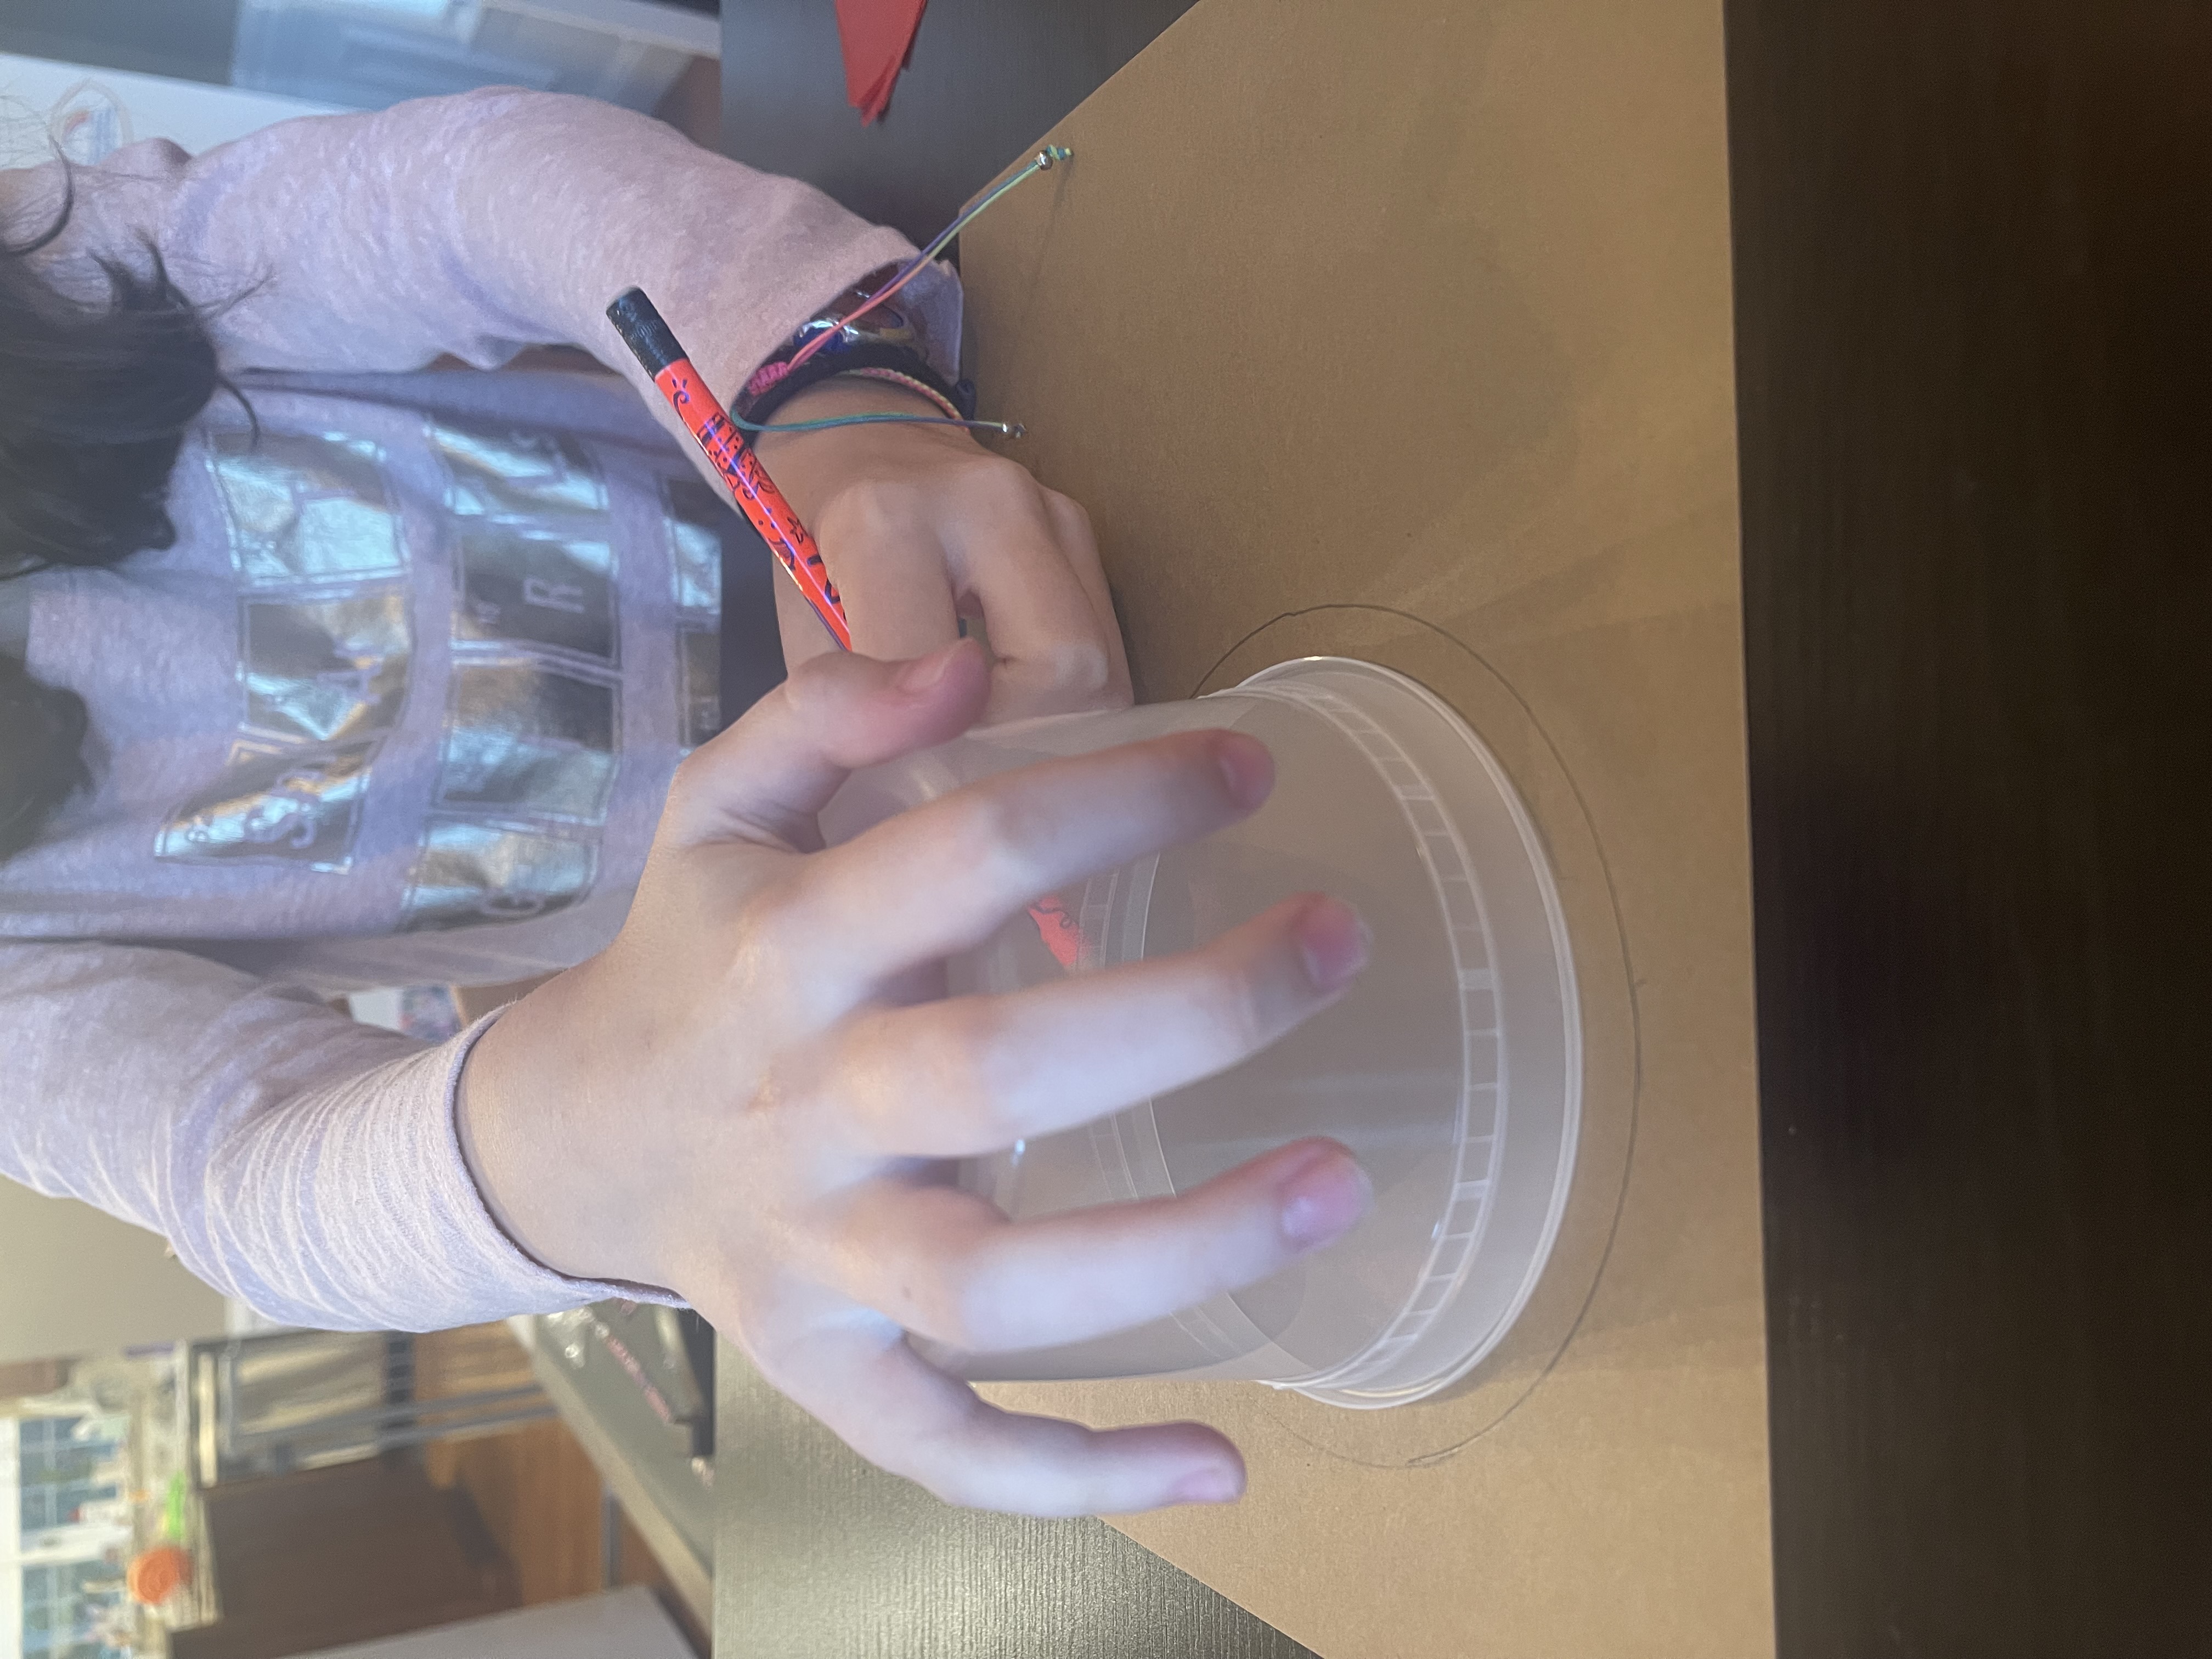
Take your brown construction and trace a circle using the object you chose to help you. You can free hand the circle as well. We were not that skilled!
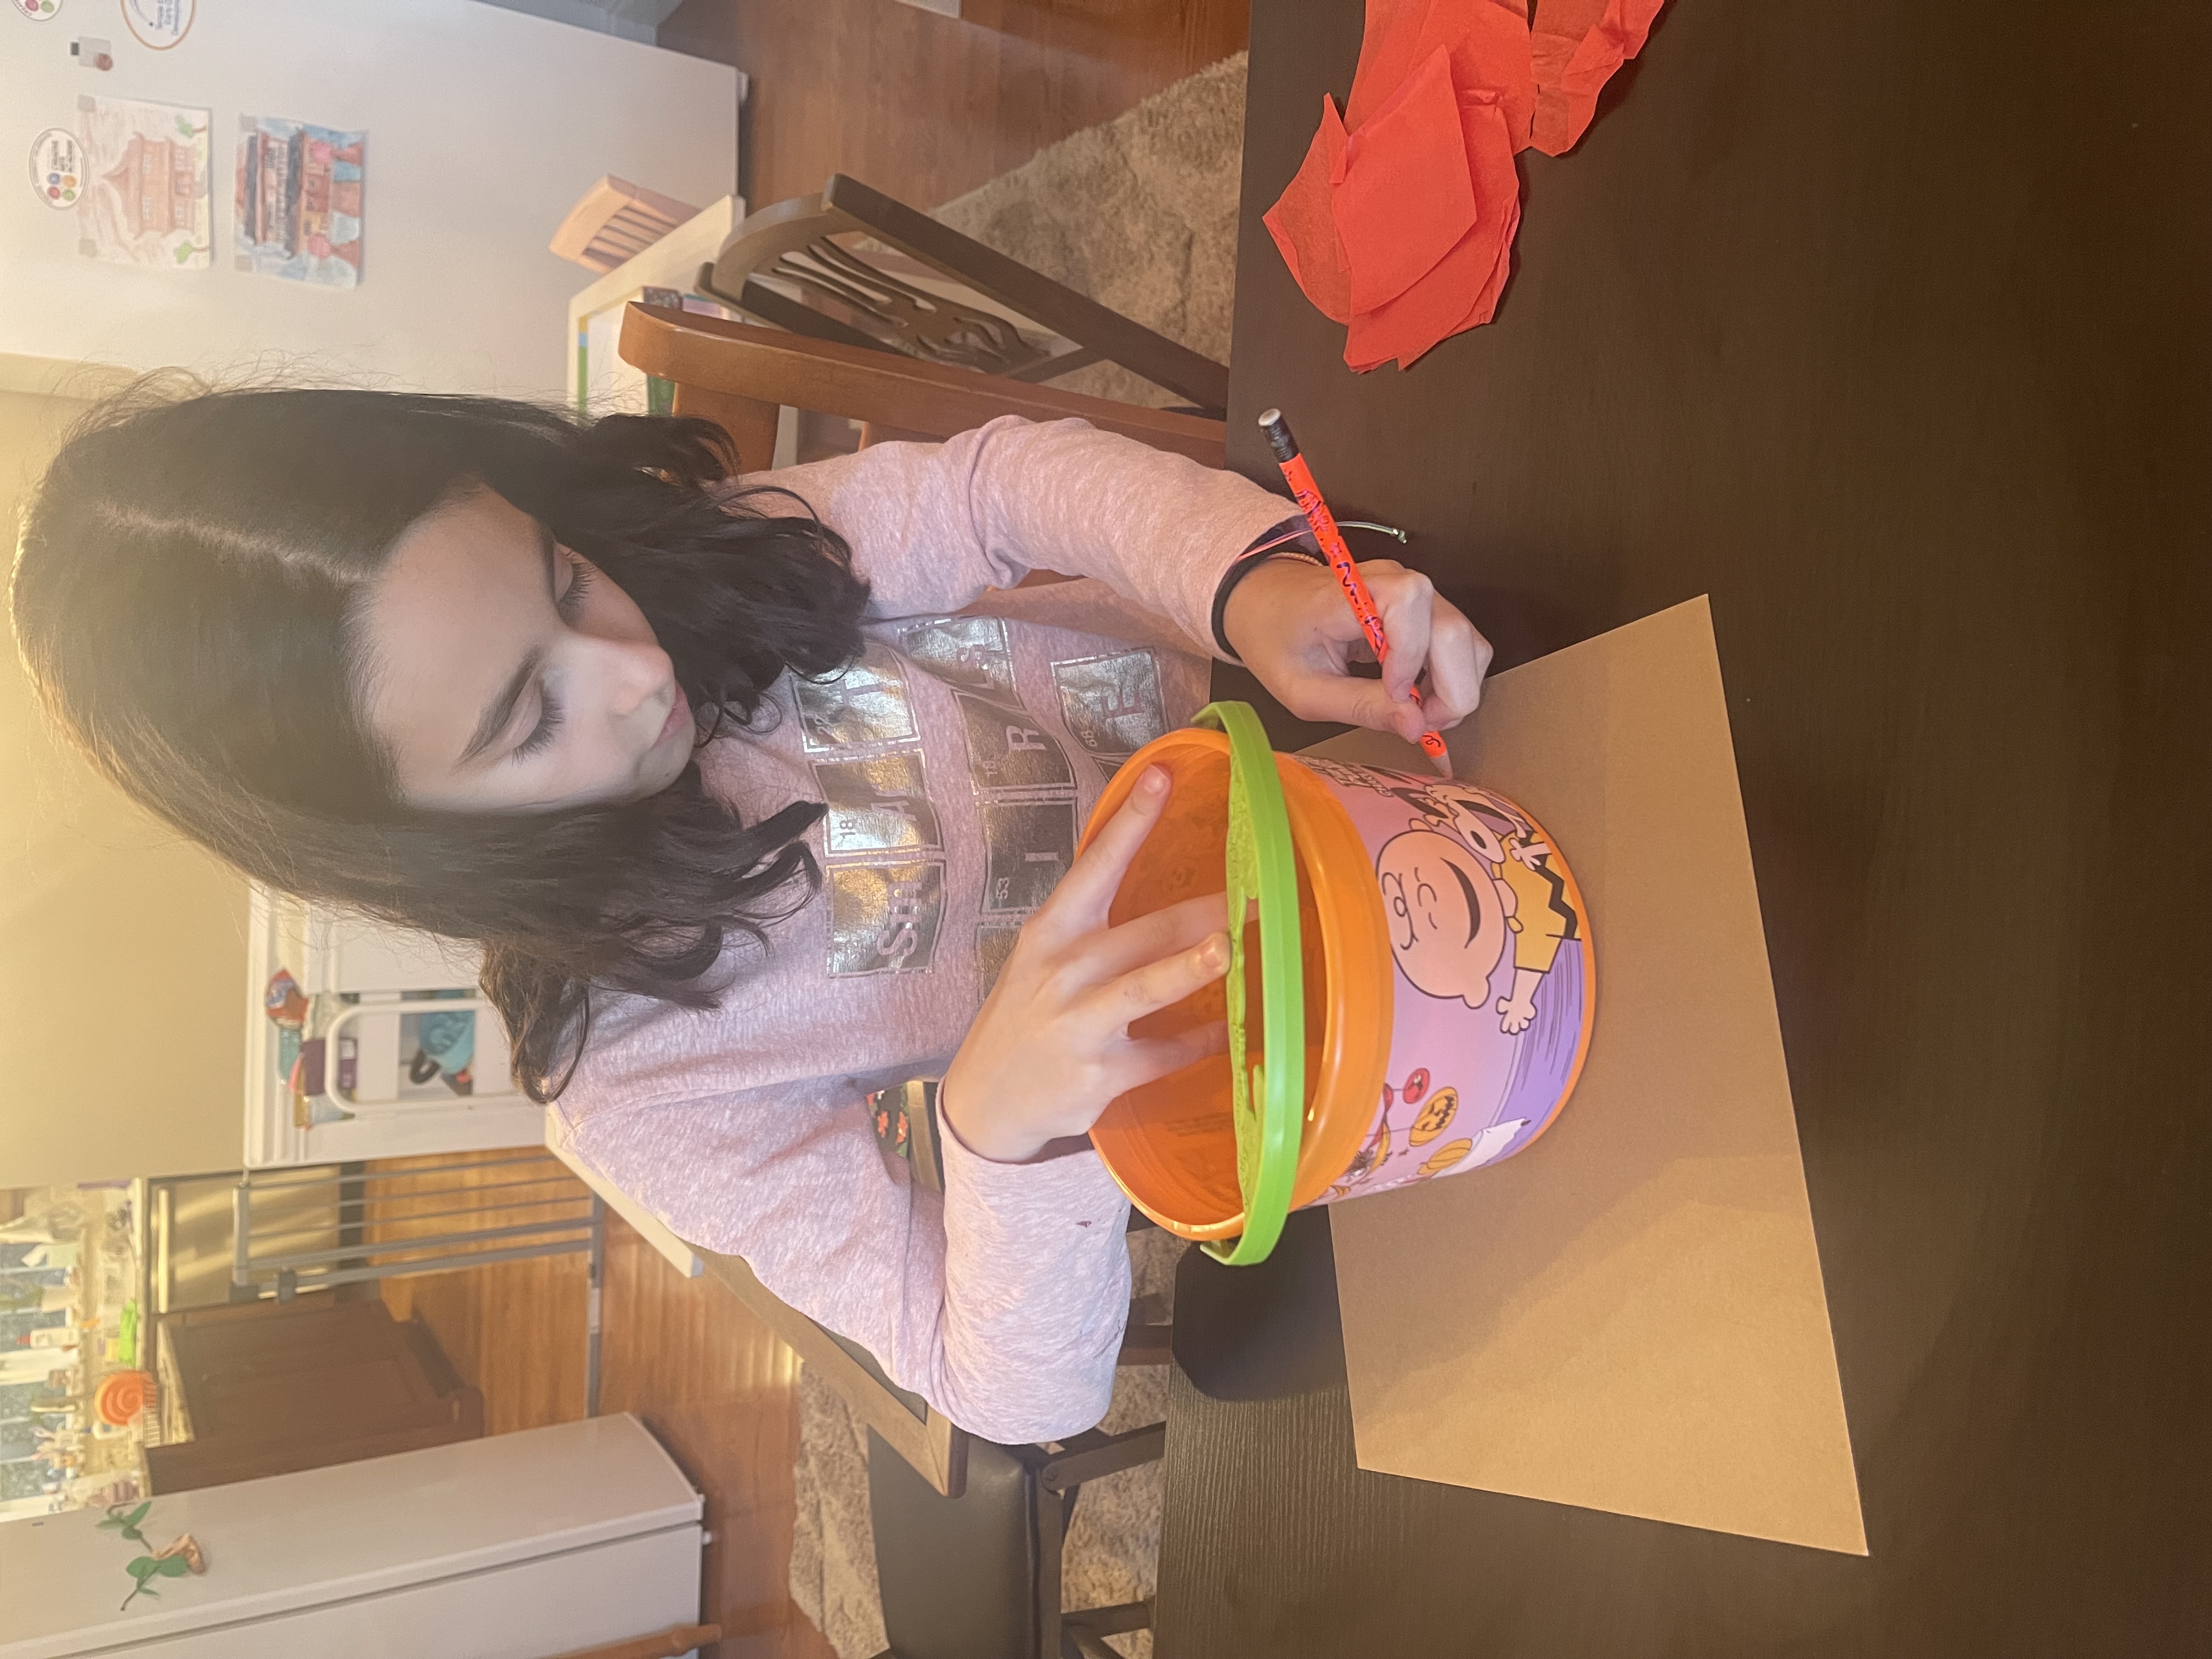
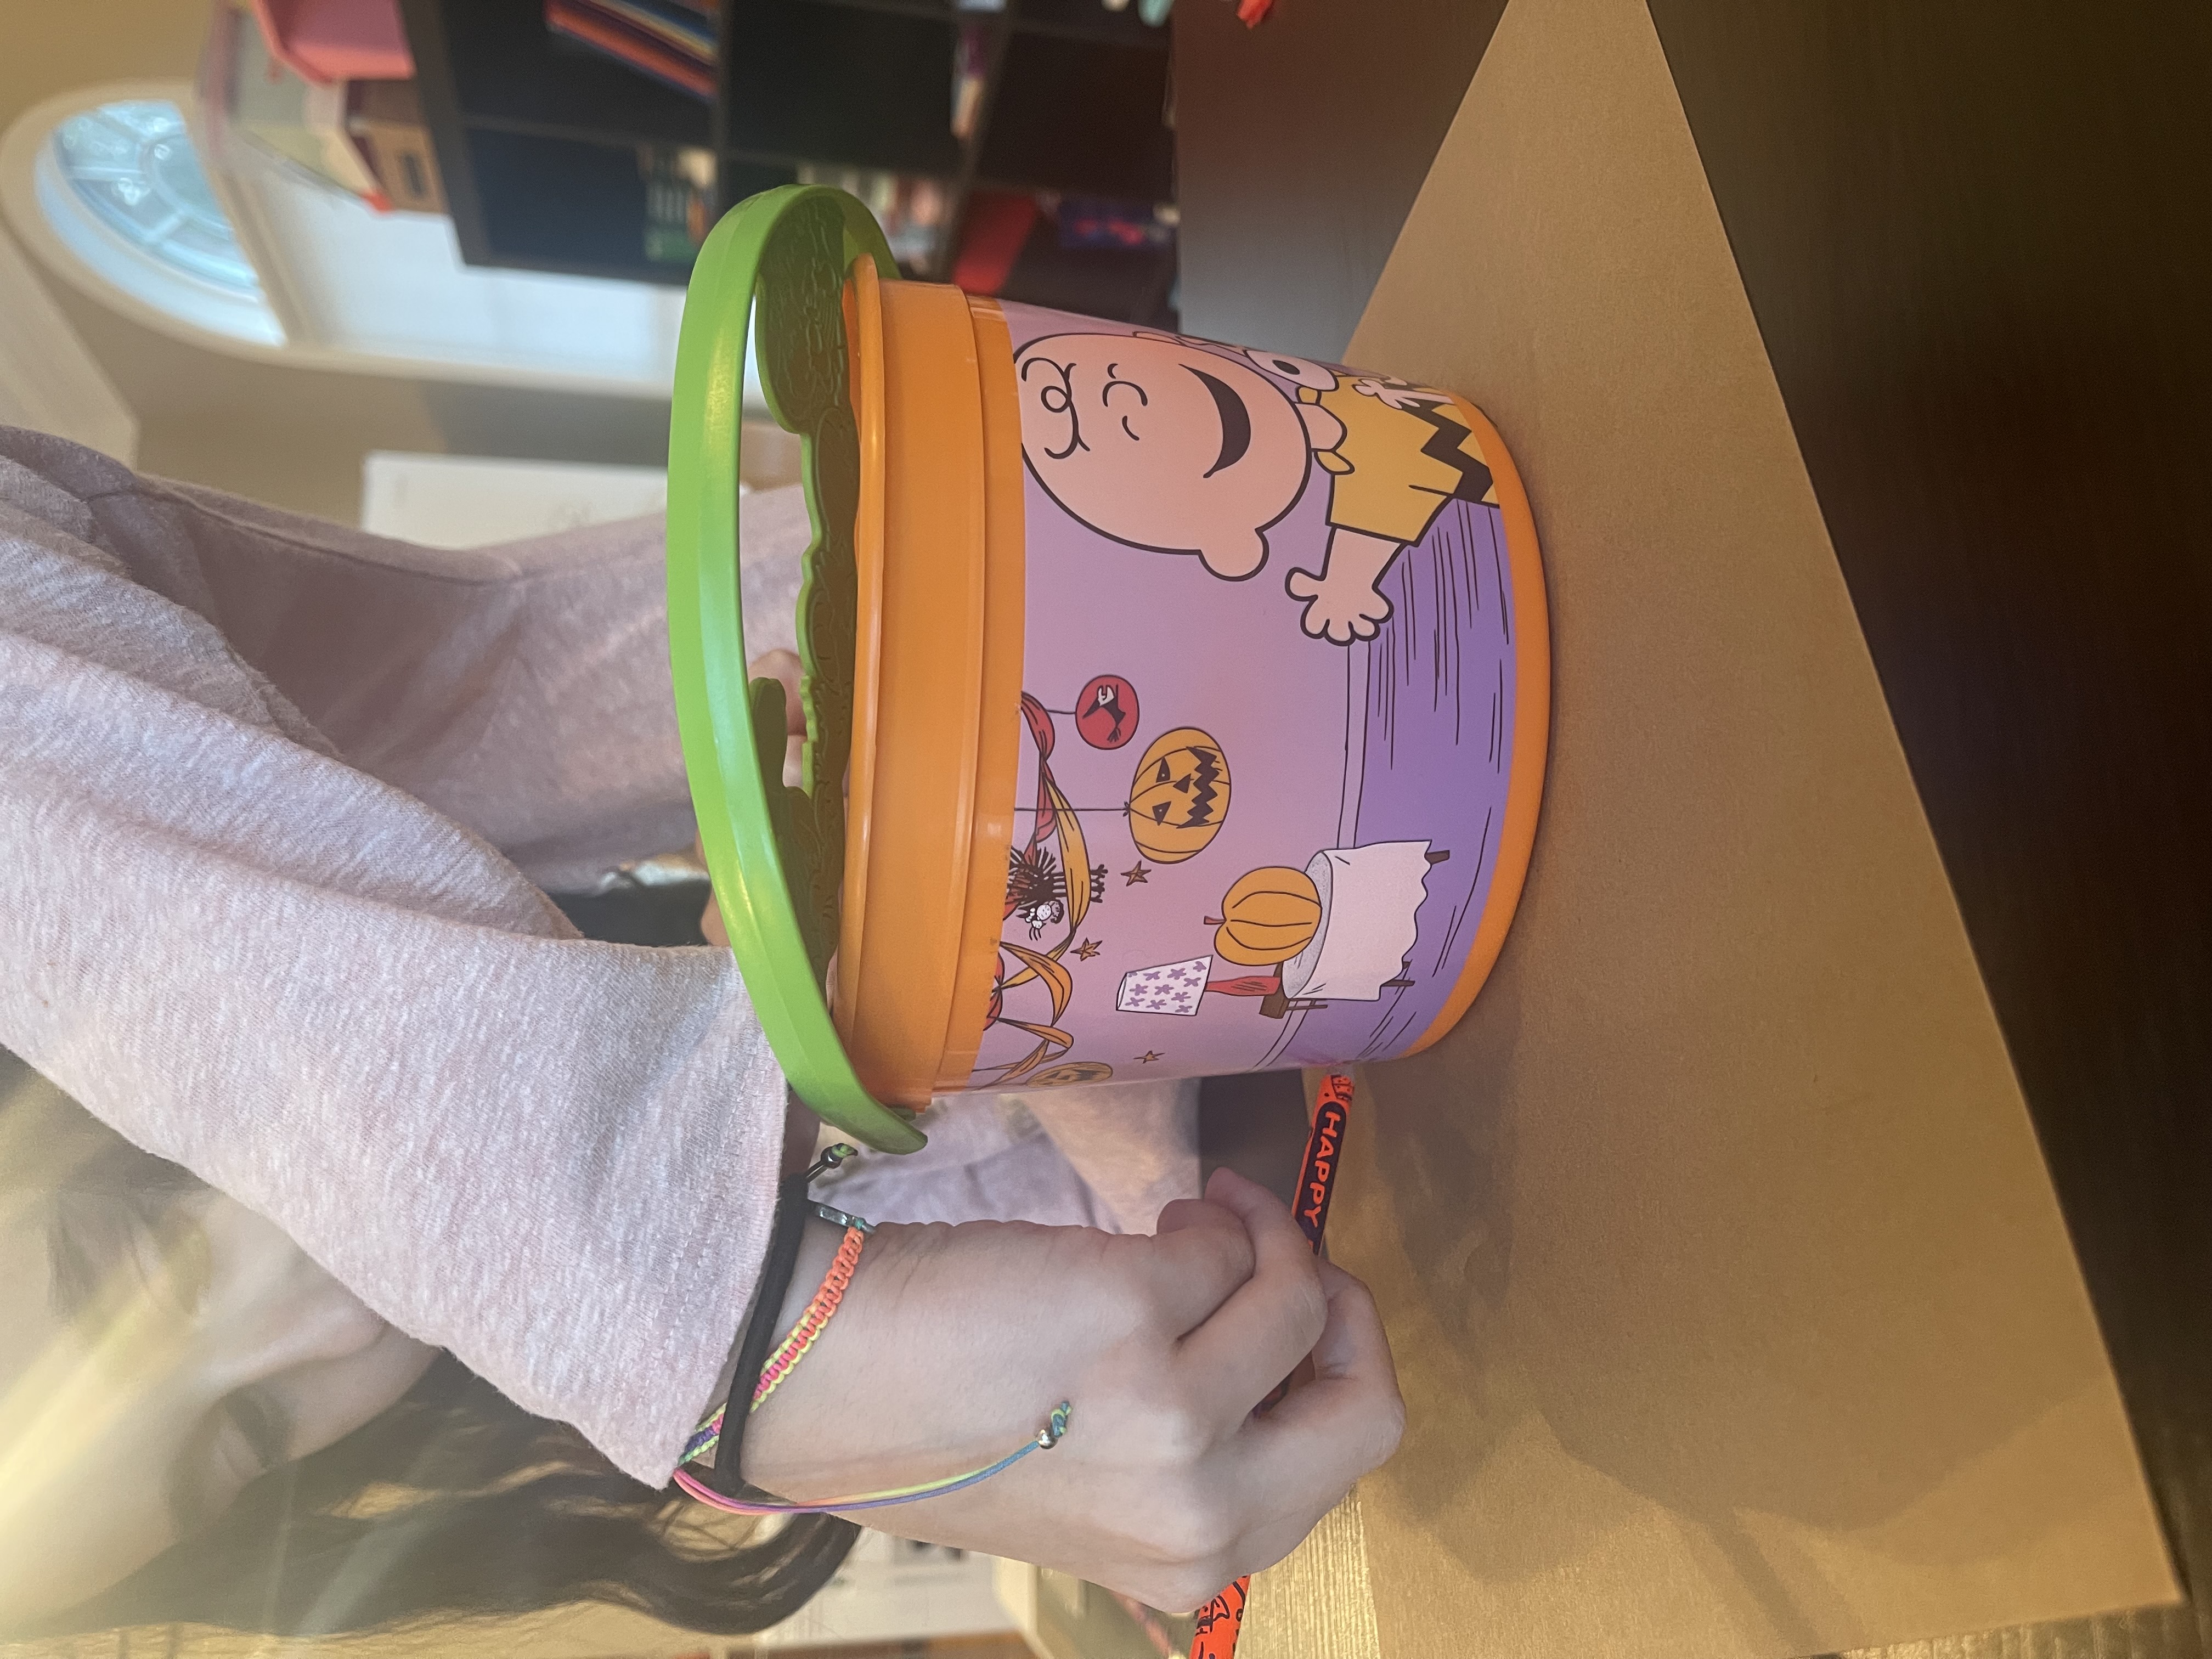
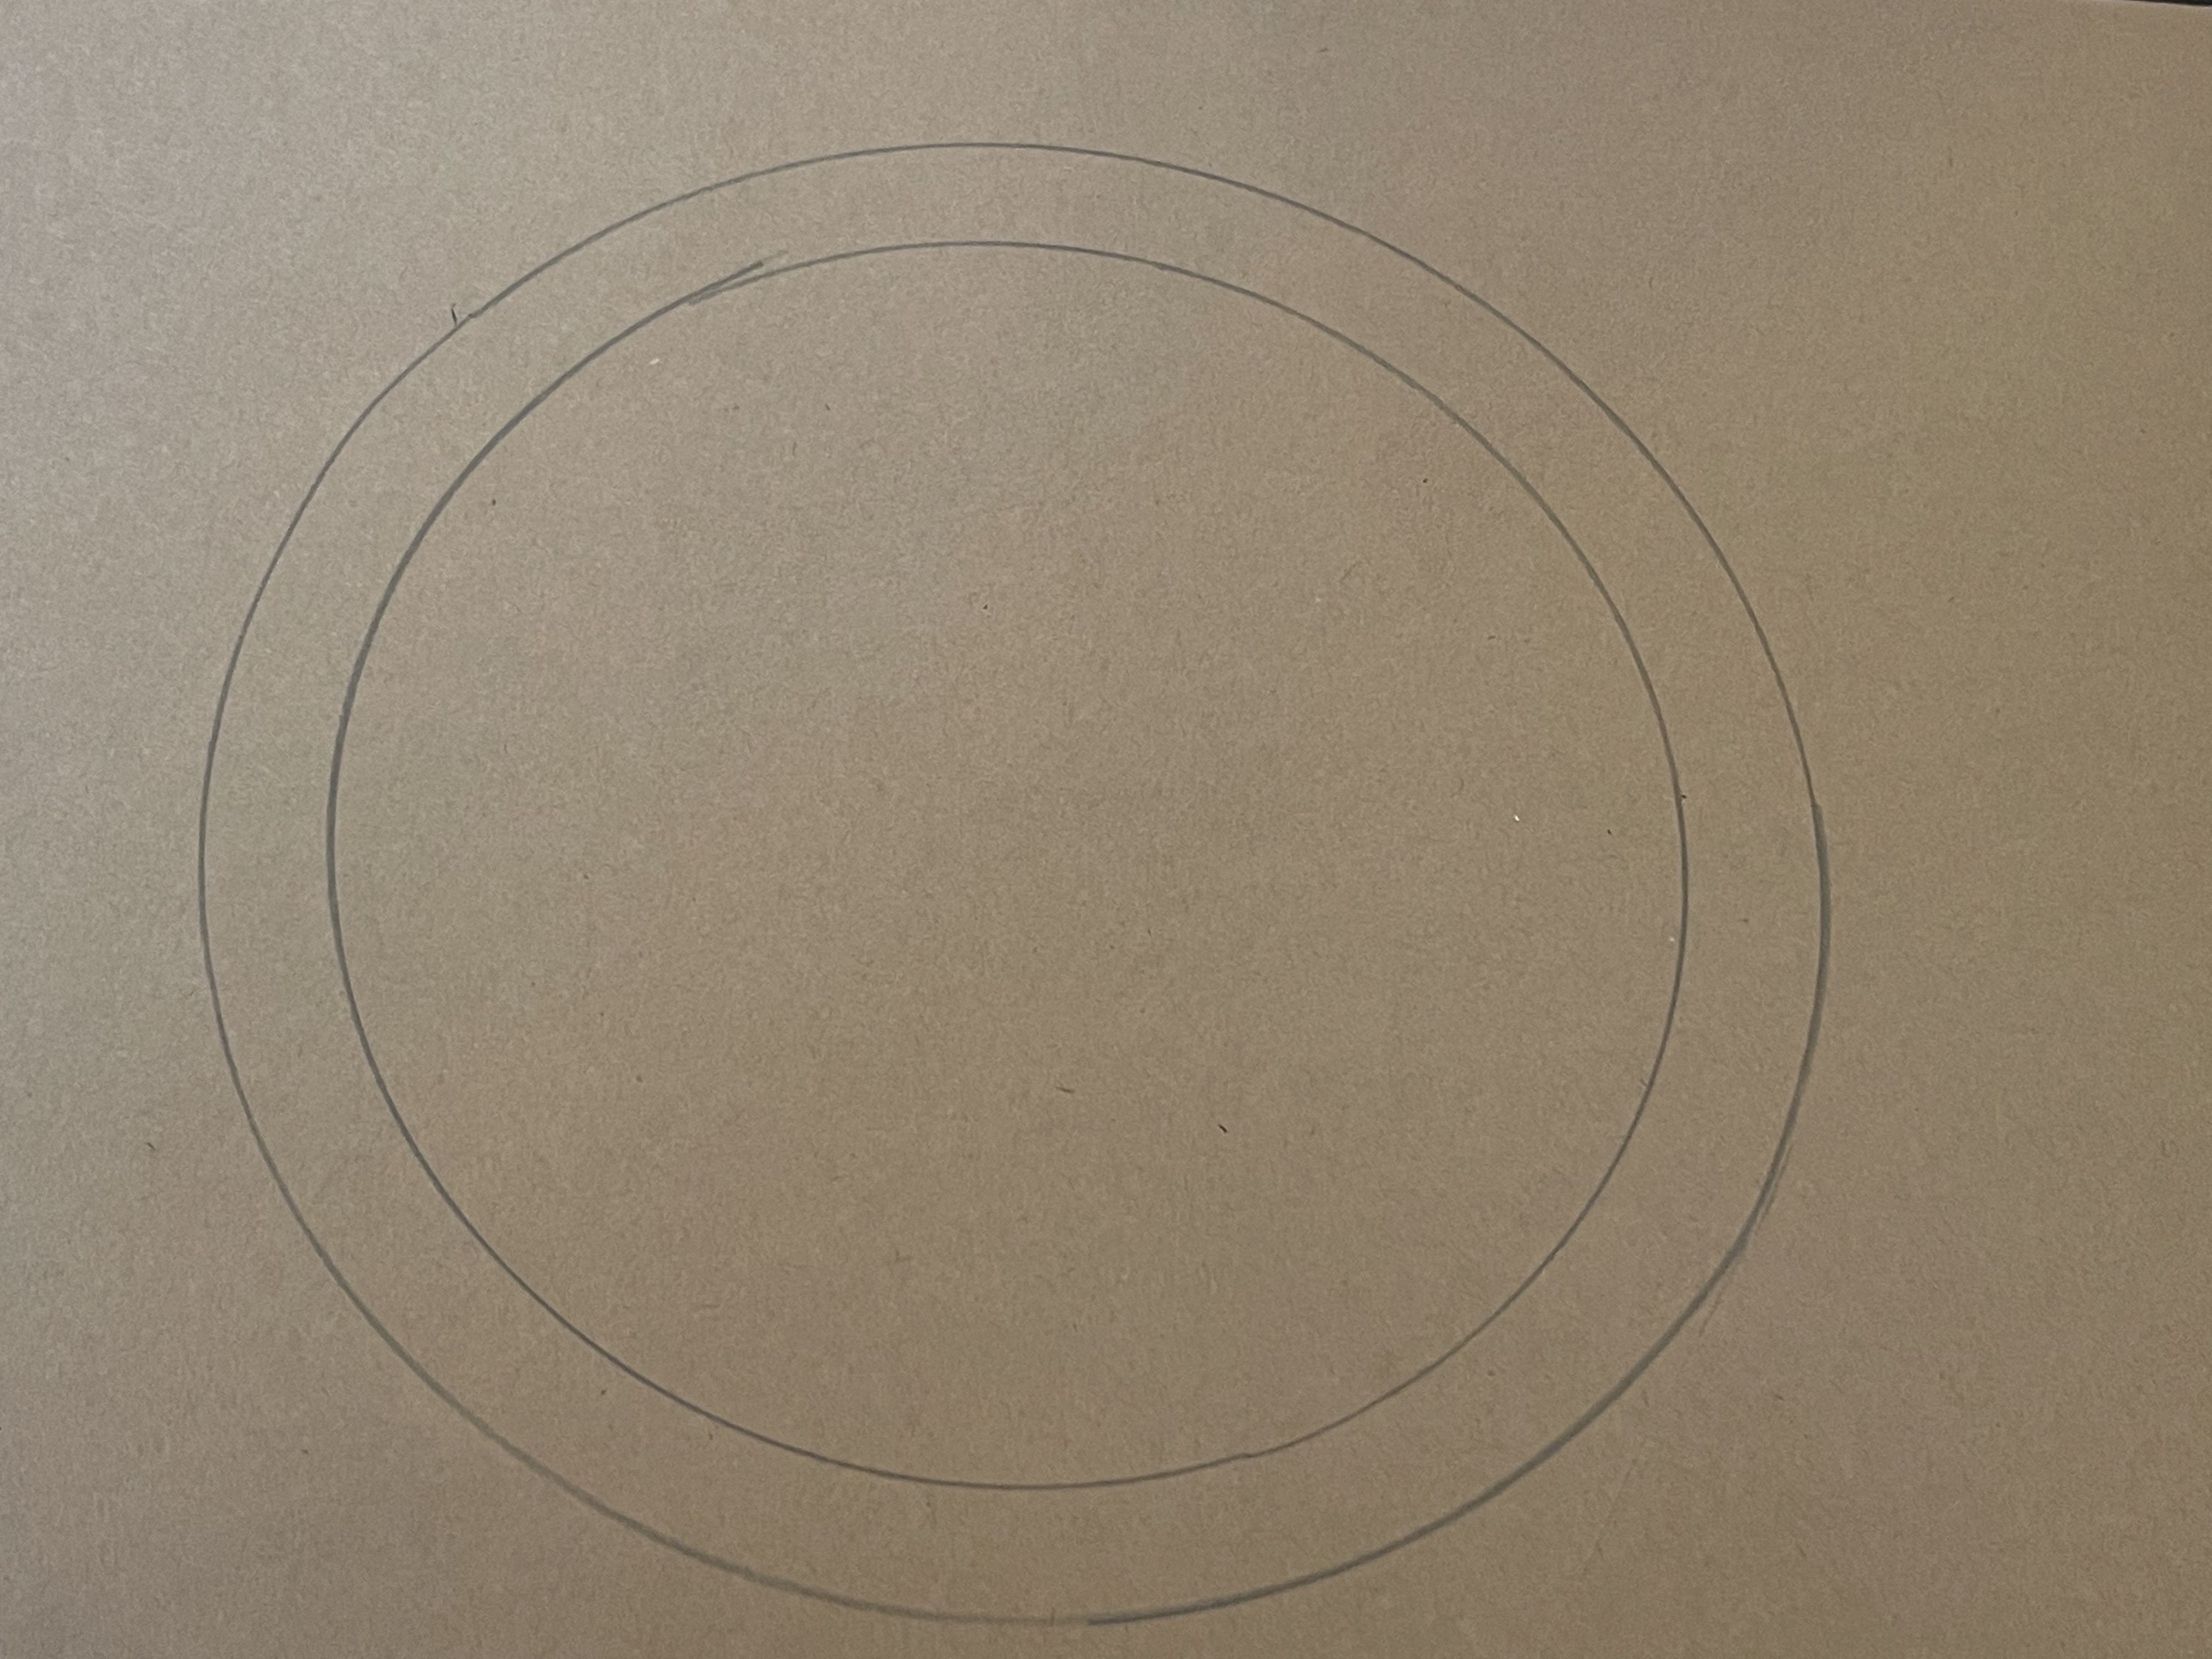
Step 2: Now it is time to trace one more circle inside. Allow a little bit of space in between to represent the crust. We ended up finding something that was round to trace for this part as well.
This is what it will look like so far
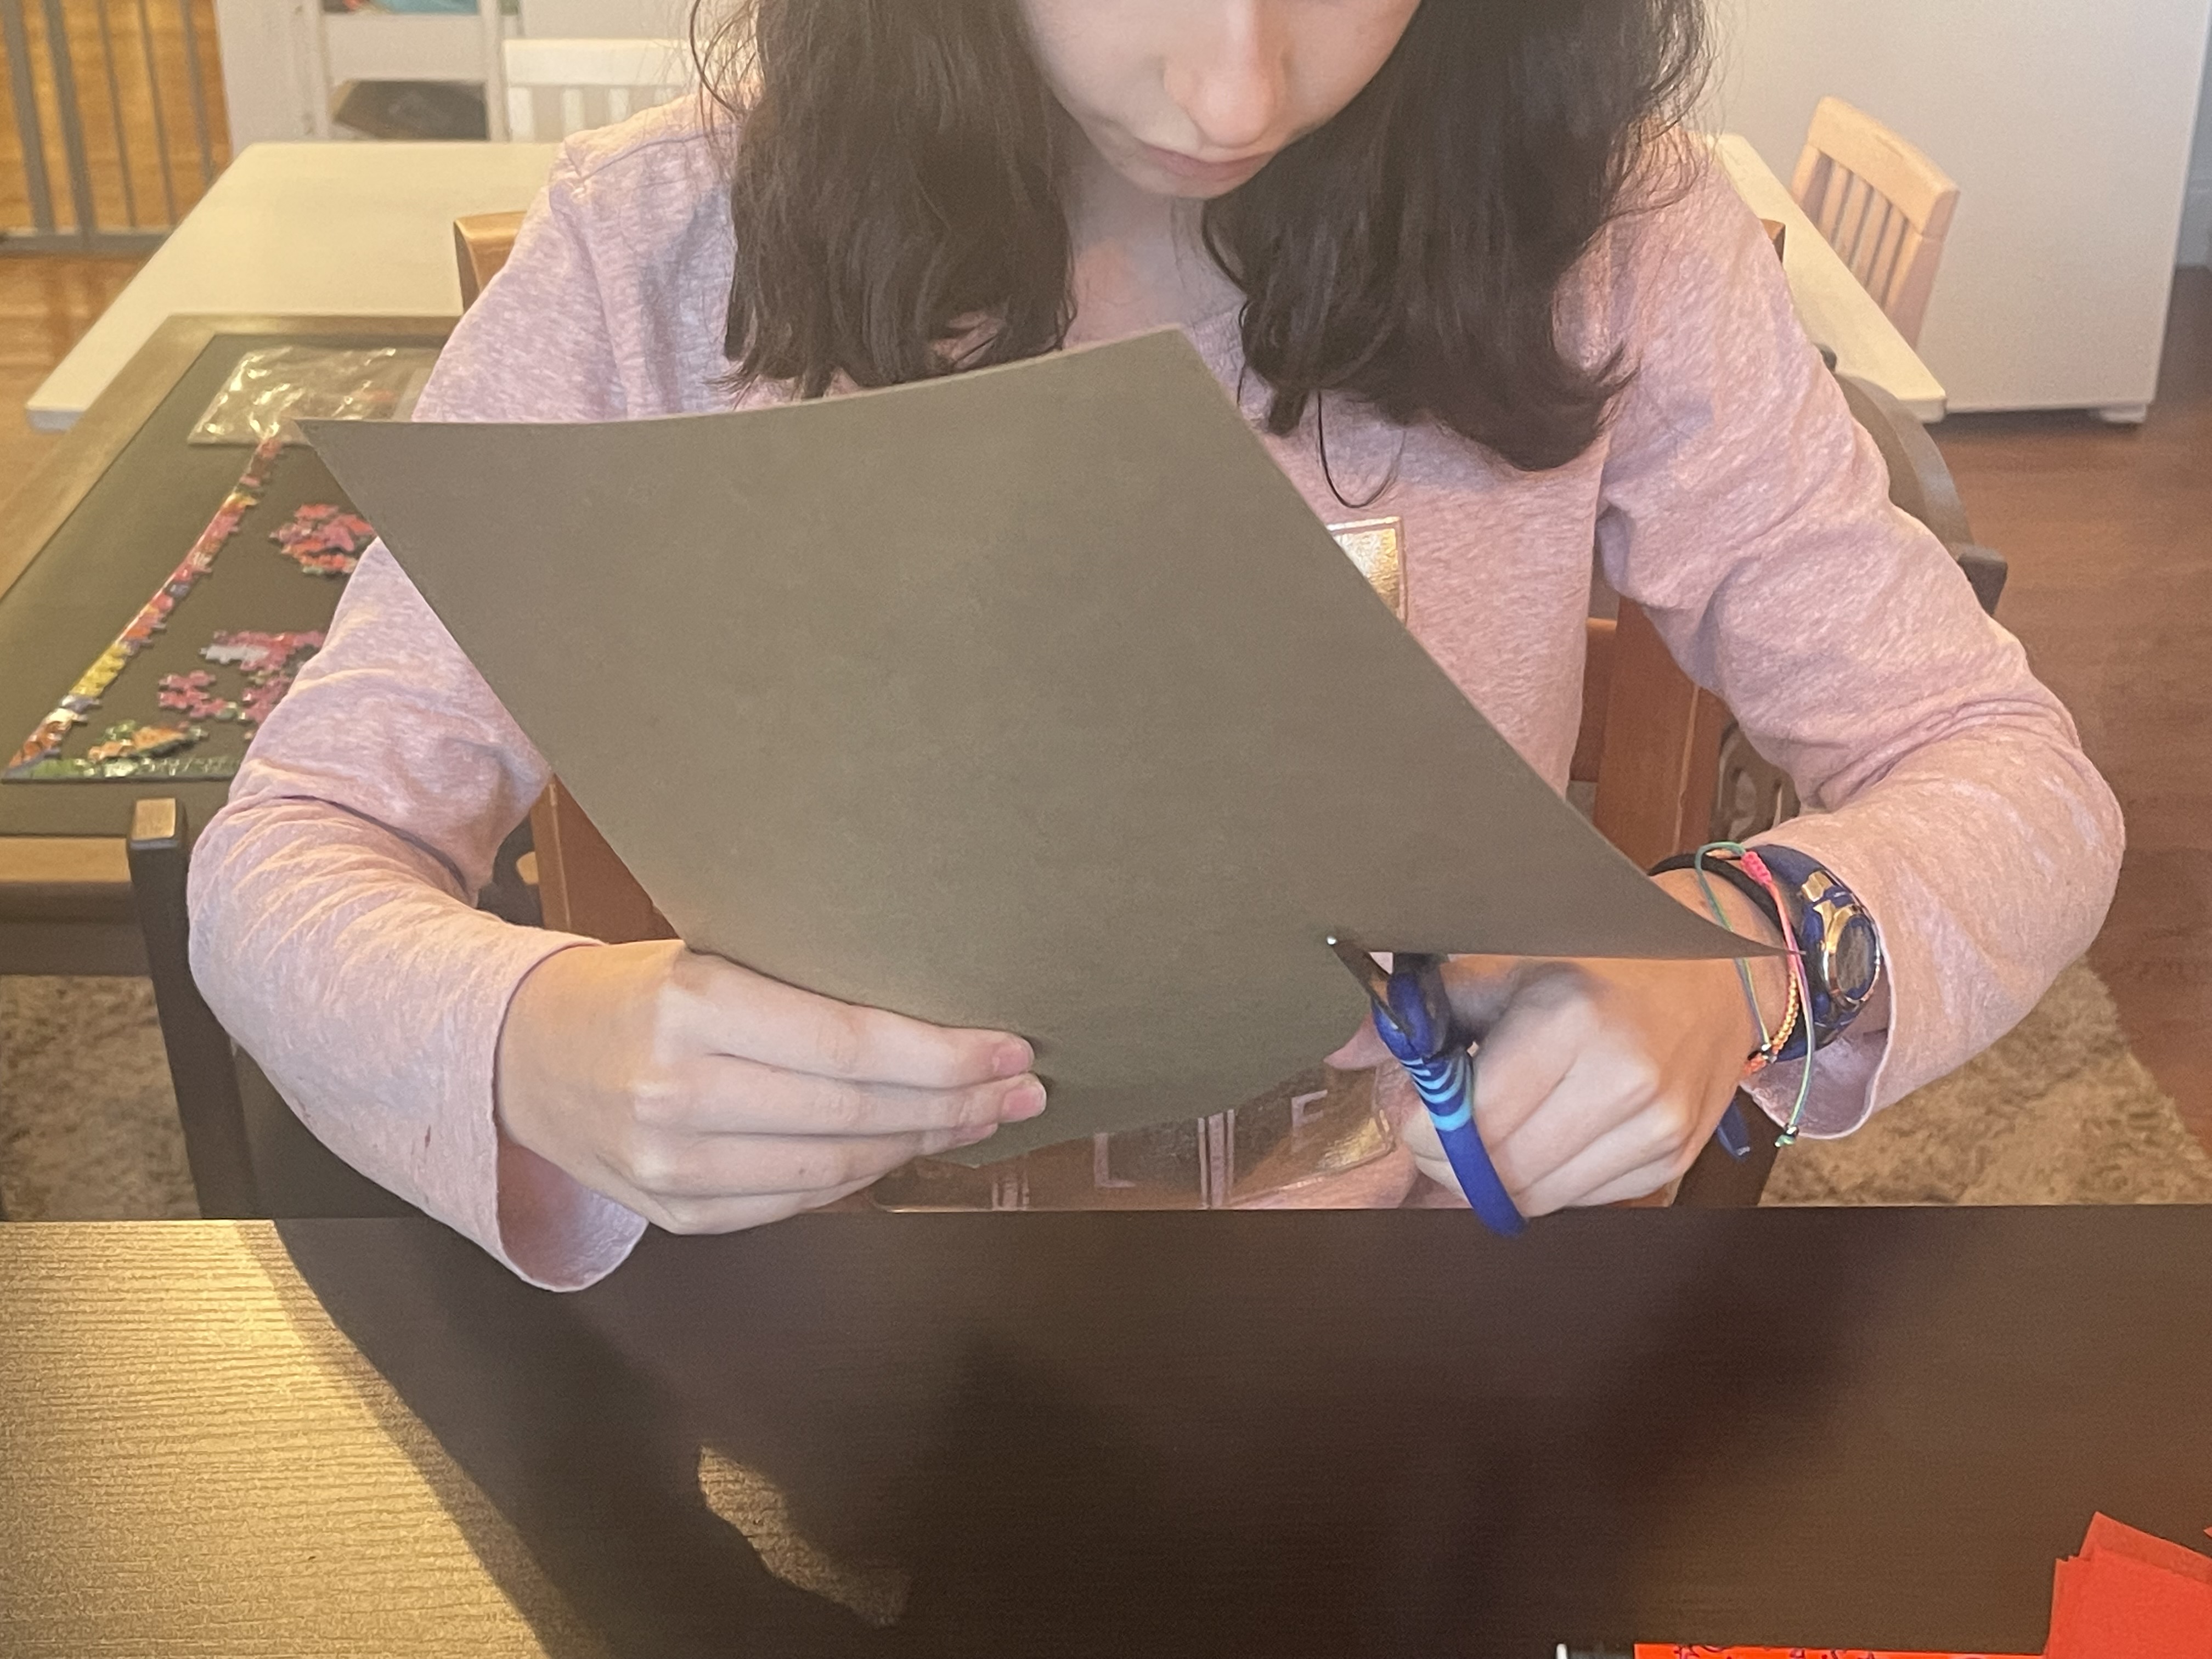
Step 3: Cut out the outer circle with your scissors
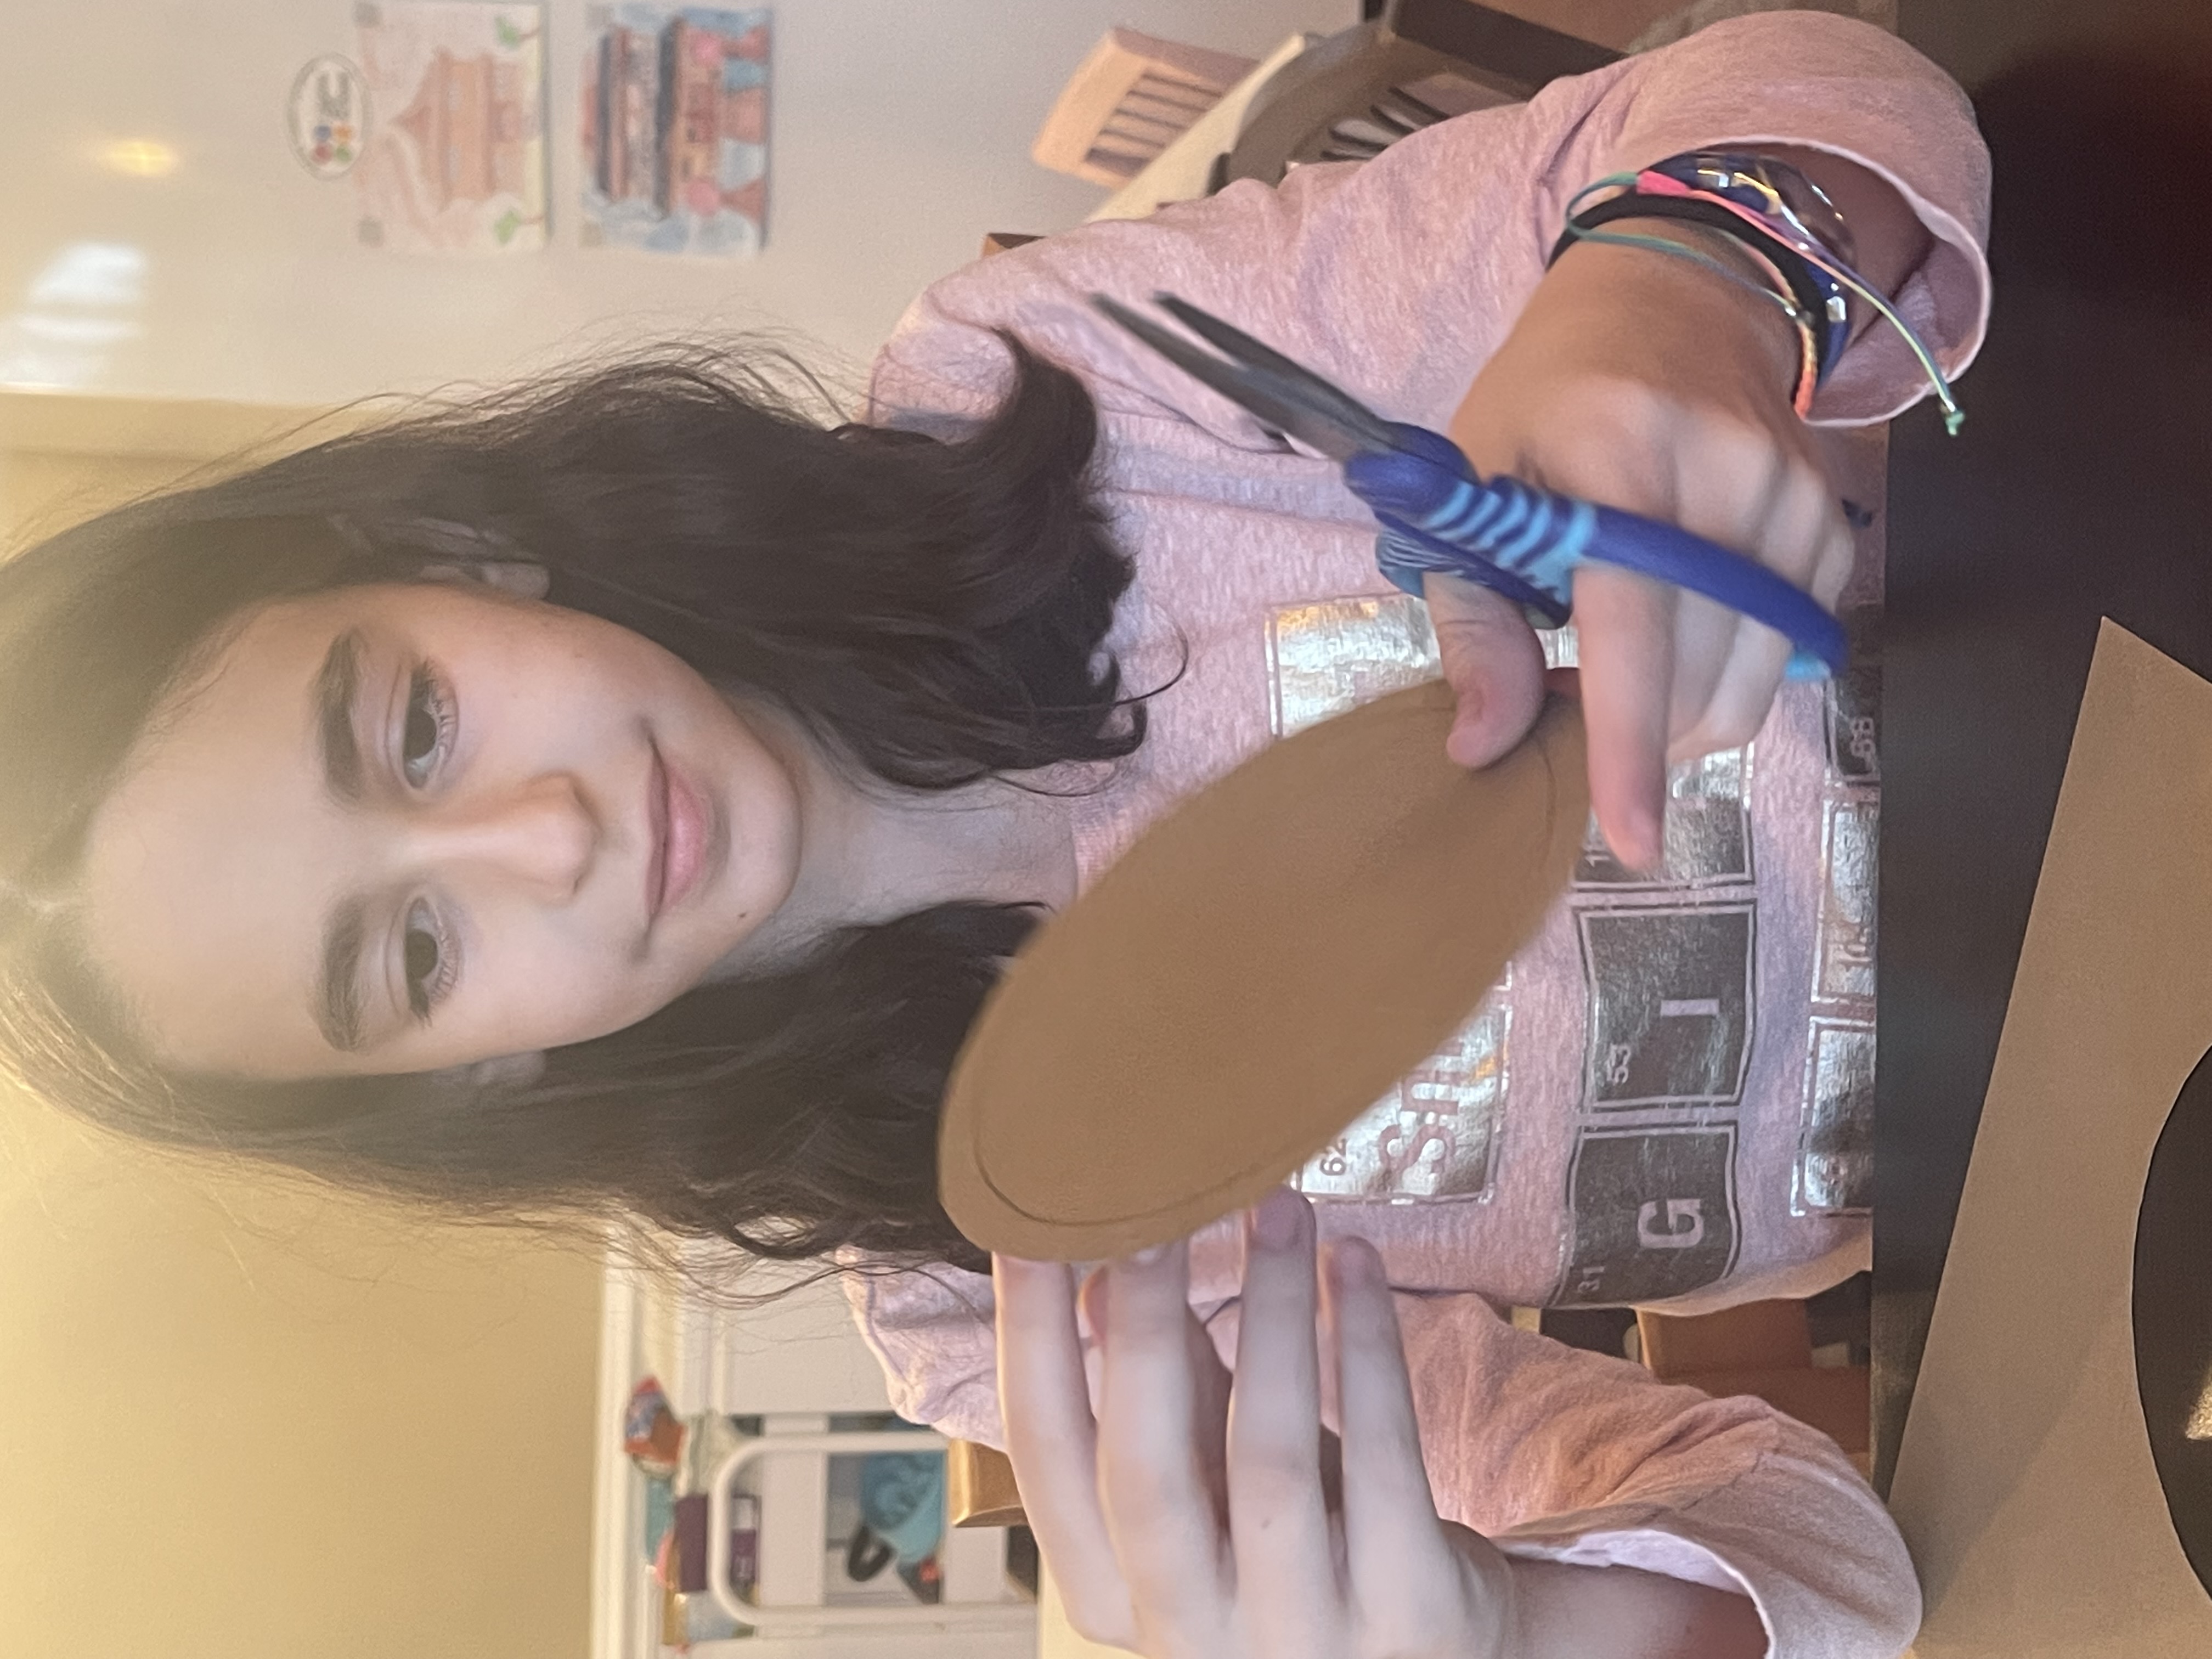
Step 4: Cut out the inner circle. This is a little tricky so you might have to help your kids. We folded ours in half just to get the cut started.
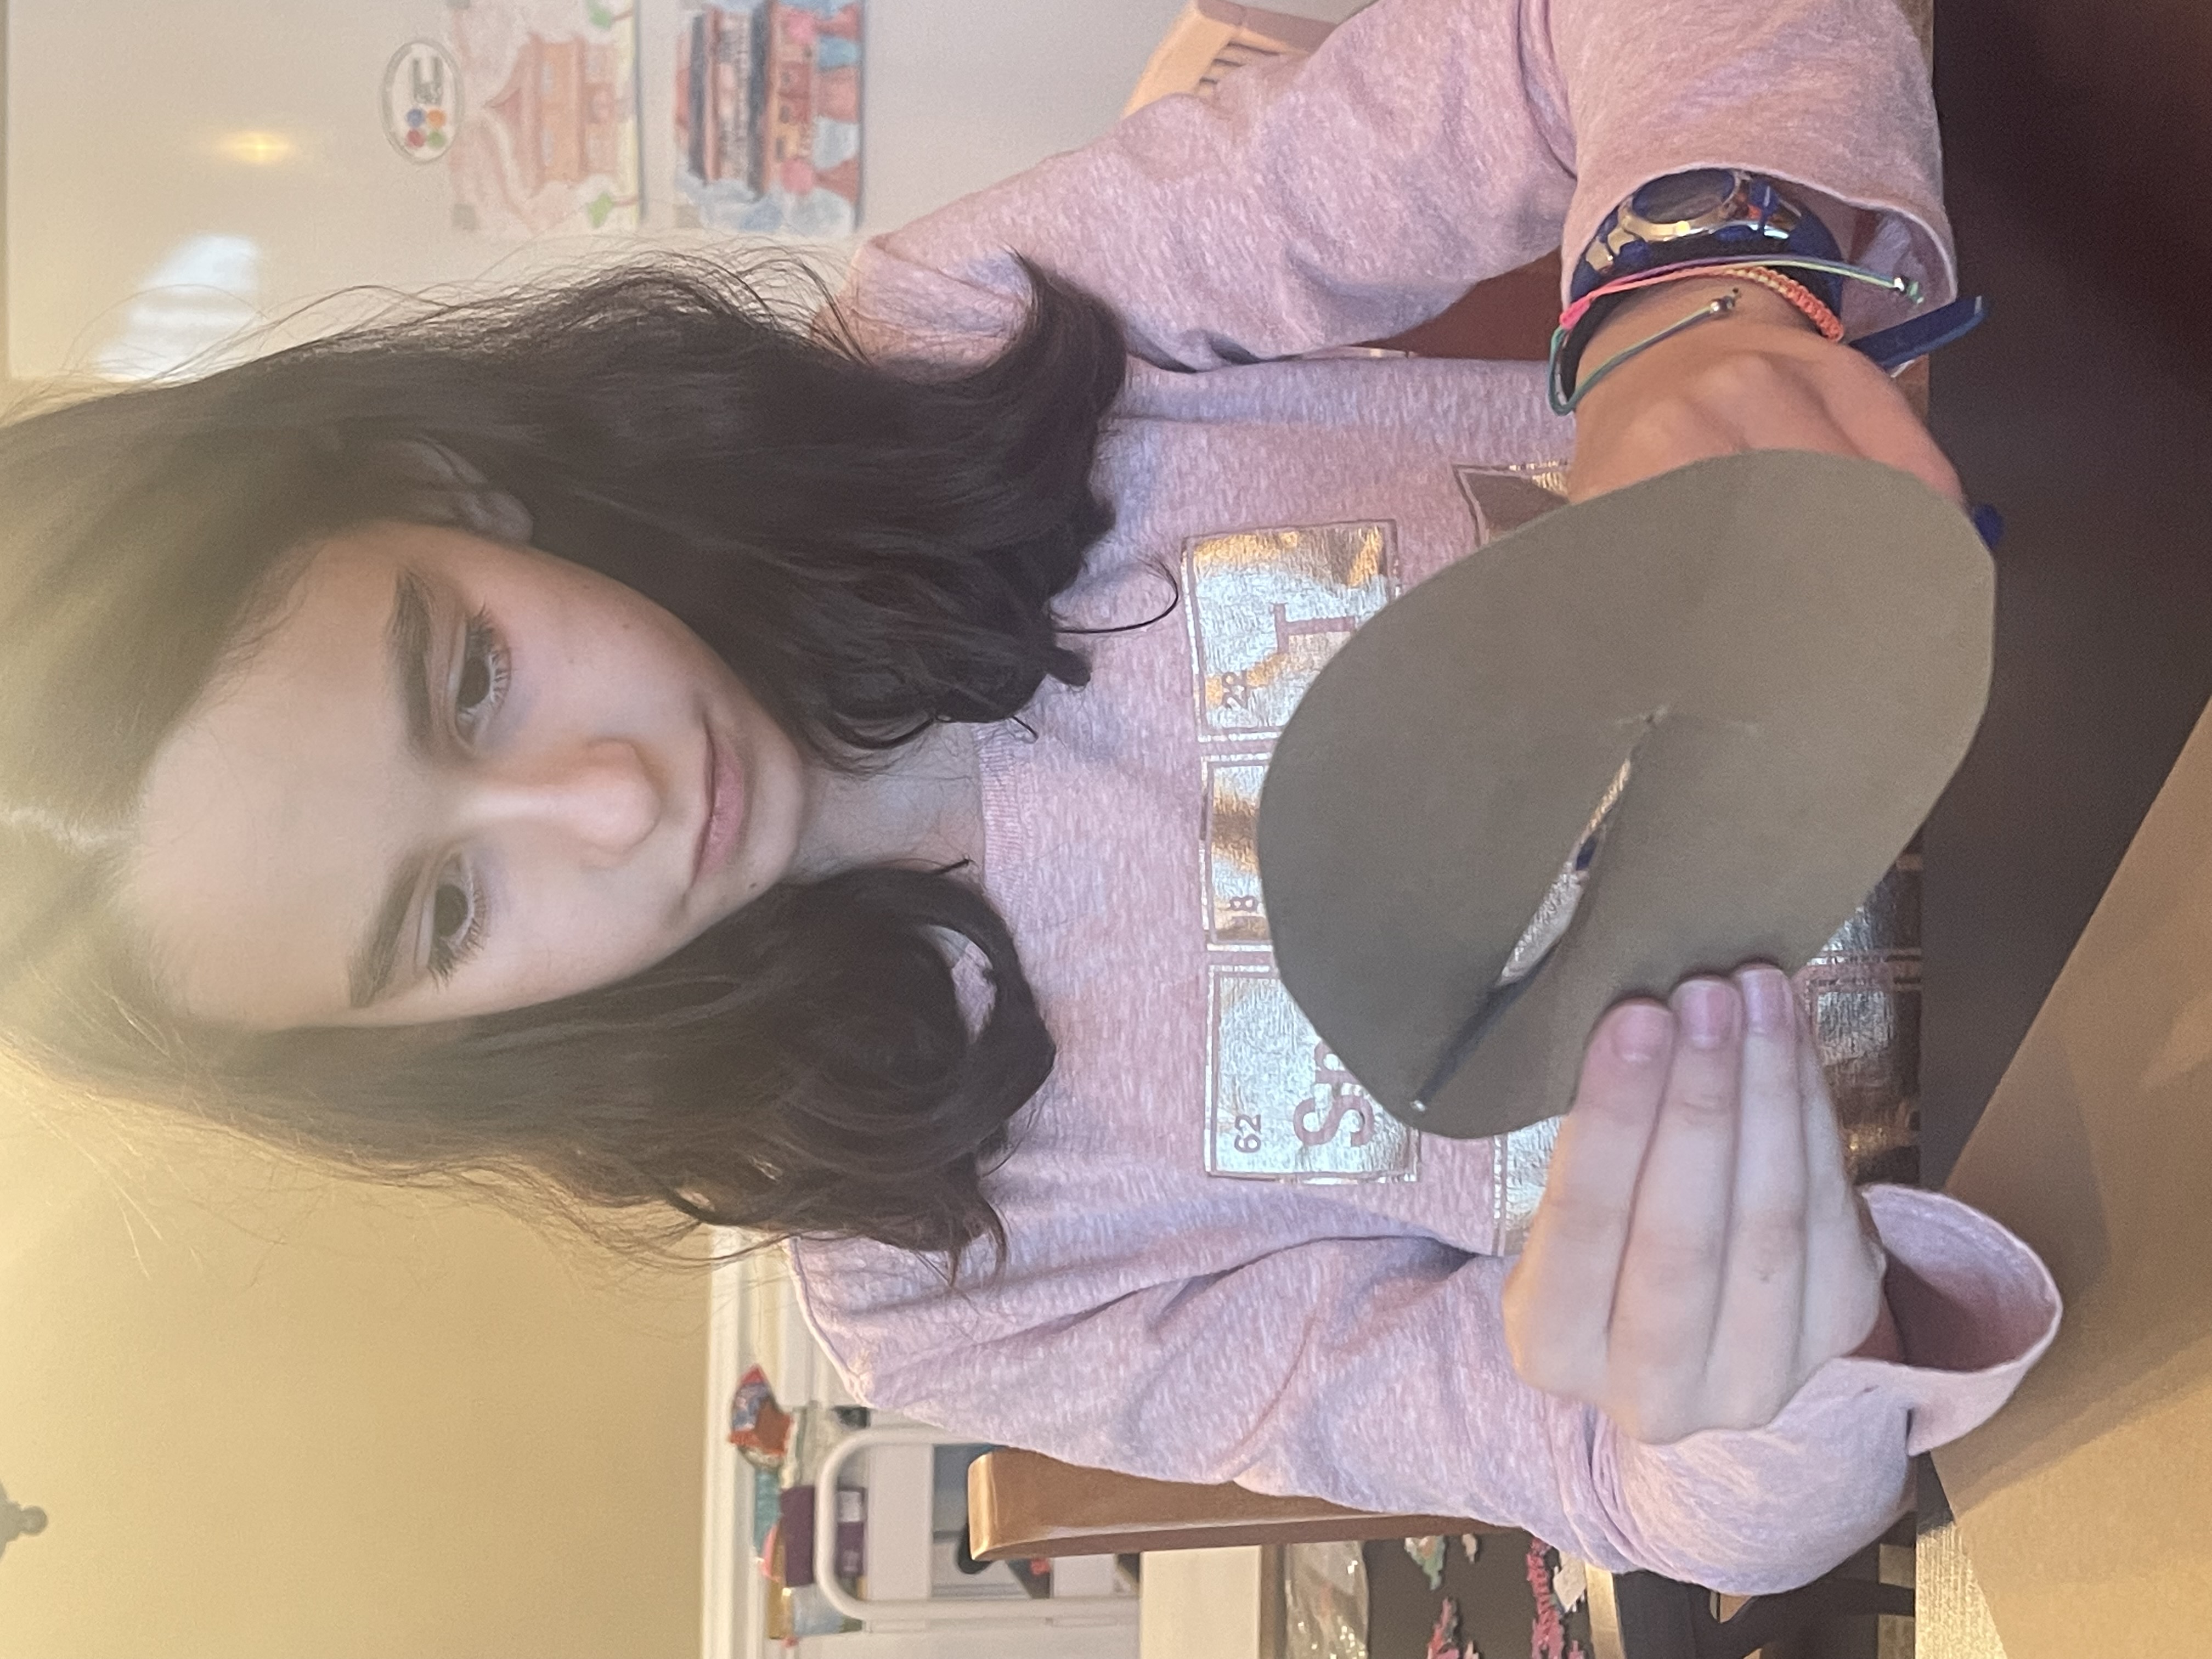
After you are done cutting out the inner circle it should look like this
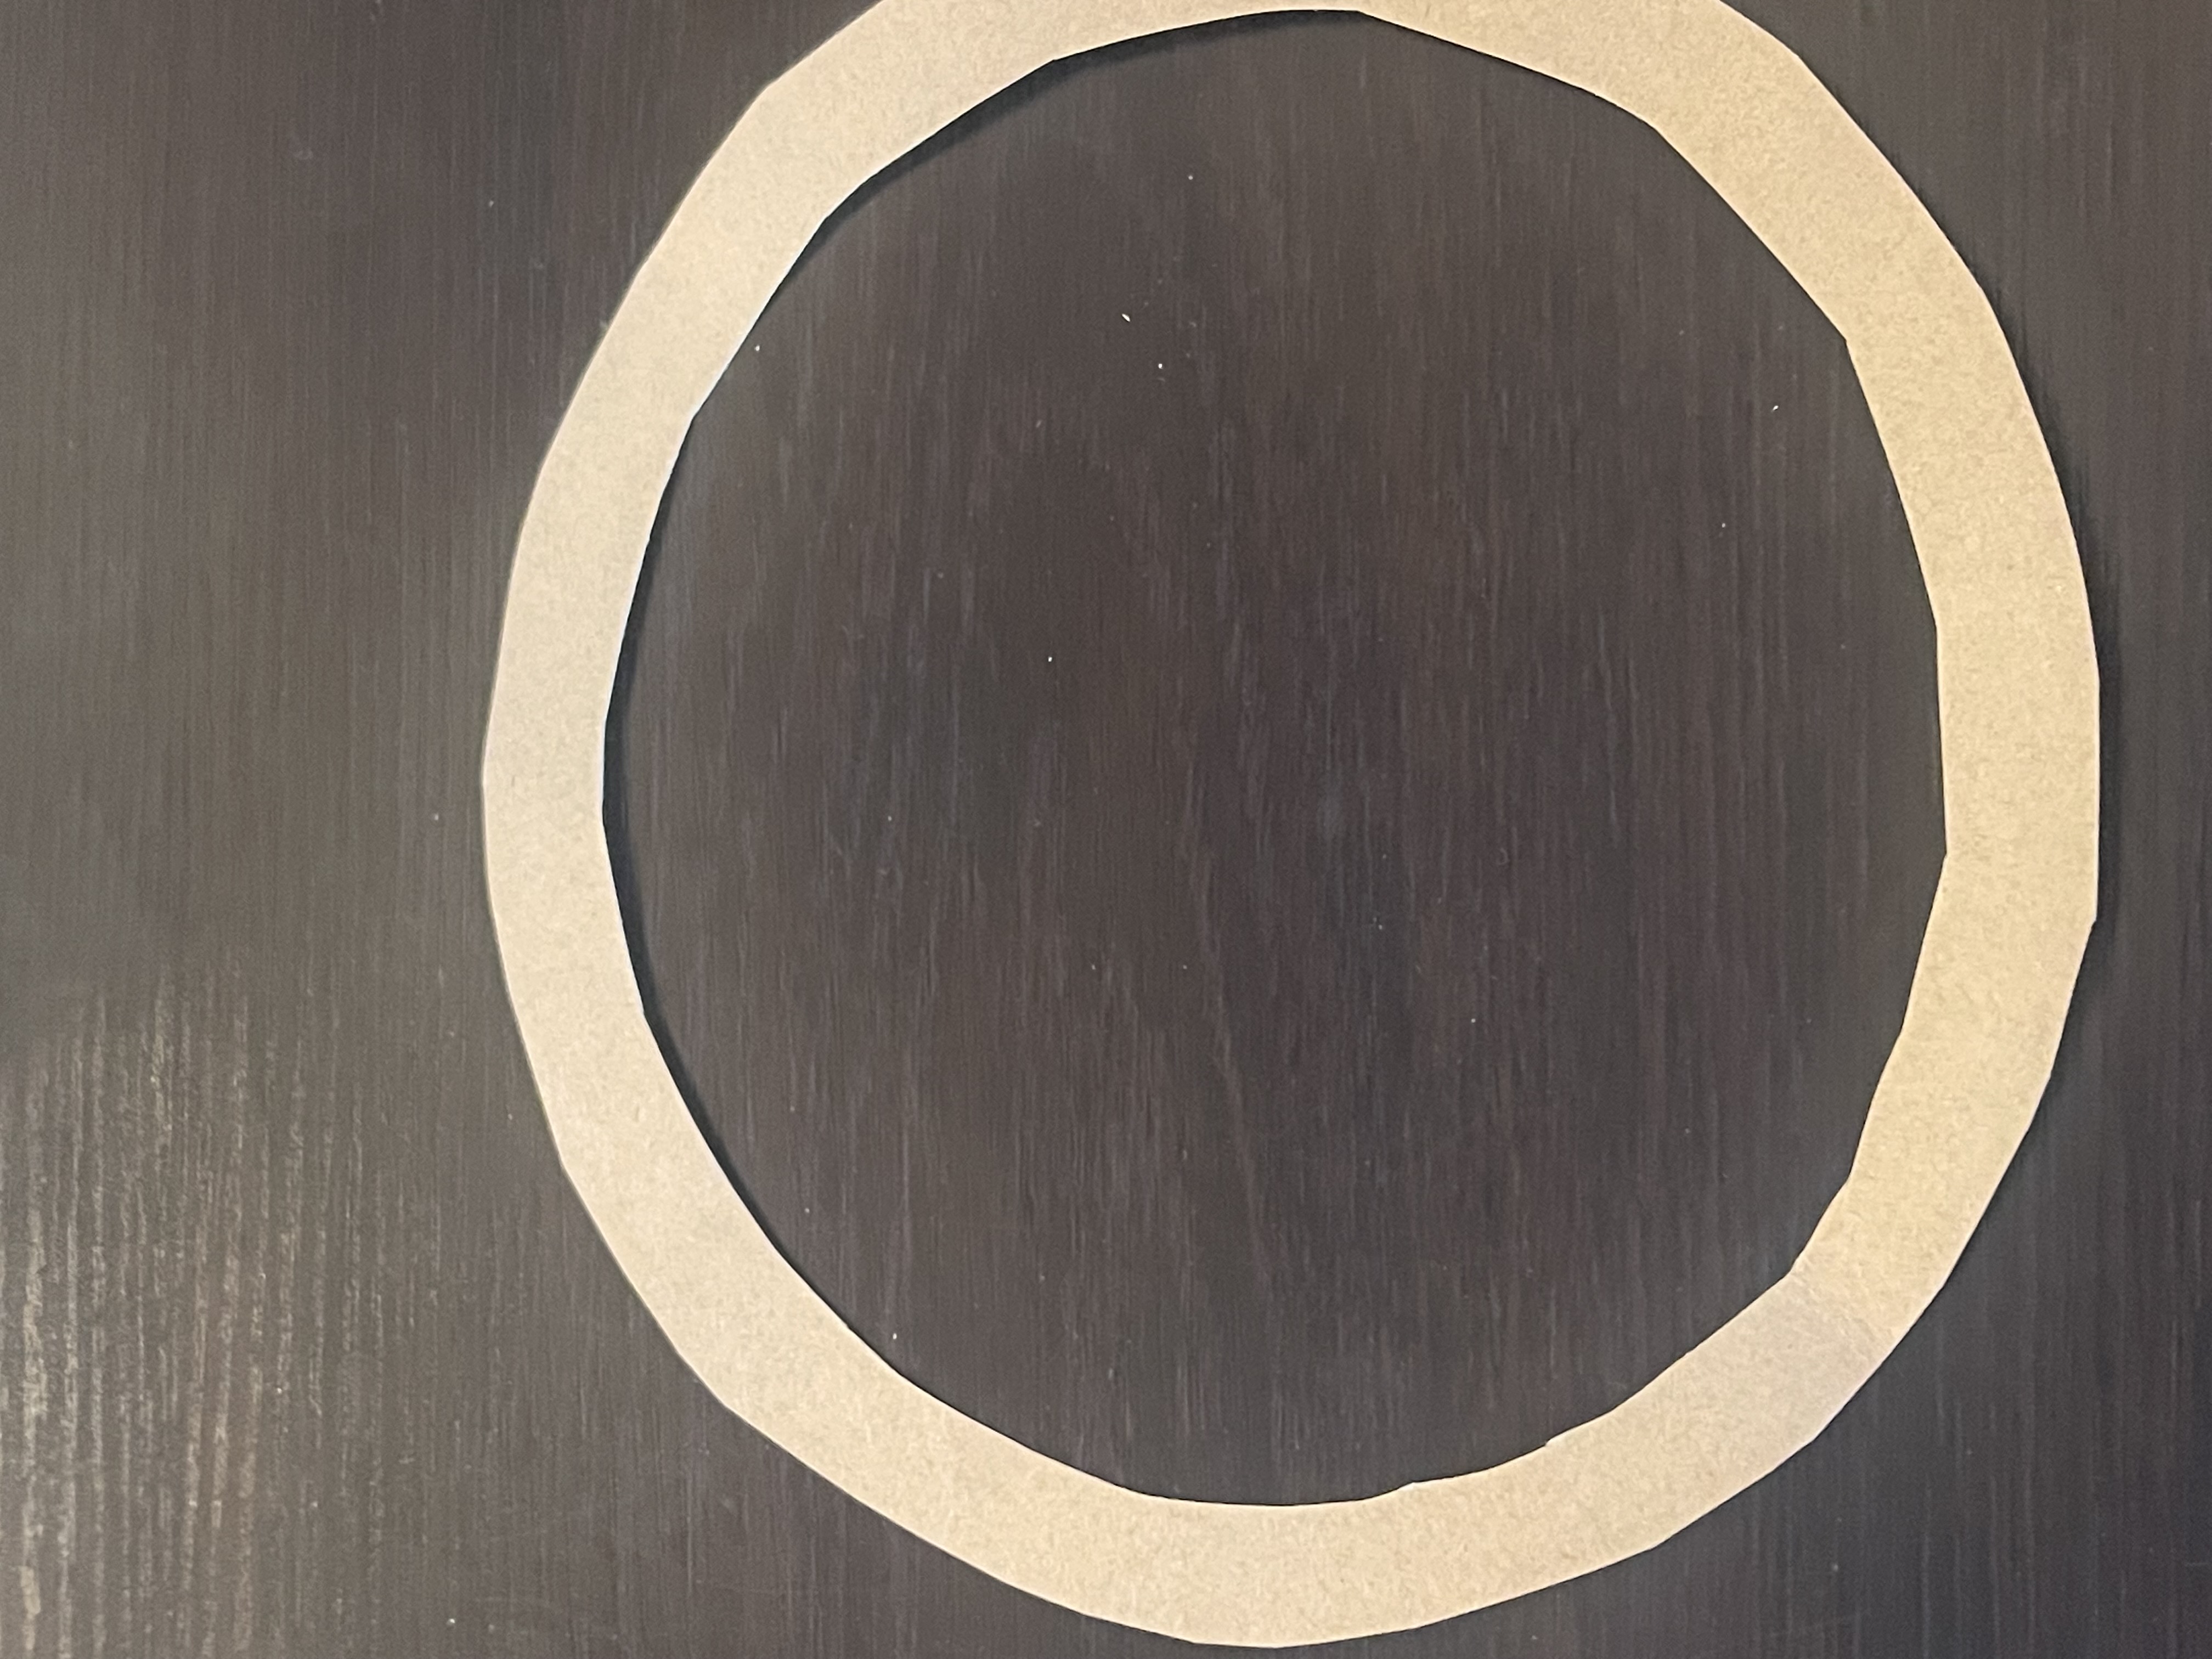
Step 5: Now it is time to cut out your strips from the same brown paper. this will make the crossing pattern for your pie. You can do however many you want. I did two up and down and three side to side.
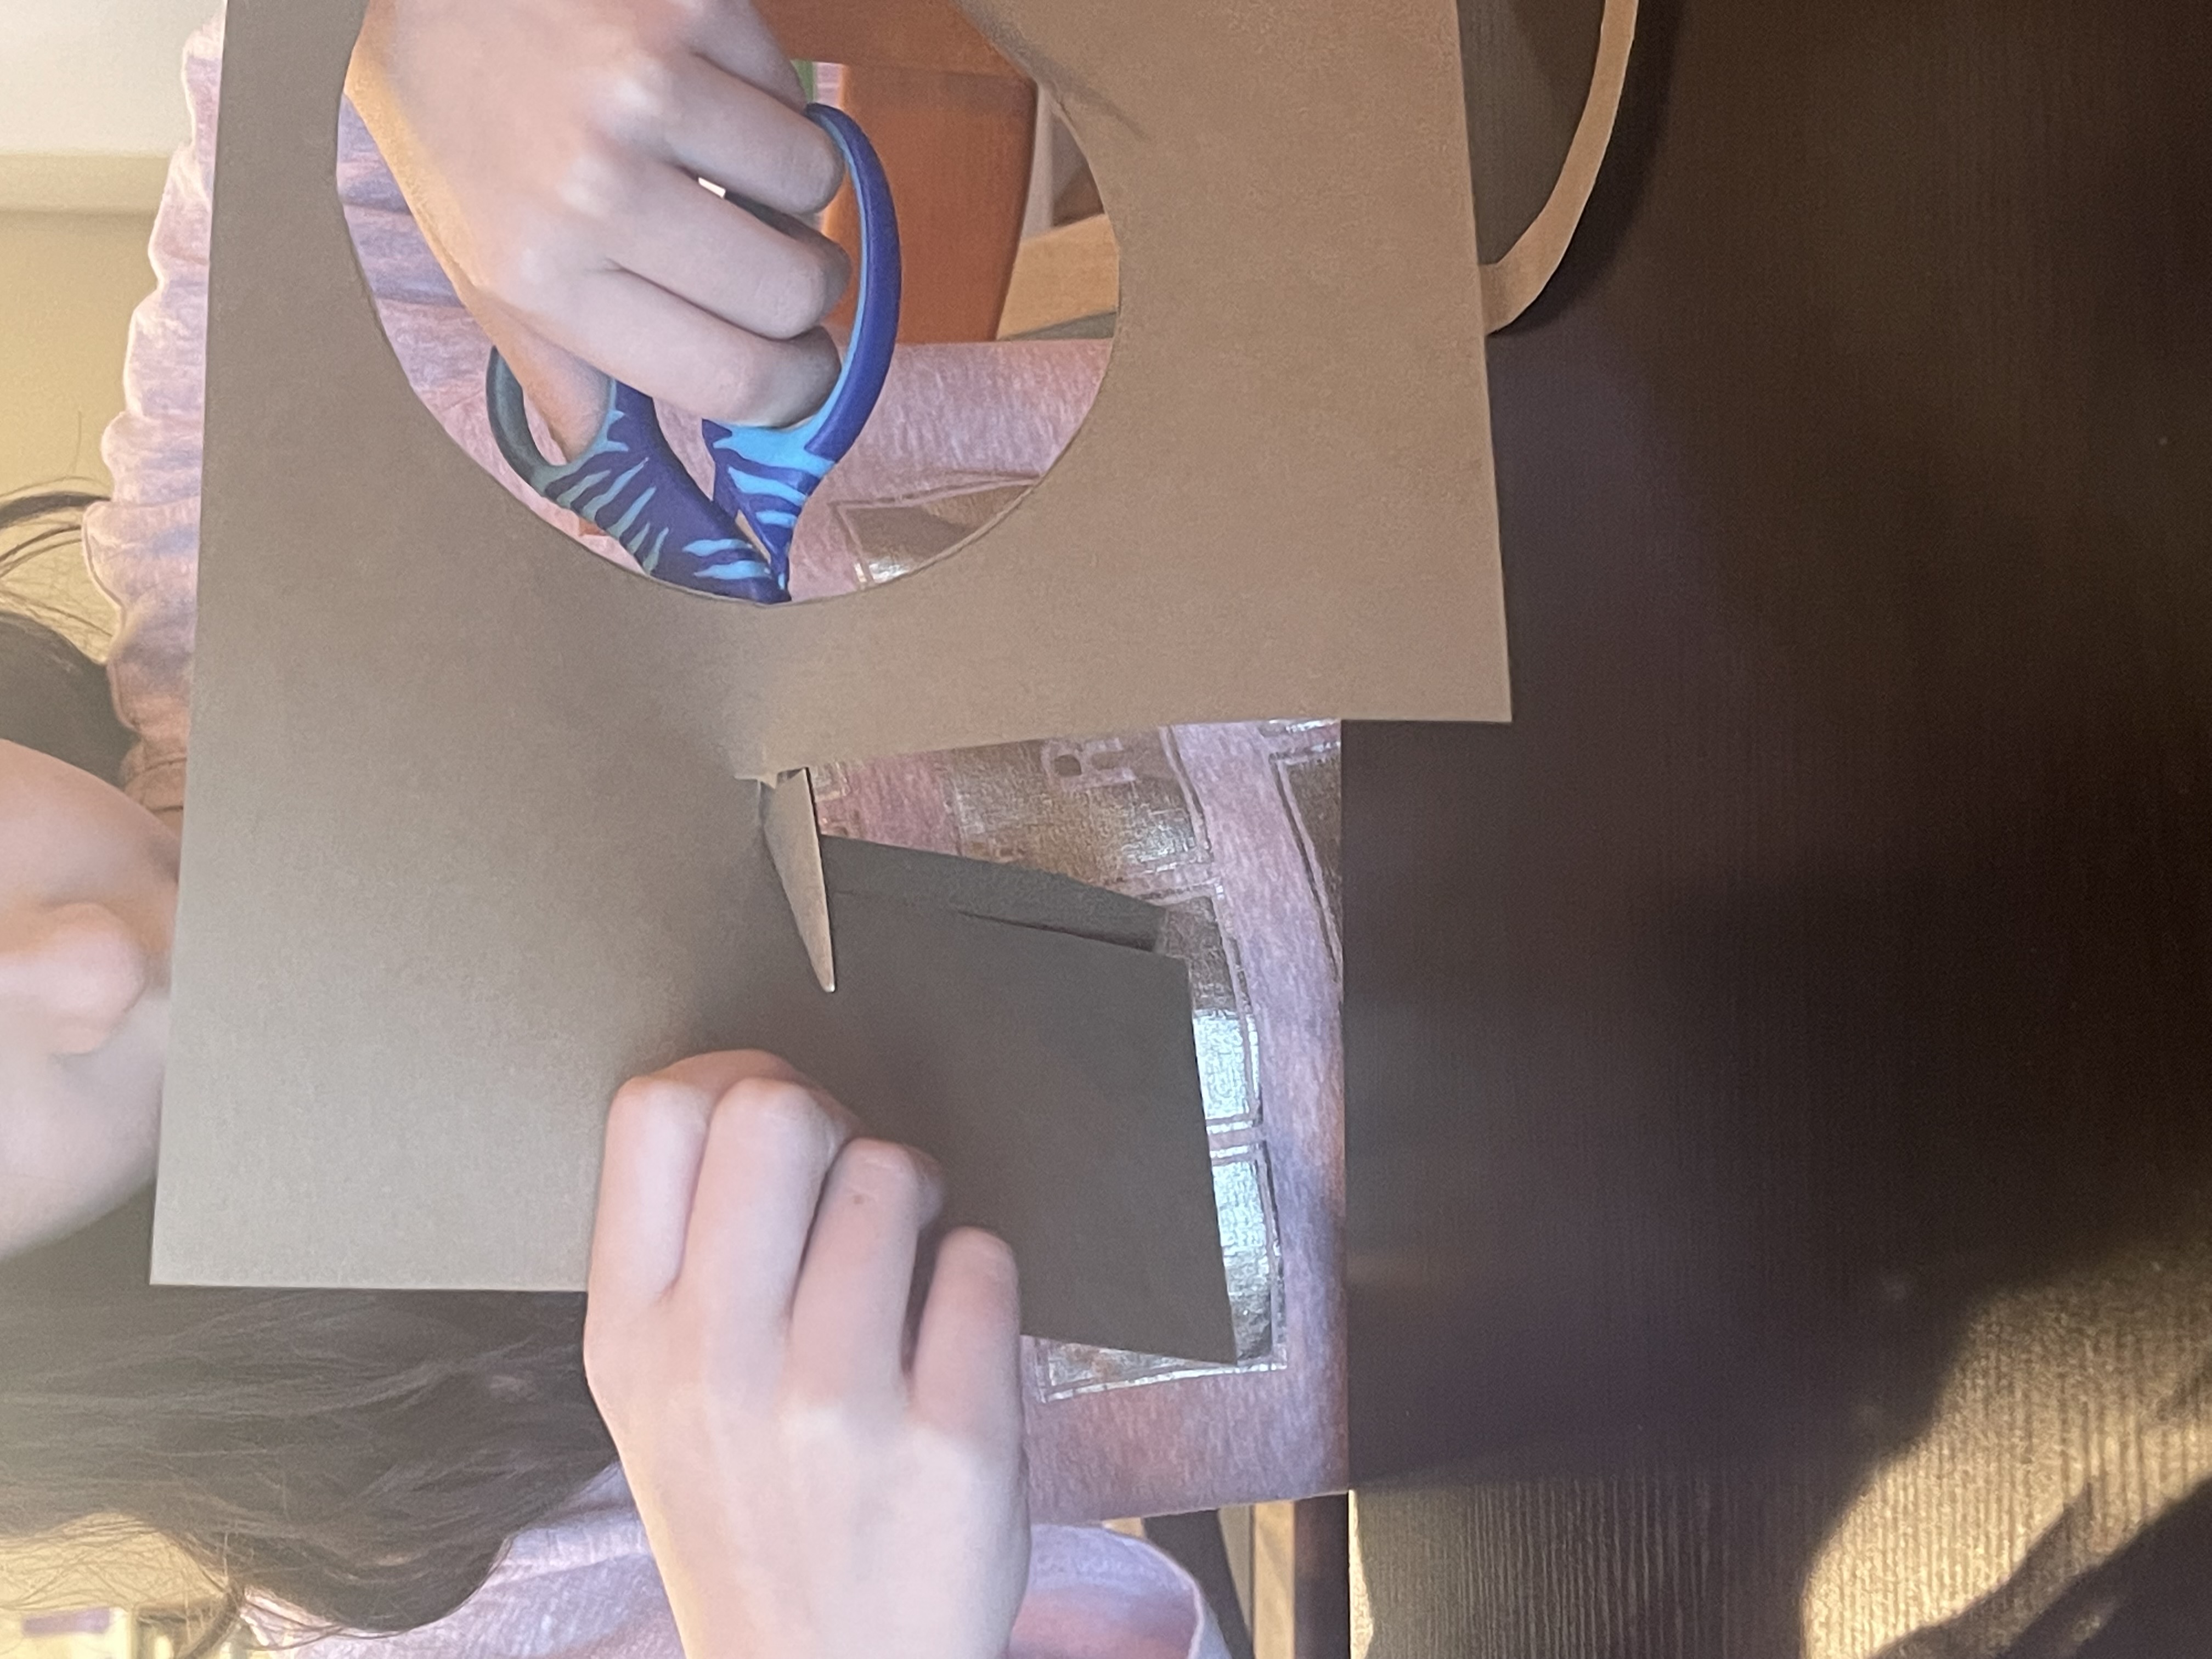
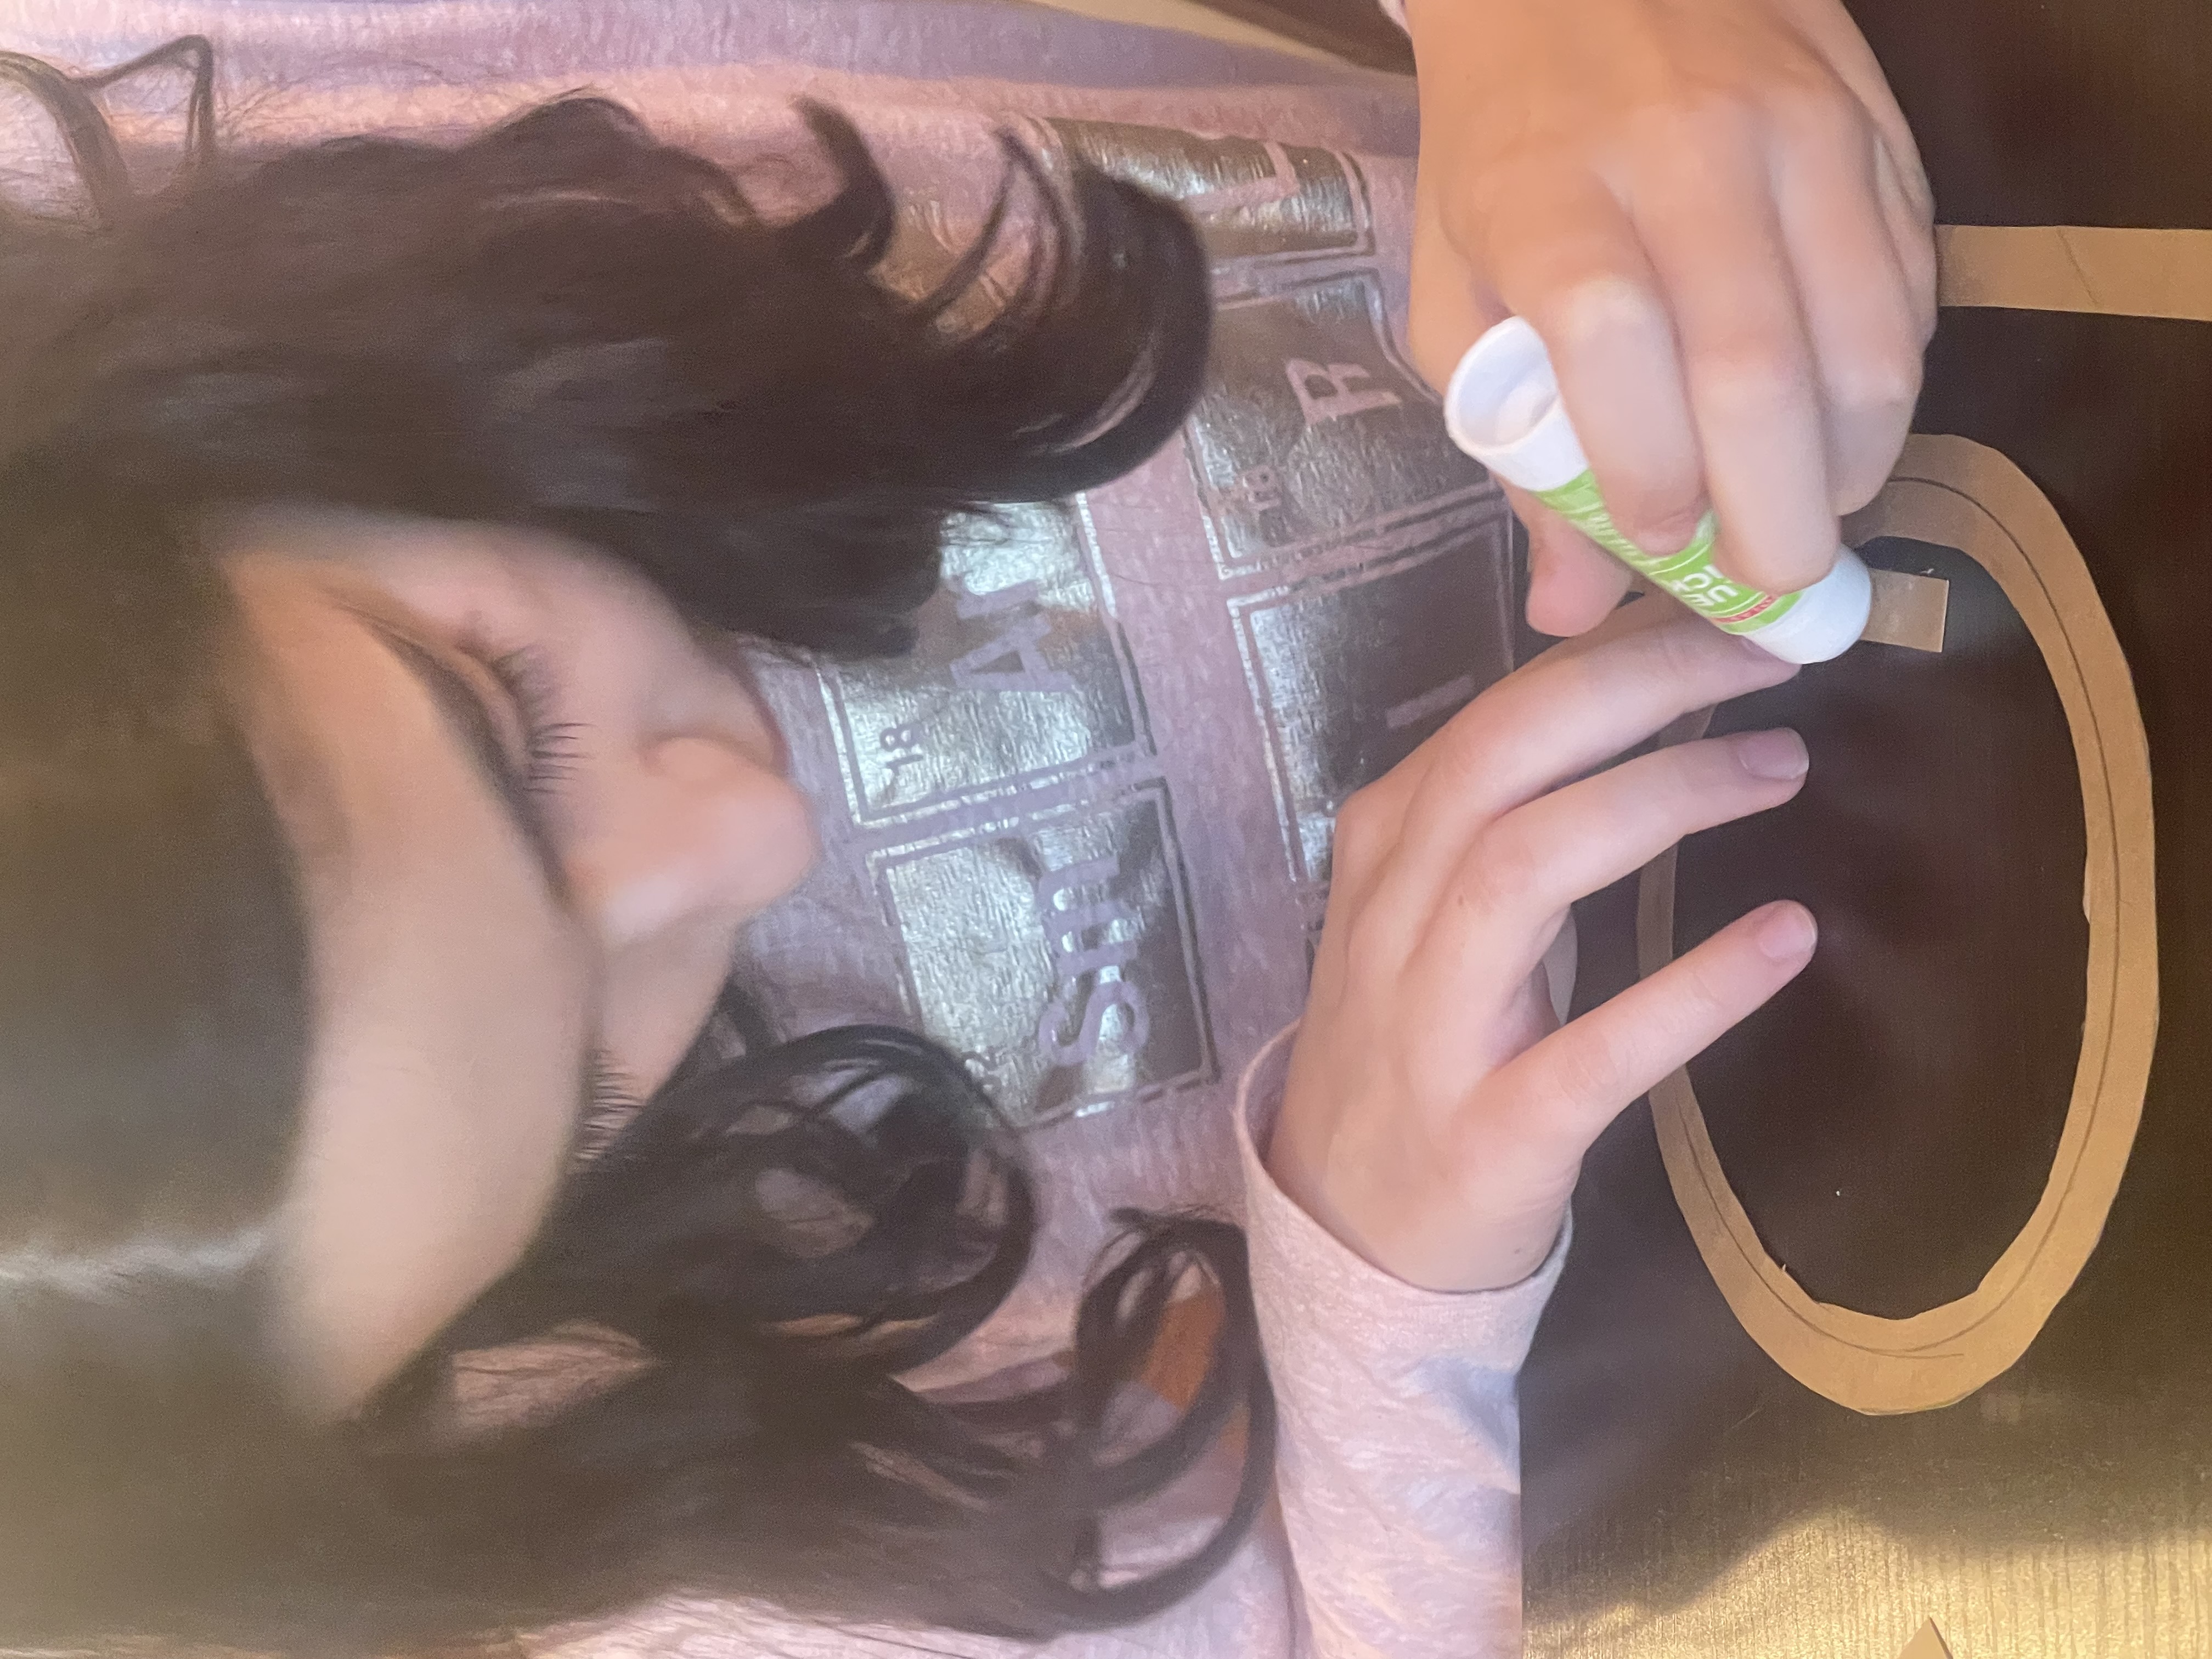
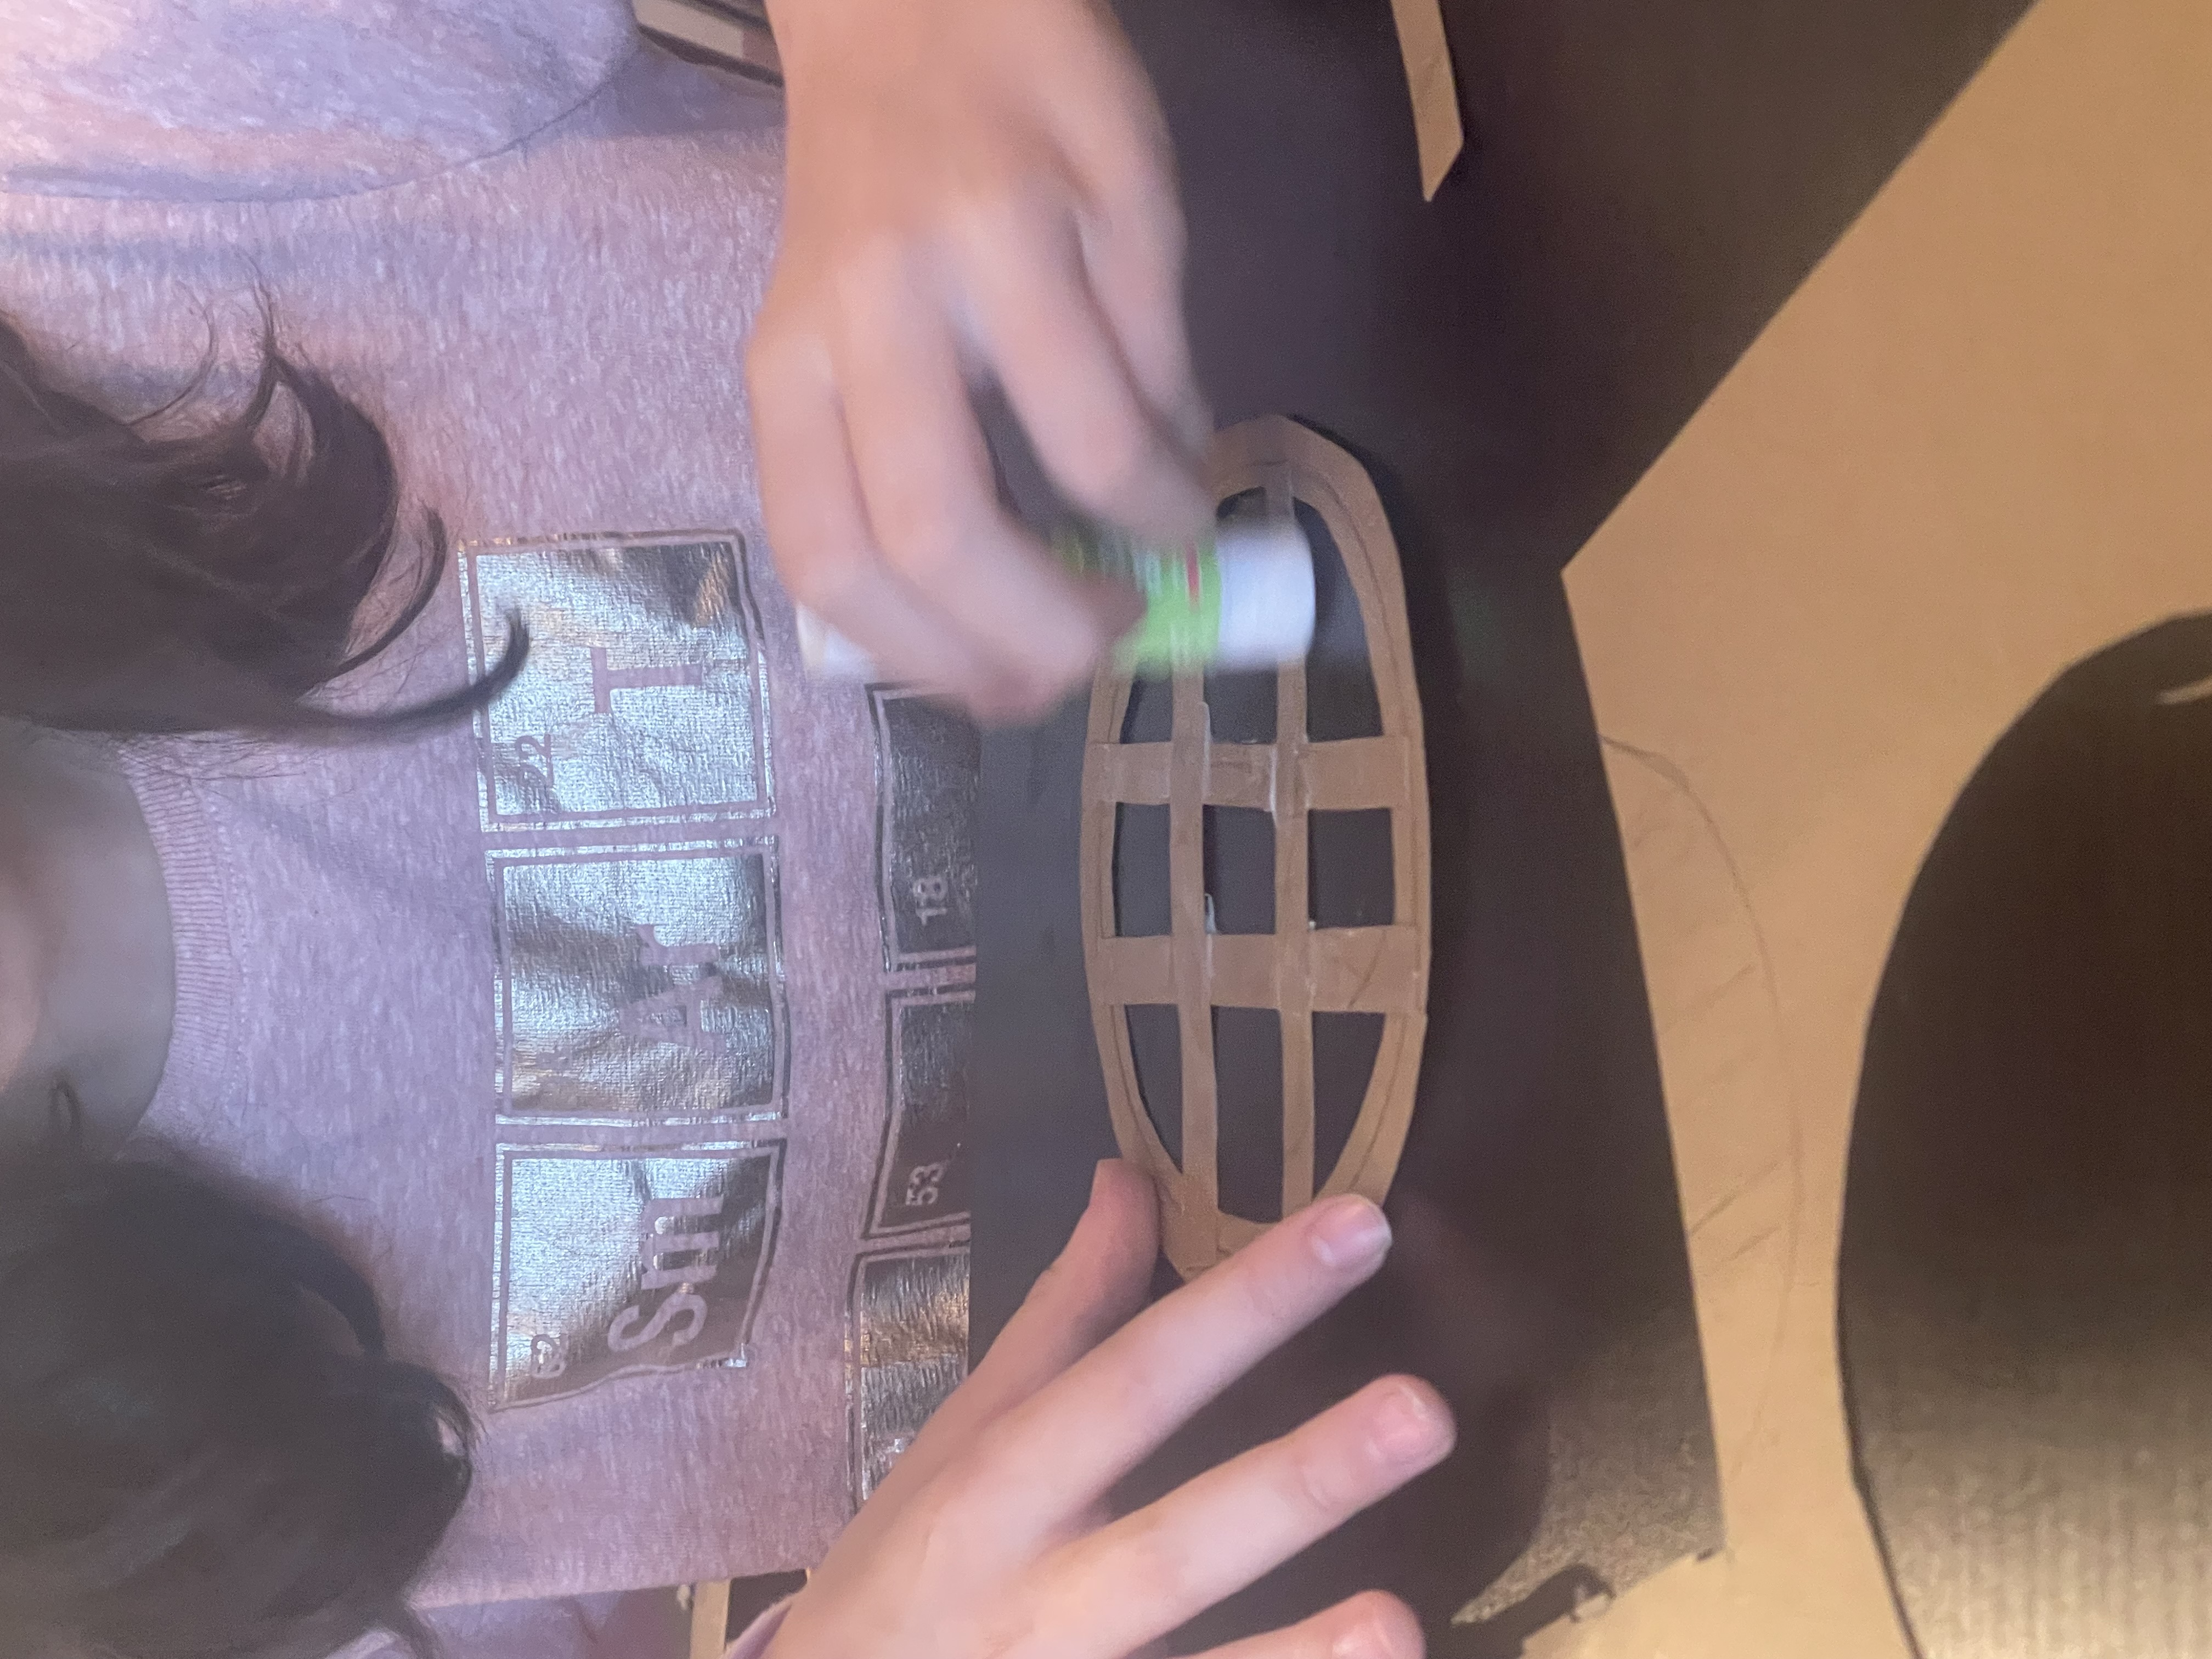
Step 6: Once you have your strips cut out, it is time to place them and glue them down. When gluing make sure to place glue on the strips when crossing them over.
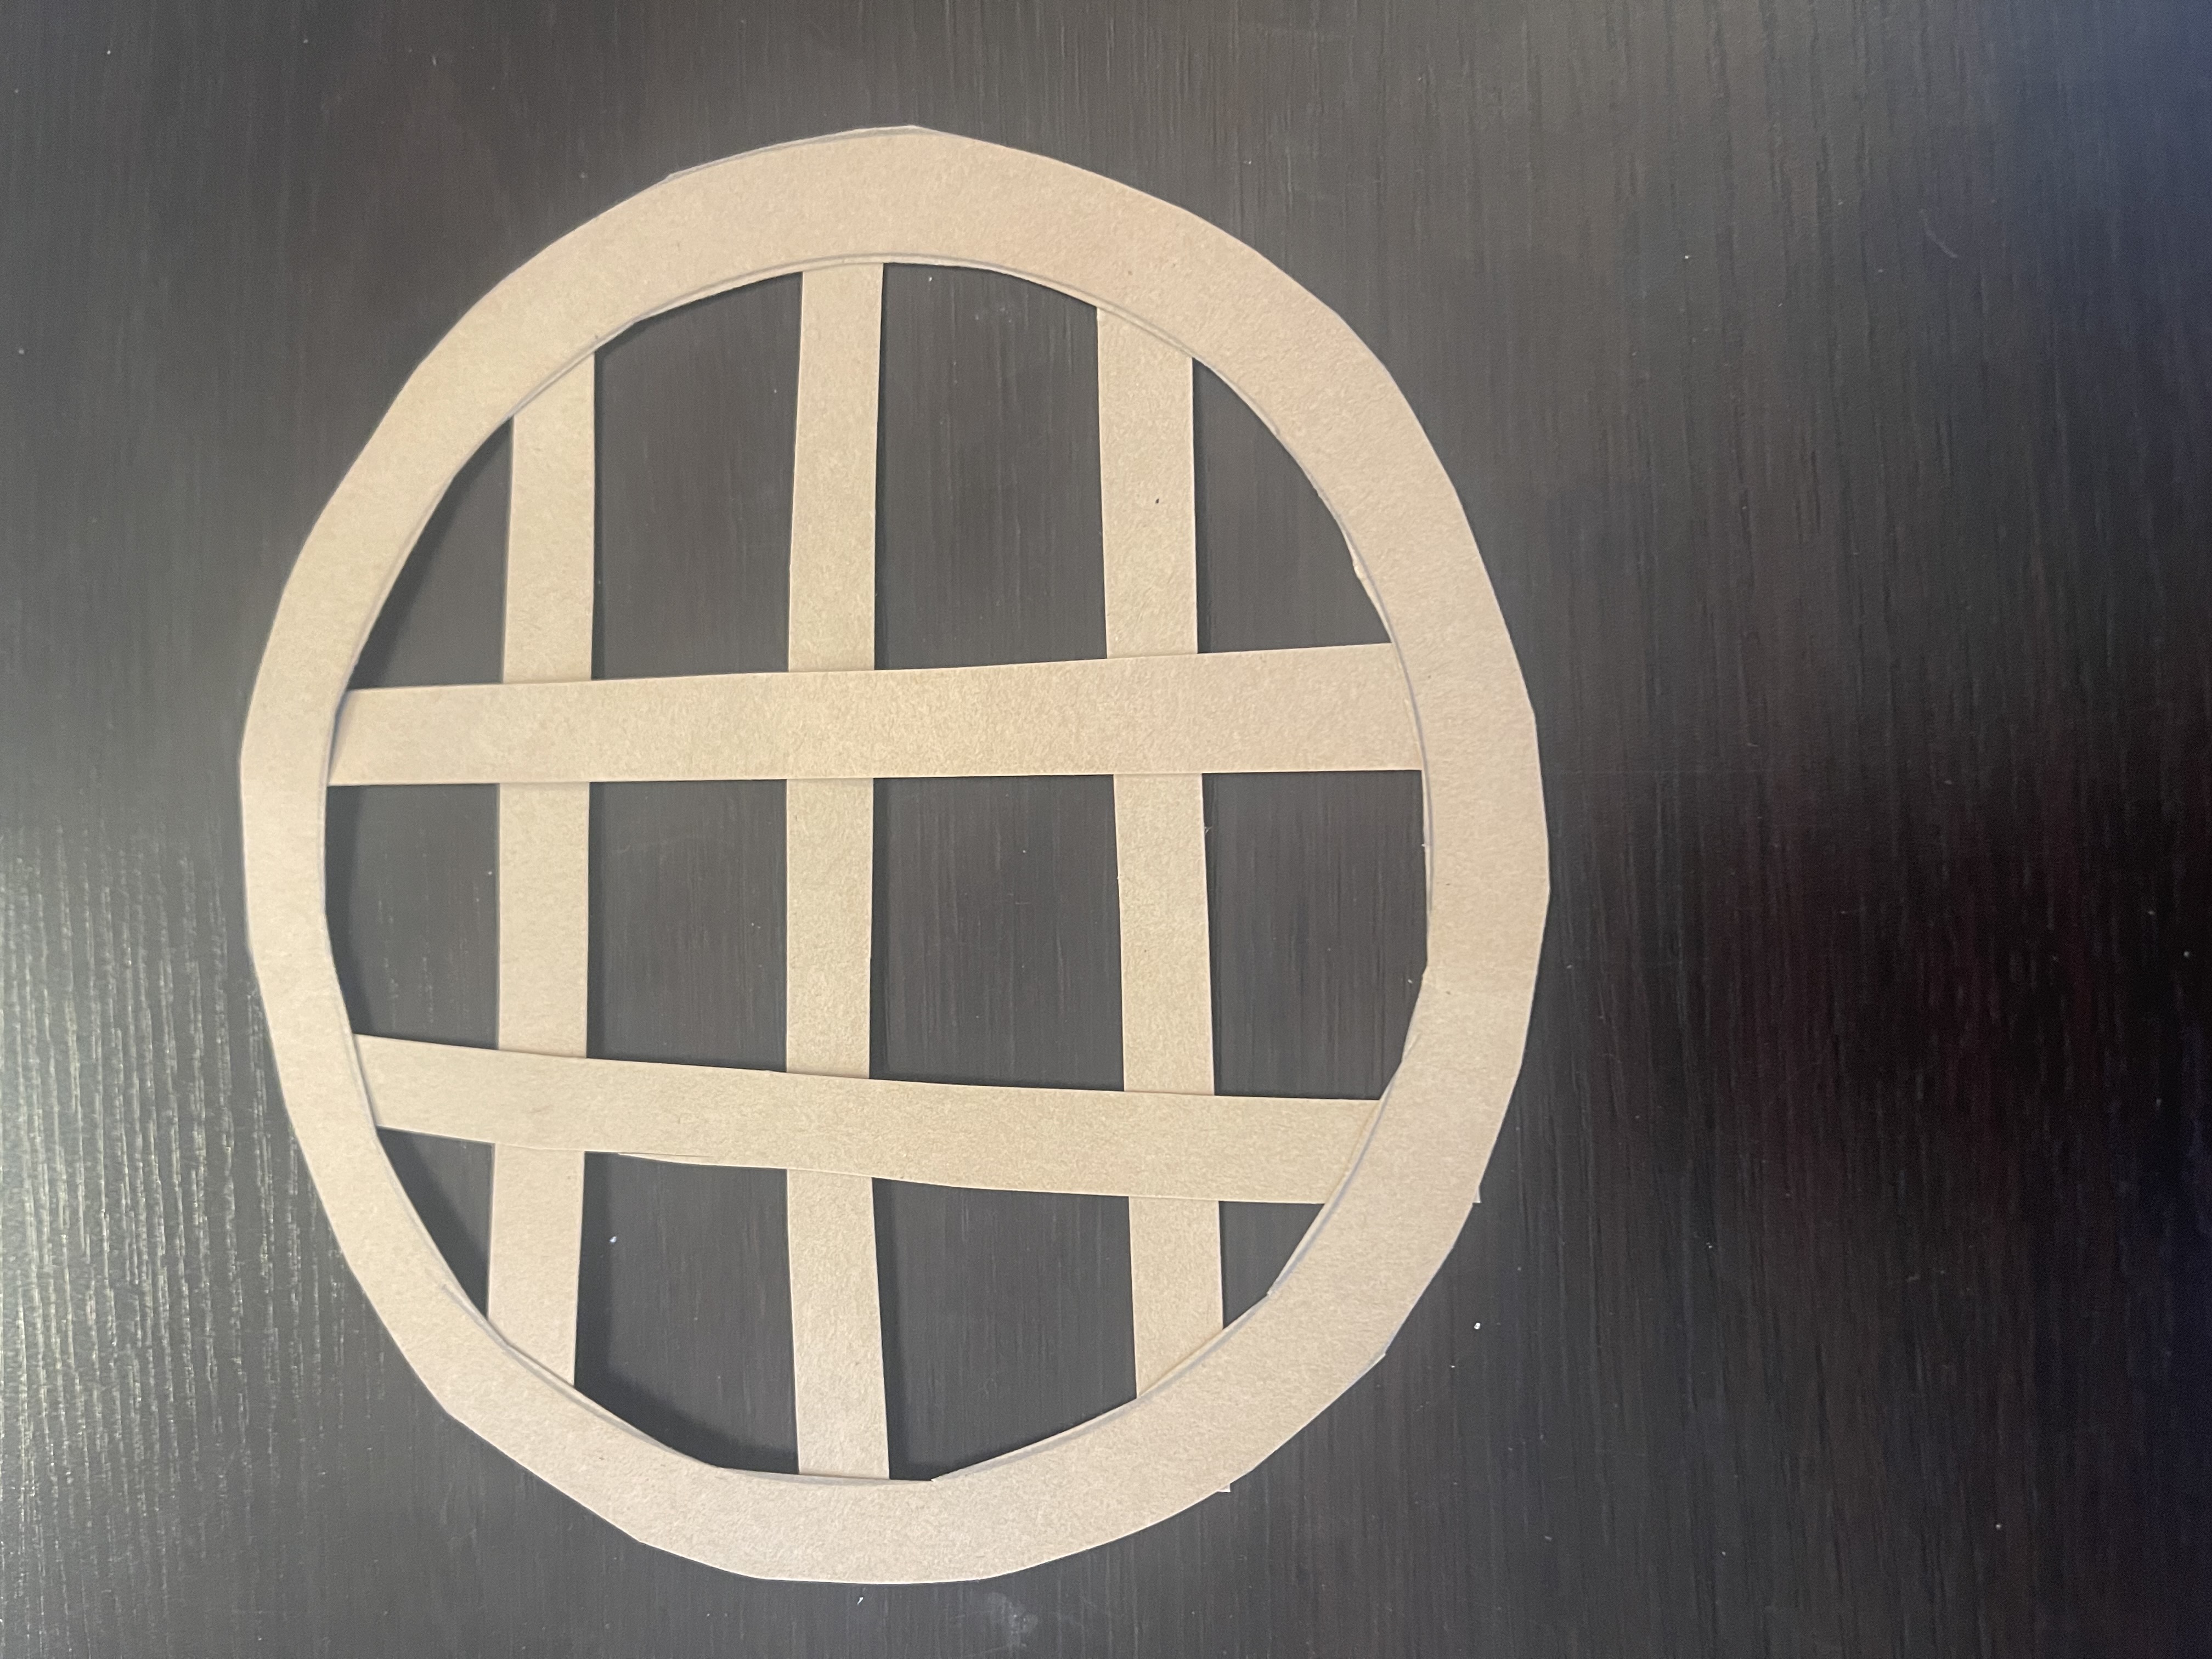
This is what it will look like when all completed and glued down.
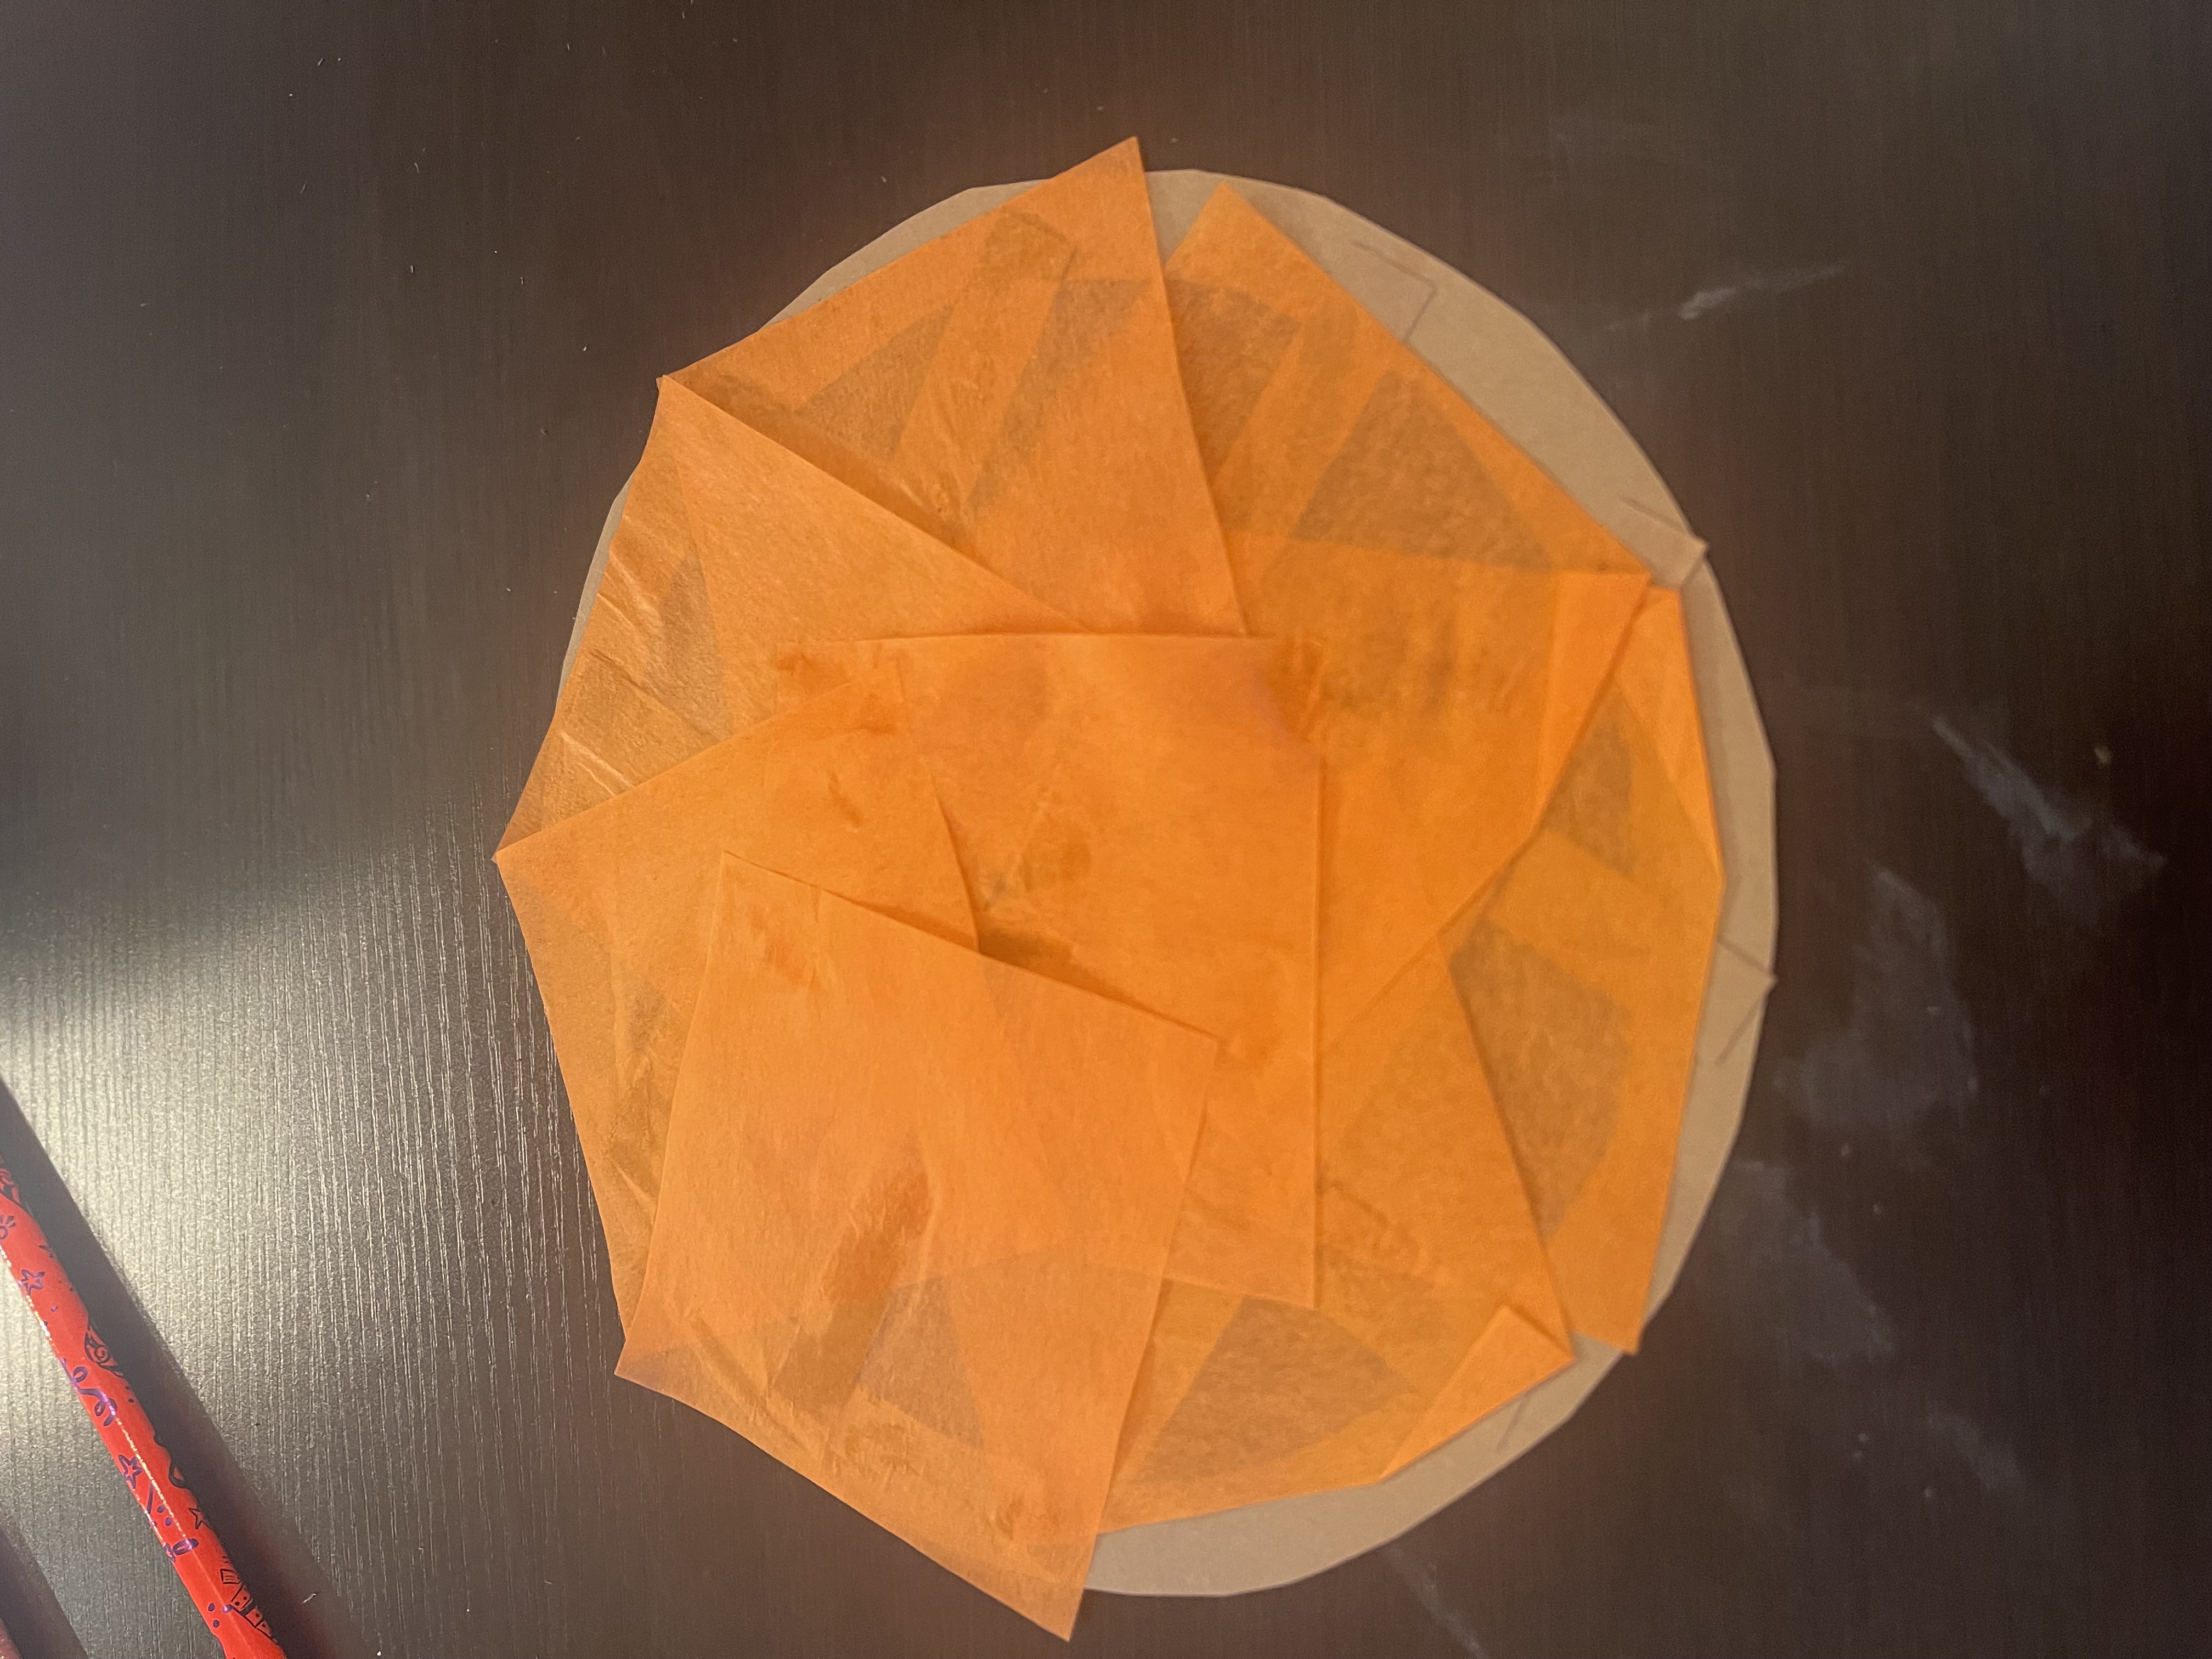
Step 7: Flip the pie over to the back this is where you are going to start gluing down the tissue paper. It is okay to have some hanging over the outside of the pie because that can be trimmed.

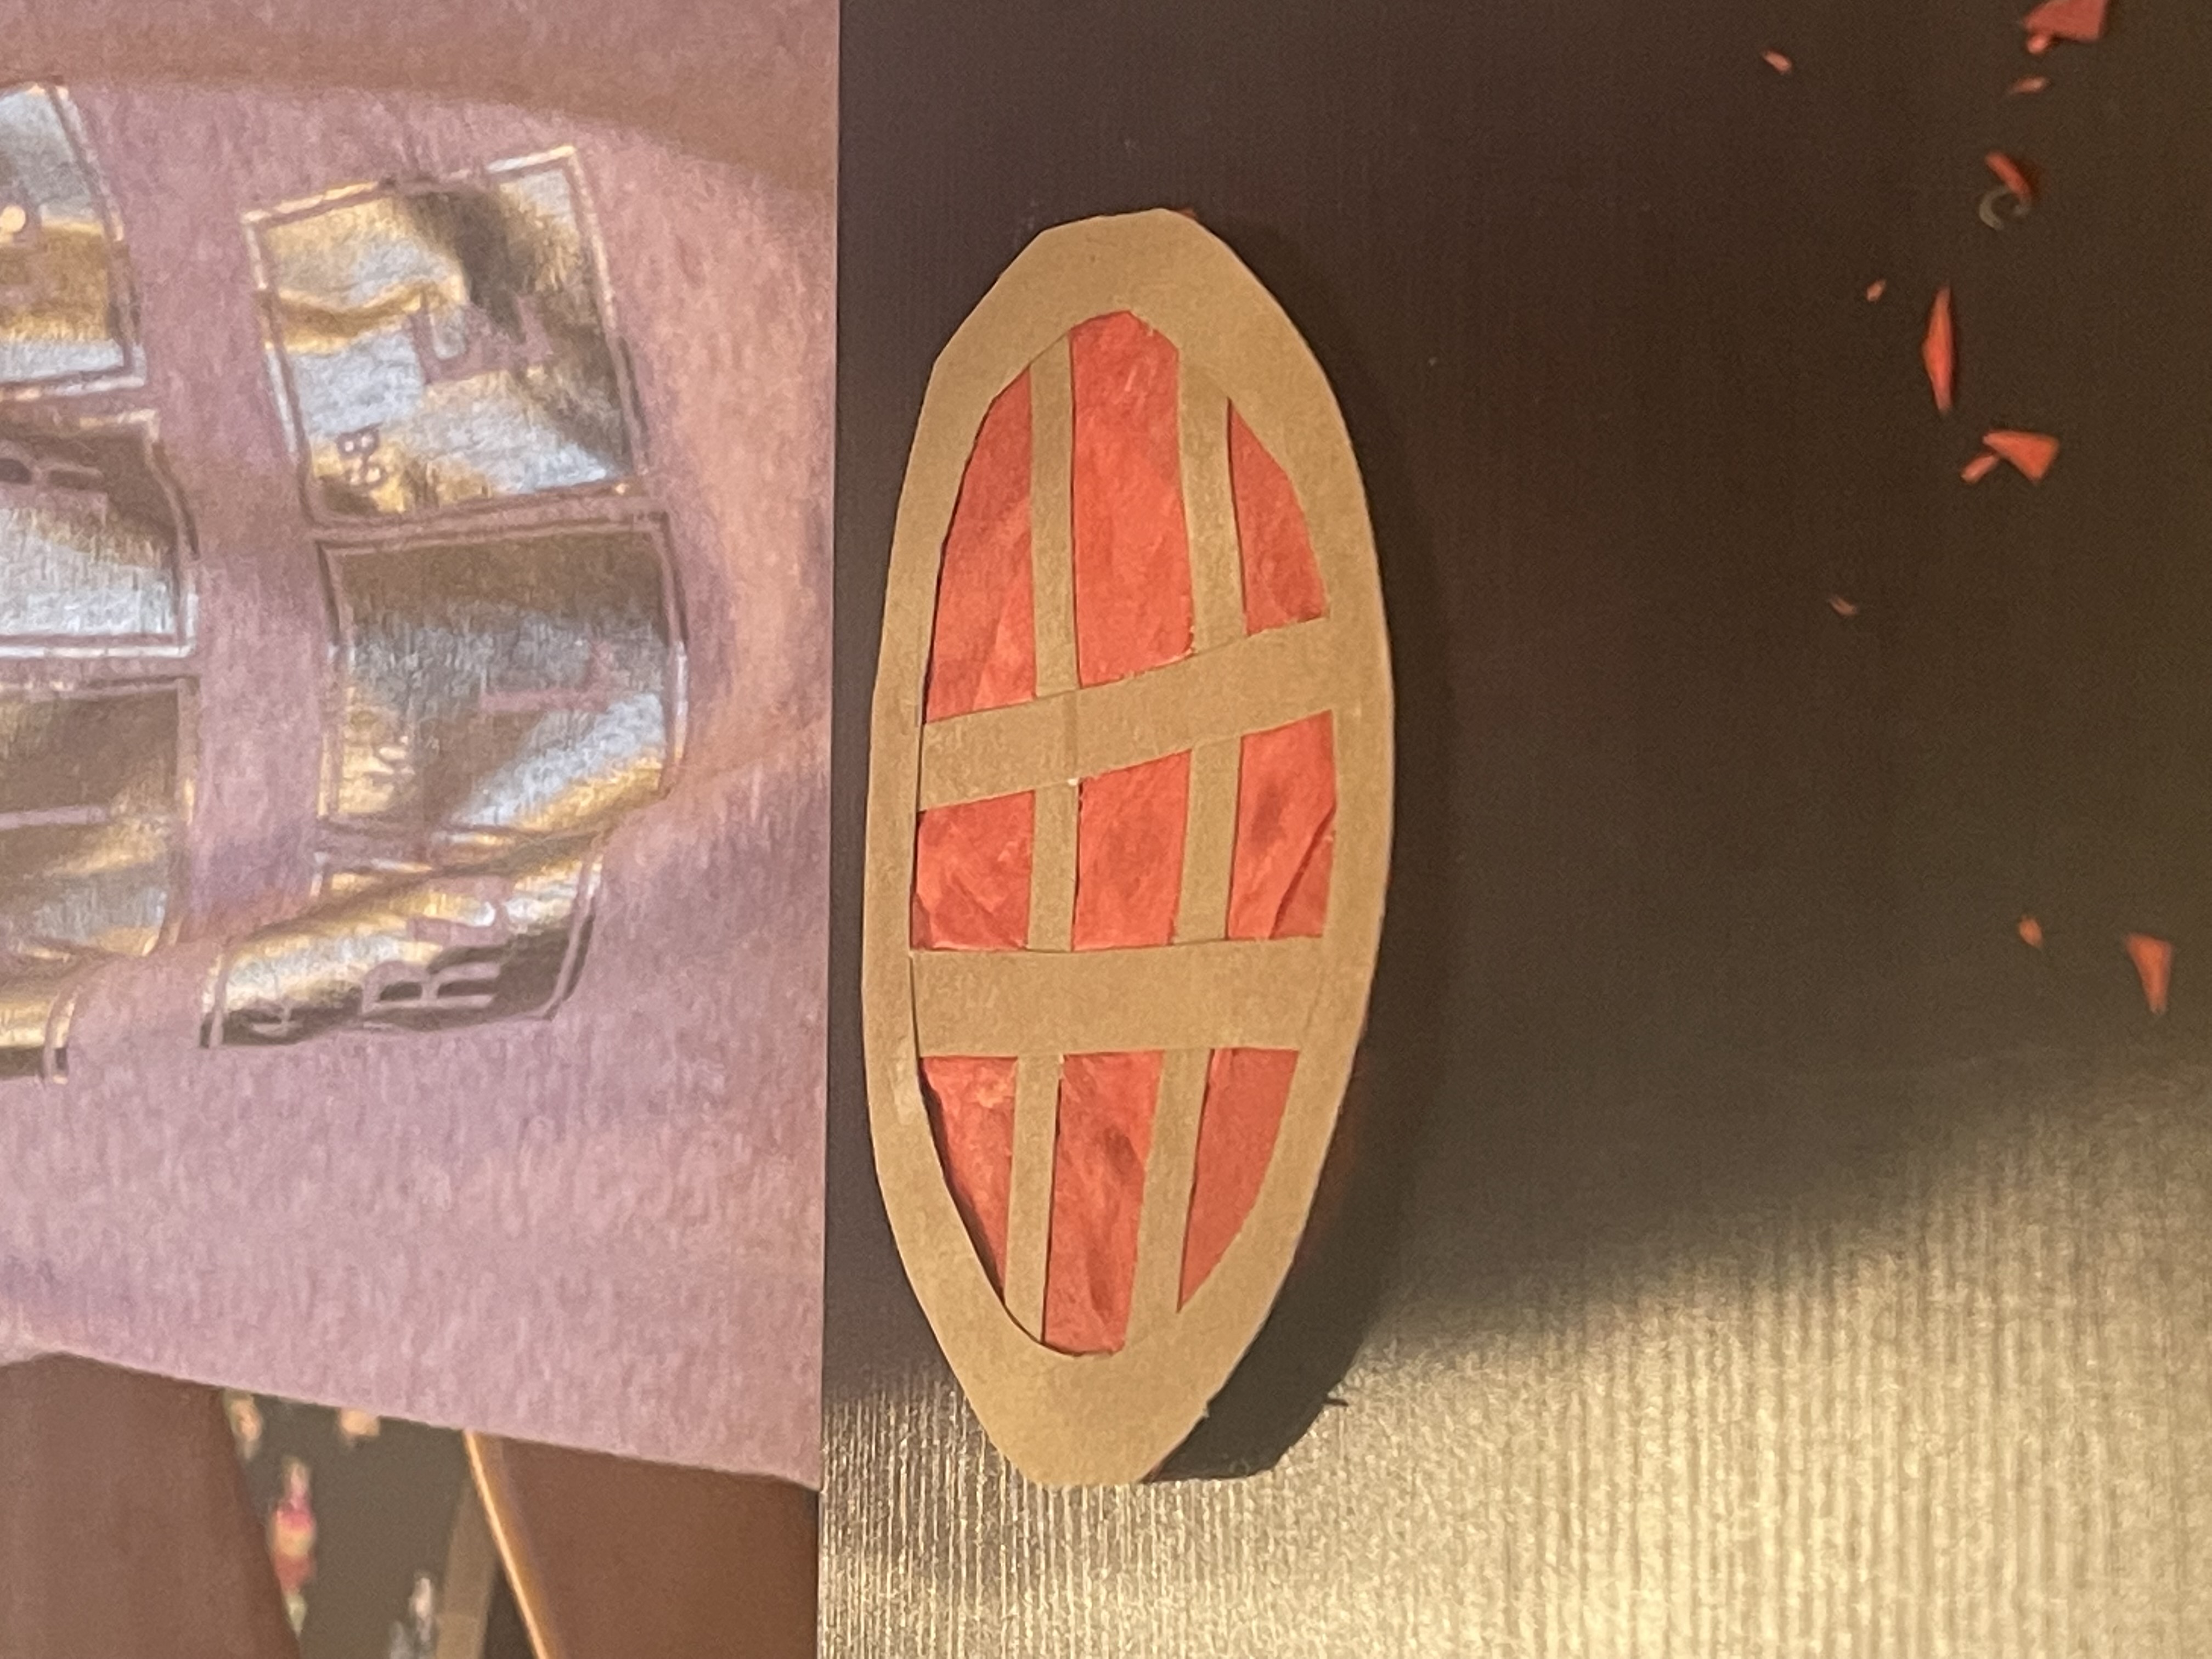
Step 8: The last step is to glue down the puff balls or the cotton balls on the front part of the pie. This represents the whipped cream.
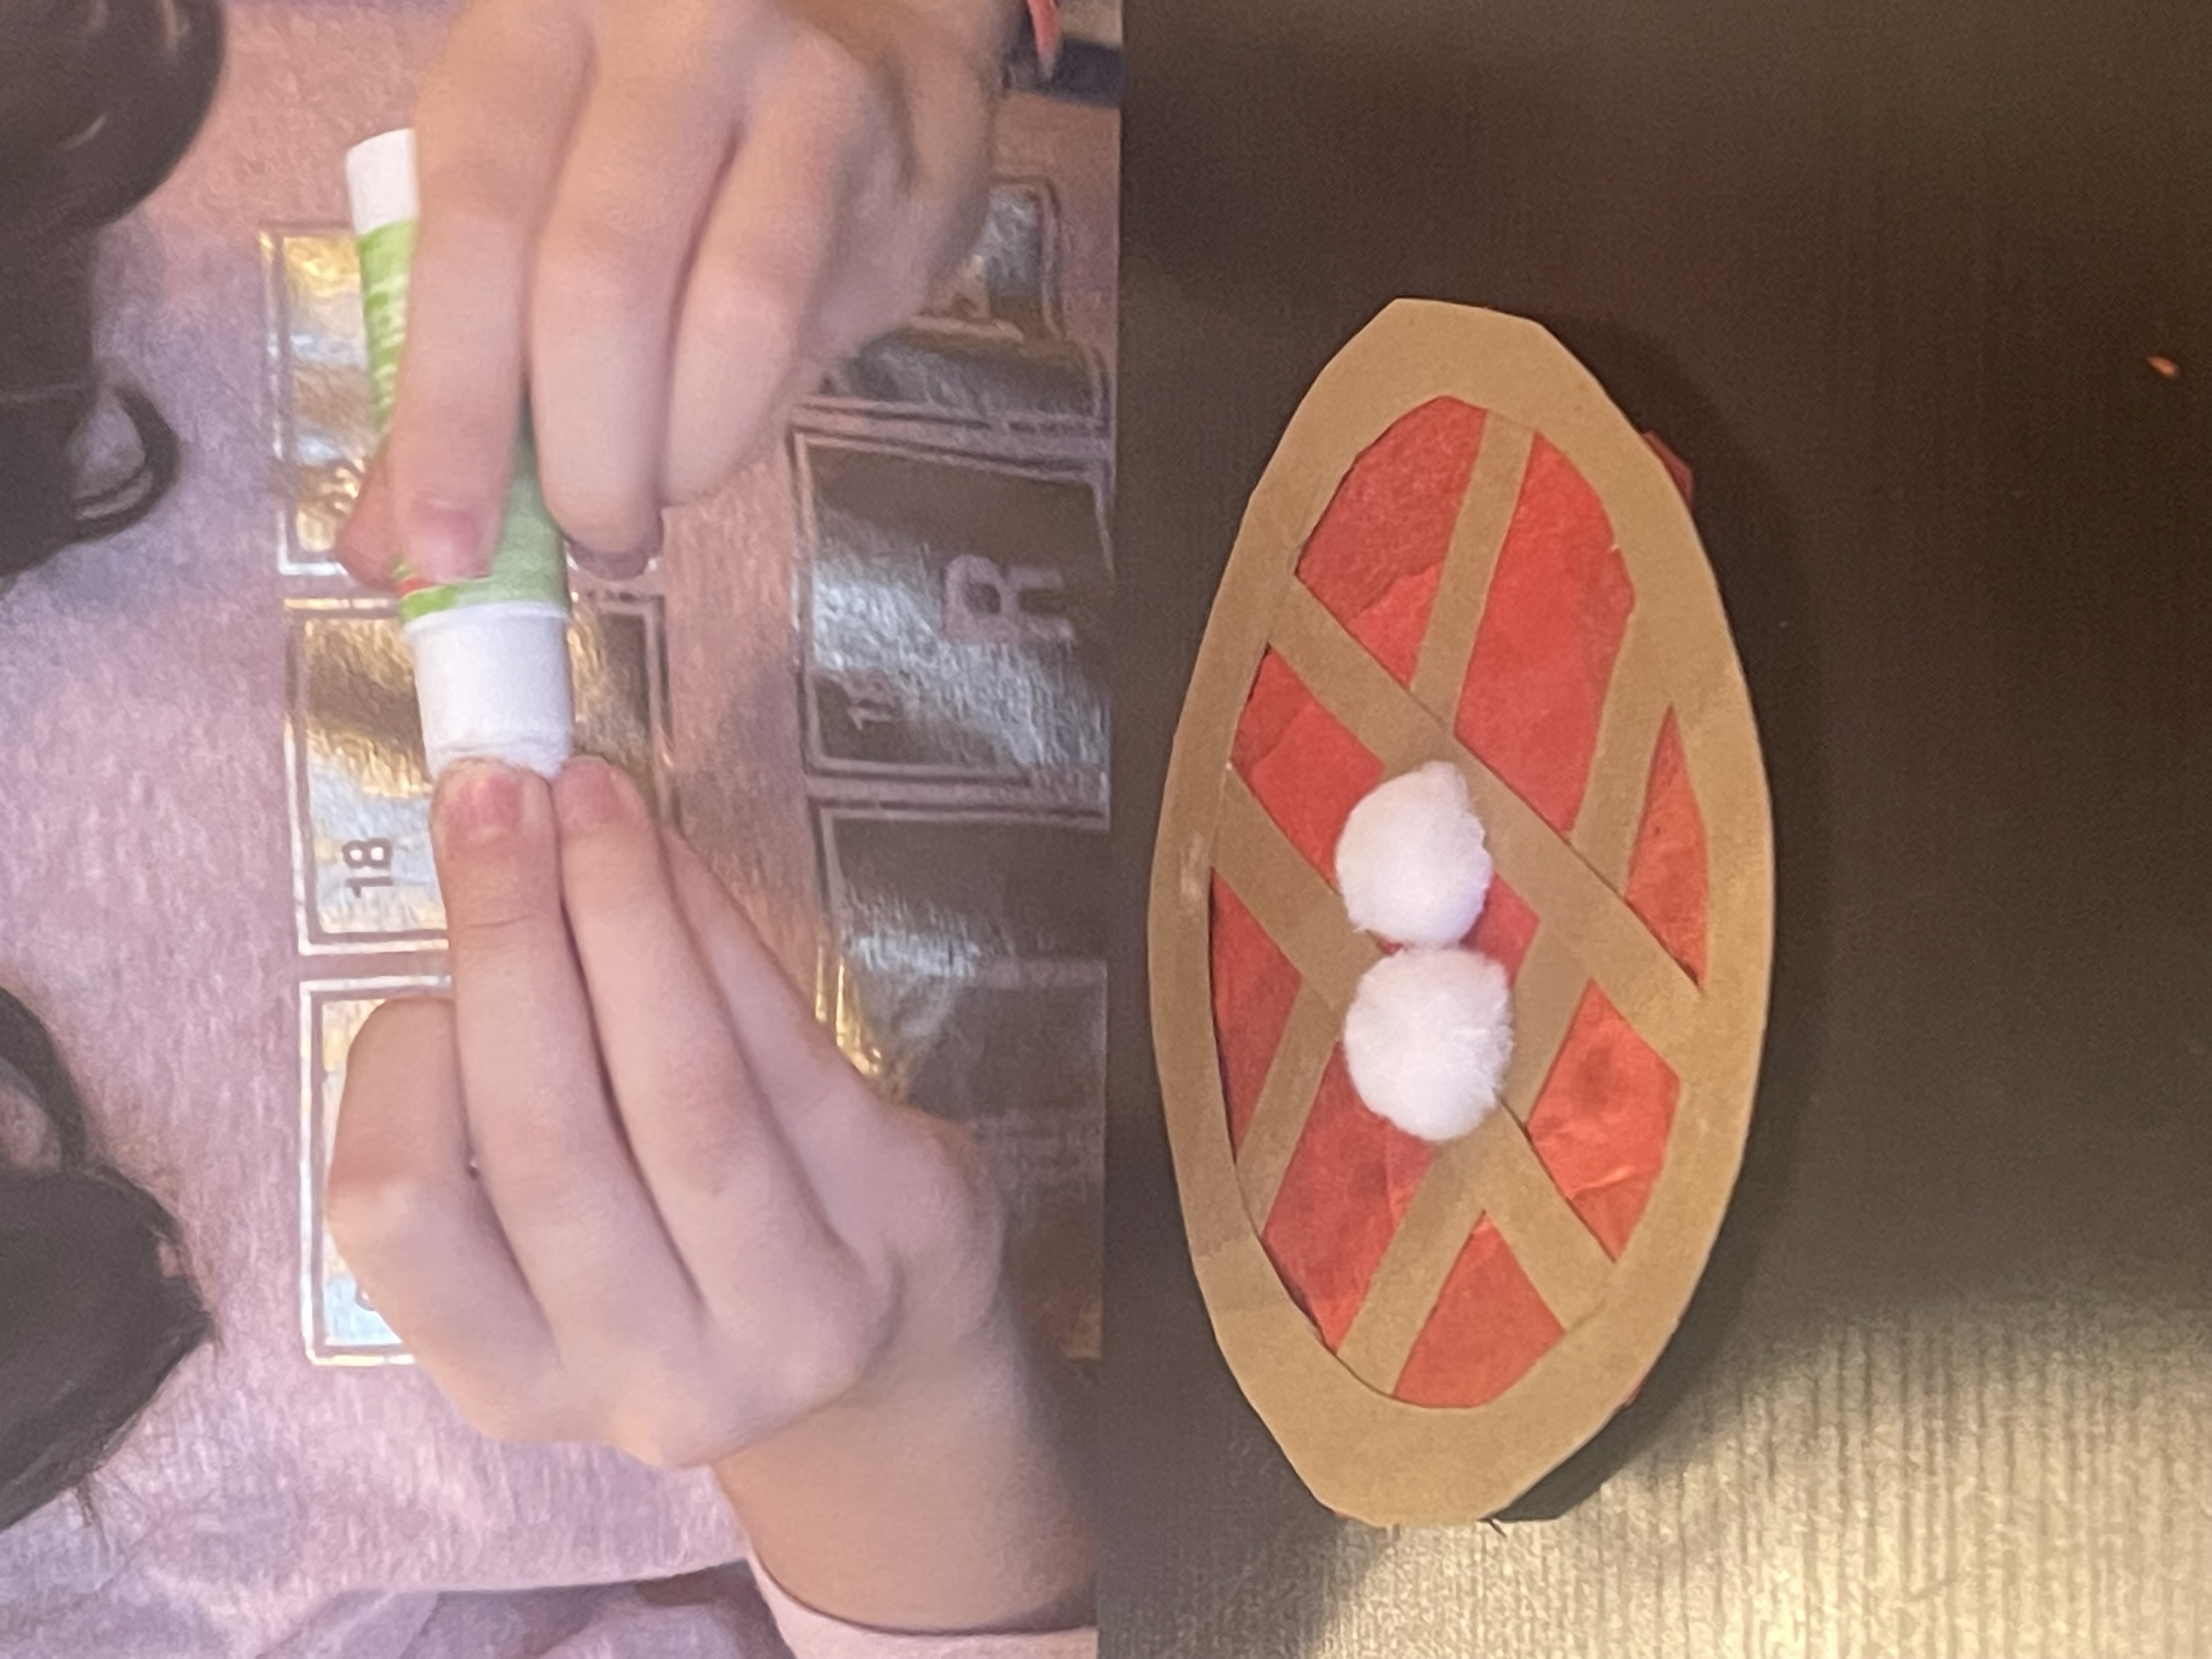
This is what your pie will look like after this step!
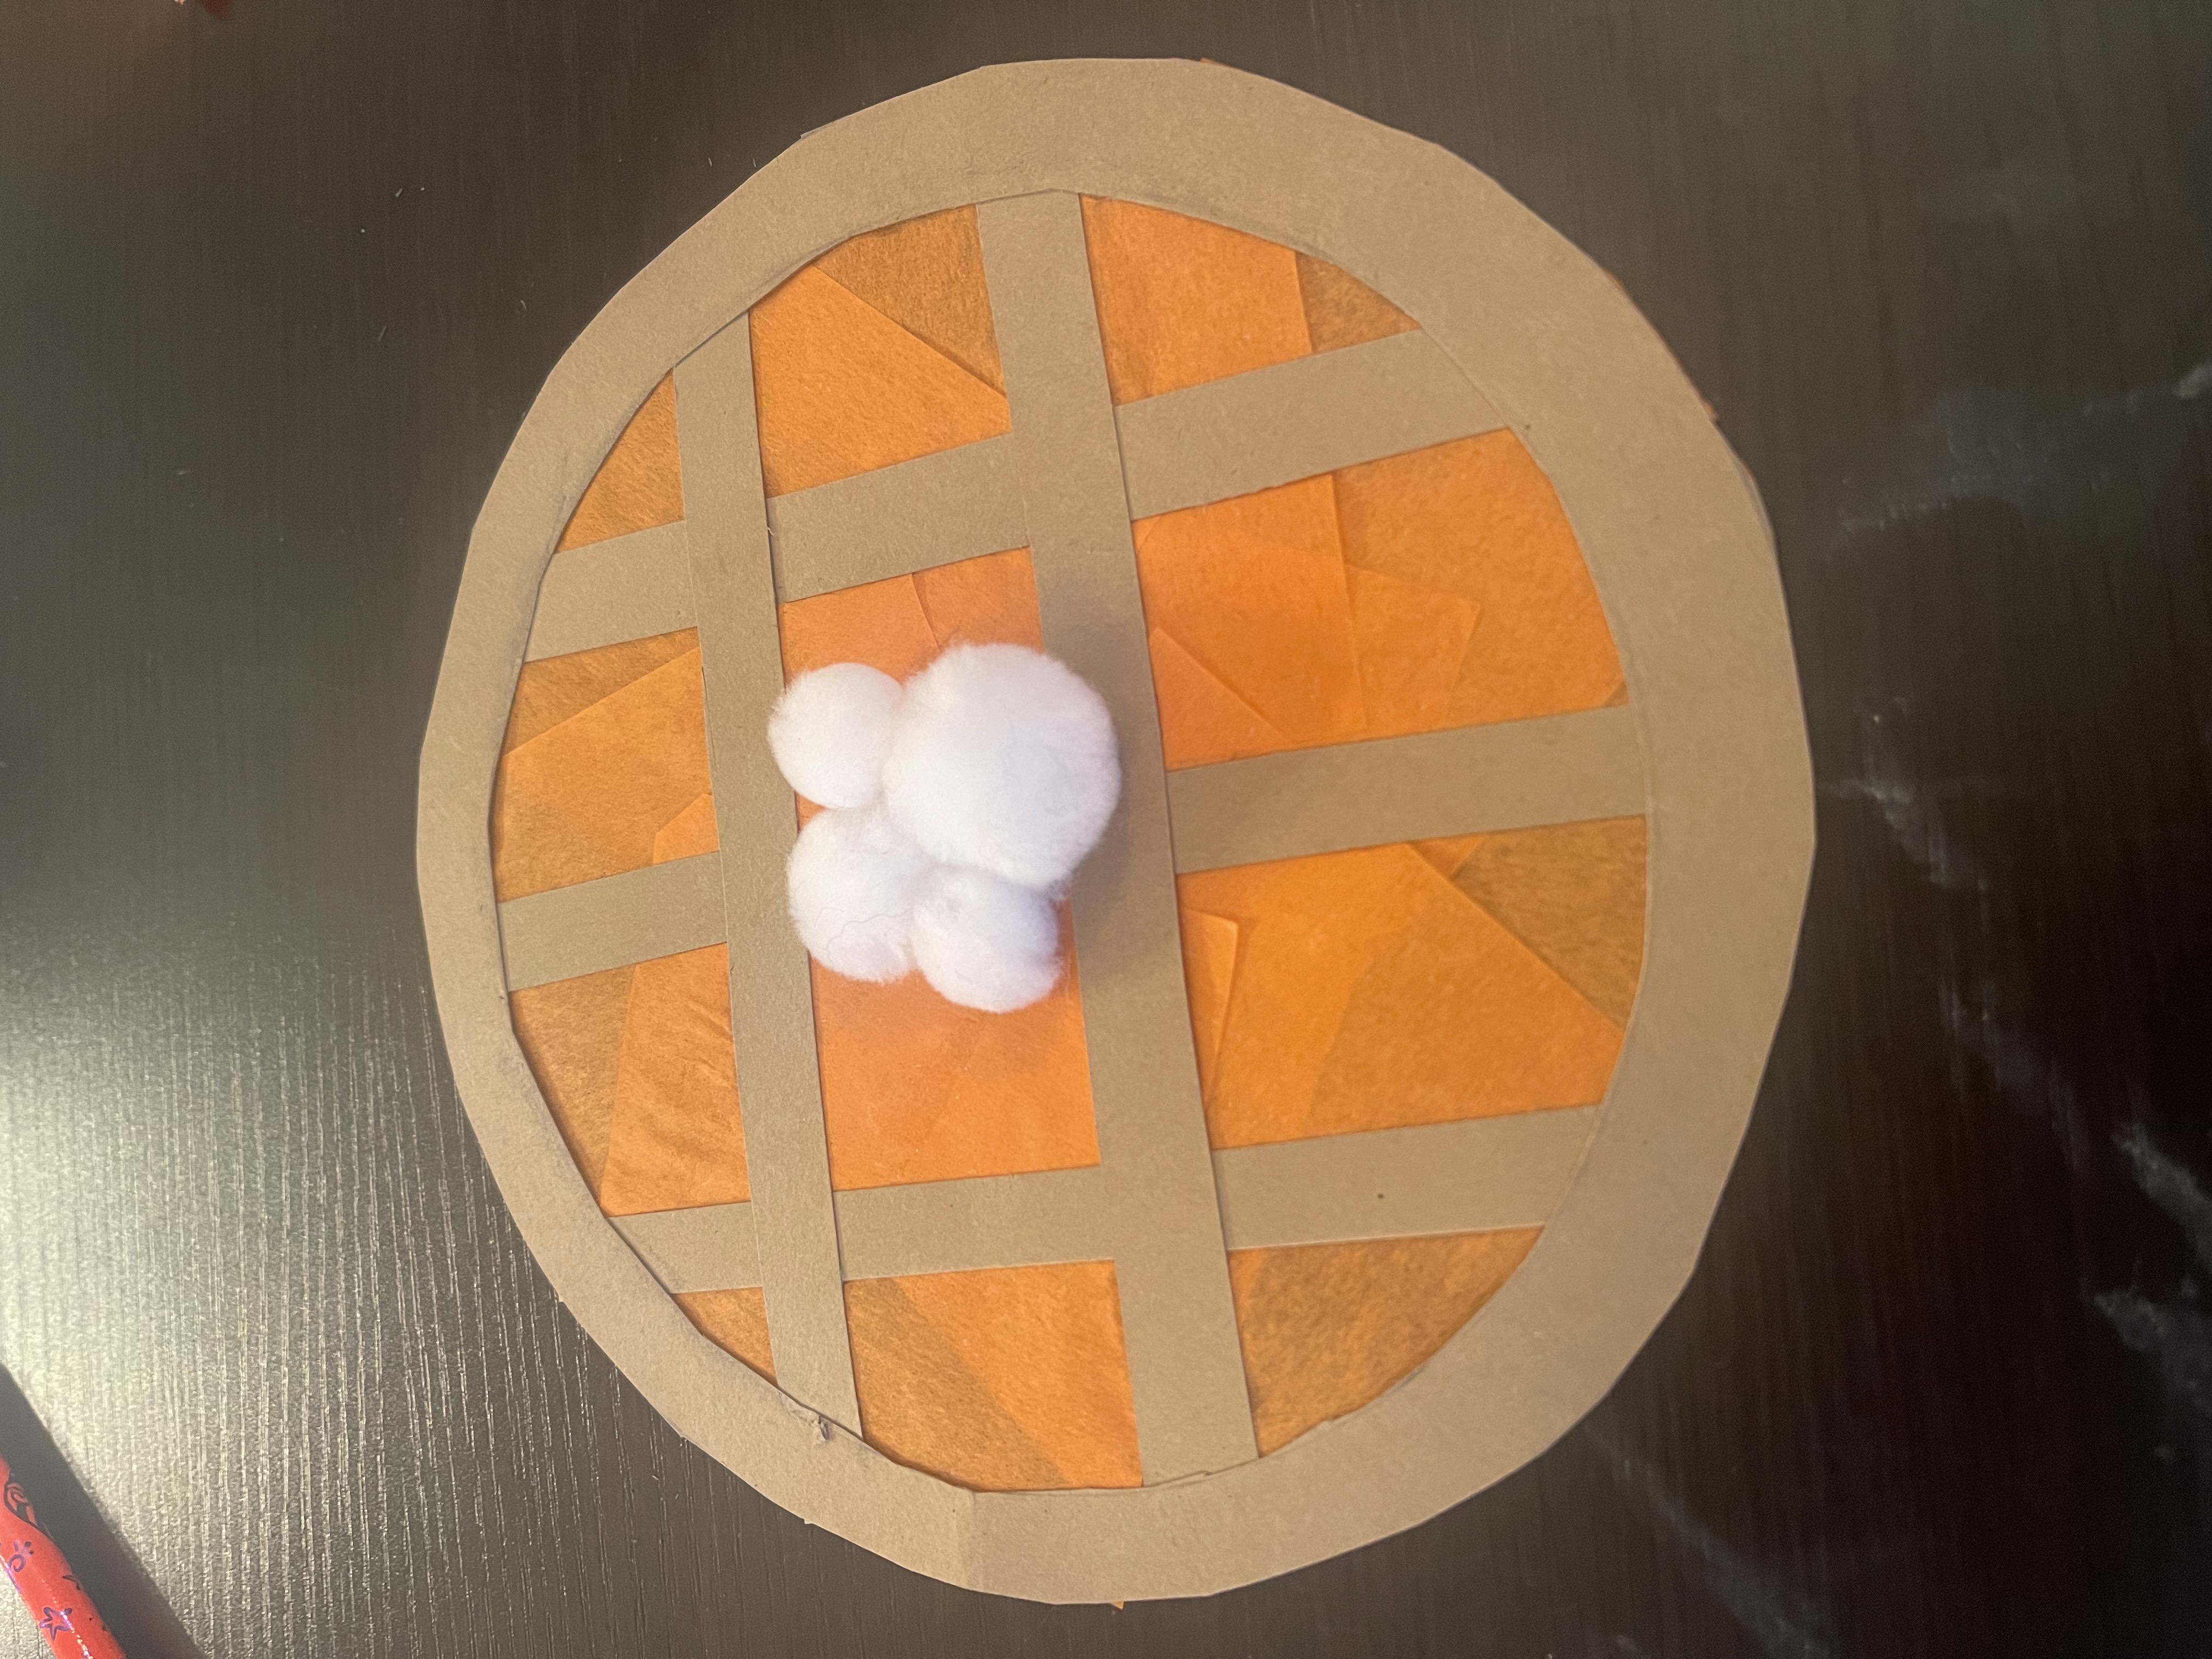
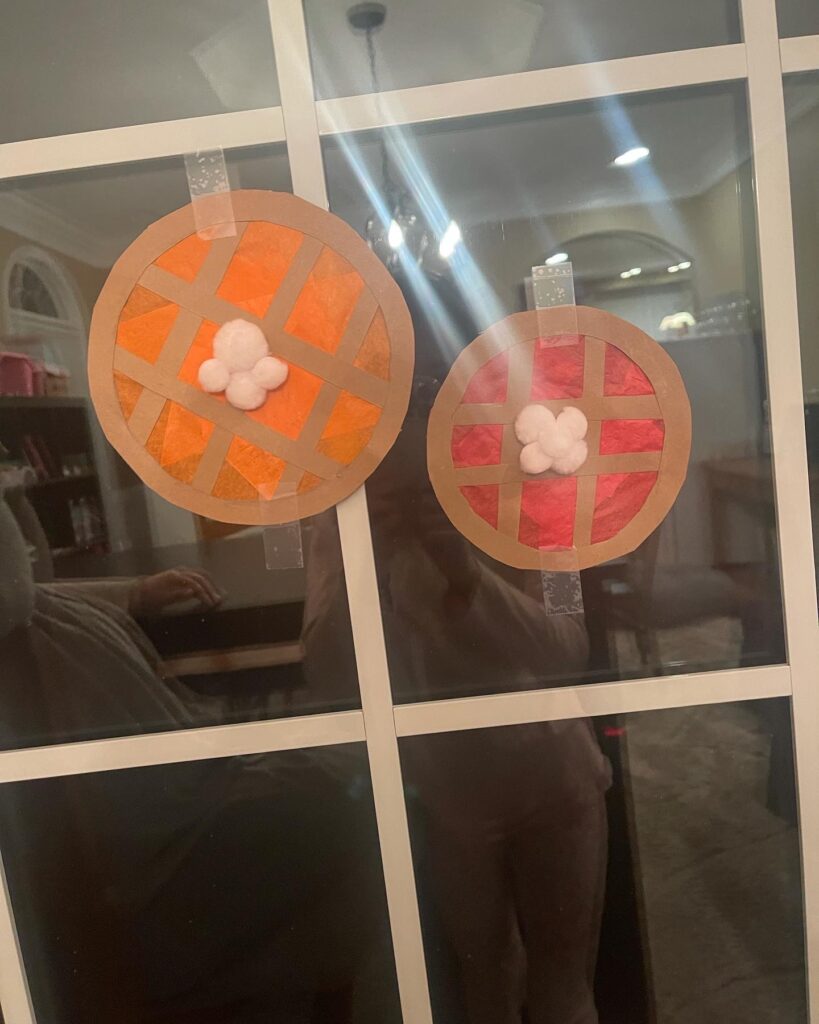
Now it is time to find a place where you would like to display your pies. We chose to display them on the window.
I hope that you and your kids enjoy this craft! If you end up doing it please comment and let me know how it went for you! I hope that you all have an amazing start to the week. We are heading into the winter Holiday posts. There is a lot to come so, make sure that you come back to check everything out!
